We’re incredibly lucky to have my FIL around to help with all our tile projects. He been working in the business for over 30 years – first at a local company and then he branched out and has been running his own successful independent business for over 20 years.
He’s helped us with the the tile in the laundry room and our master bathroom and now these beautiful new floors from Marazzi. He’s one of the hardest workers I know and I’m so grateful that he’s willing to help. Laying tile is totally DIYable and I know a lot of people do it themselves, so I thought it would be fun to have him share some tips with you guys.
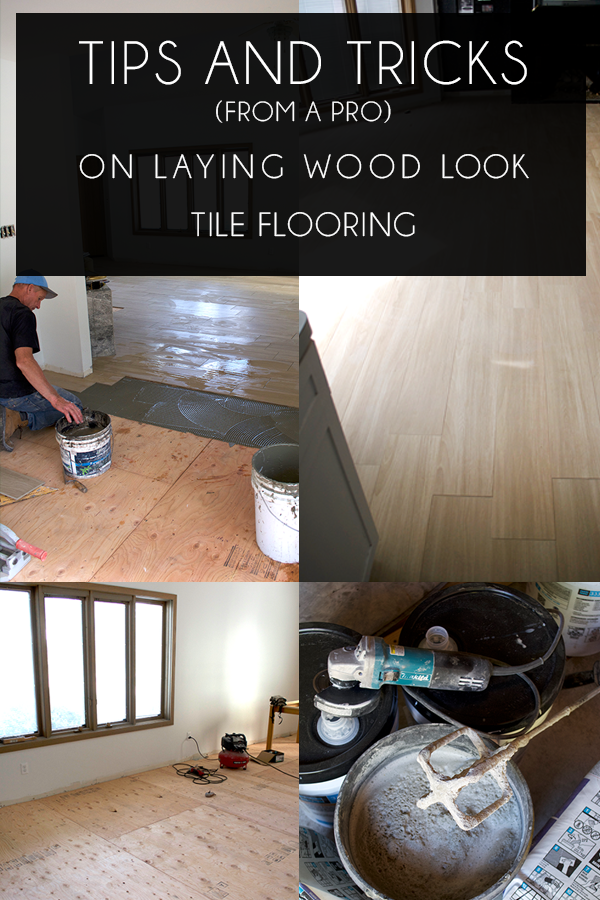
First I’m going to take you through our process of installing wood look tile and then I’ll share his answers to all the questions you guys asked on instagram.
INSTALLING WOOD LOOK TILE
REMOVE YOUR BASEBOARDS
Whether you have tile or carpet, if you have any baseboards you need to rip them out. If you’re keeping them and reattaching them, then be as careful as possible. If not, you can beat them up a little bit more since you’re throwing them away.
For us – we decided to keep all of our base because it matched the rest of the oak trim in our house which we don’t mind and isn’t something we can invest in right now to change. Base leads to trim, windows, doors etc. It’s never ending!
The tools we used to remove our baseboards were a hammer and a small pry bar. Slide the crow bar between the base and the wall and then hit it with the hammer to loosen it. Do this in a few different spots to get it nice and loose and then you should be able to slide the crow bar further down and pry off all of the base.
If there is paint stuck between the base and wall that is keeping you from being able to get behind the base, then use a small X-Acto knife and score right along the edge to break it up.
Tip – If you are keeping it, label the back of each piece with a marker so you know where they go!
RIP OUT YOUR OLD FLOORS – CARPET
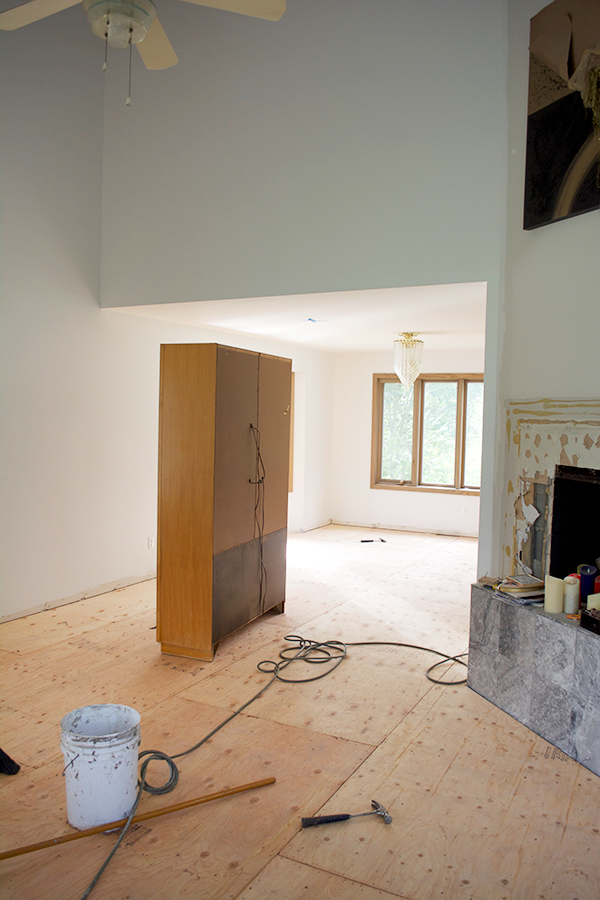
For us, we had 4 different flooring situations going on so we needed to rip it all out to make it even. The carpet is the easiest, the tile is much more work.
To remove your old carpet, get a sharp heavy duty X-Acto knife and cut it into strips that are about 3′-4′ wide. It makes it much easier to roll up and carry out the door. Once it’s rolled up, wrap it in one or two pieces of duct tape to hold it together. This way it isn’t unraveling when you try and carry it. Do the same with the foam under the carpet.
Then the fun part begins – removing all the old nails. I actually kind of find this sort of satisfying and therapeutic ha. Hopefully the people who put in your carpet didn’t go too staple happy and there won’t be too many to remove. Ours wasn’t too bad thankfully.
The best tool for this job is end cutters. It makes it super easy to pluck them right out. You can also just use a hammer and hammer them flat if they aren’t too bent up.
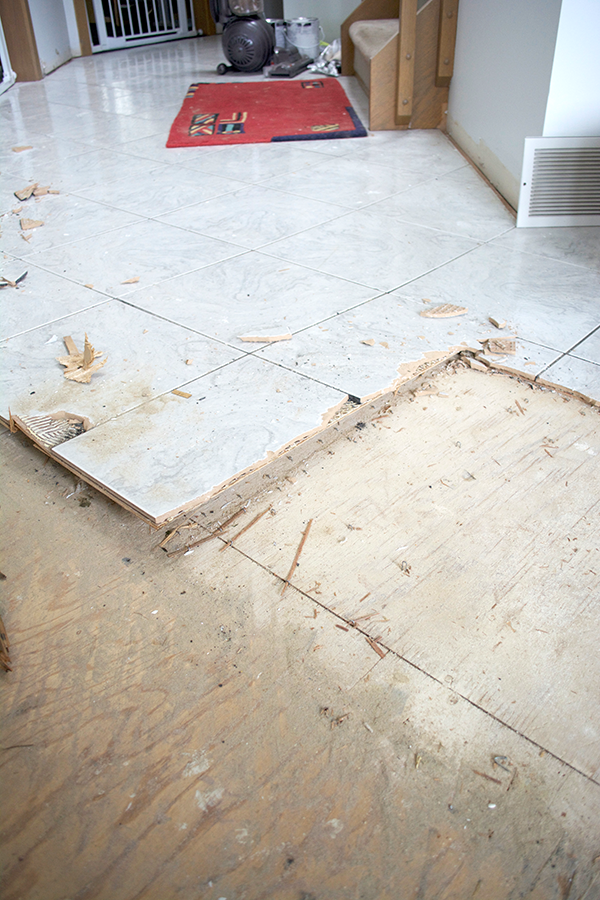
RIP OUT YOUR OLD FLOORS – TILE
One question a lot of you asked is do you have to rip out your old tile or can you tile over it. The answer is you can do either – it just depends on your house. We had to rip ours out to be even with the carpet and the tile wasn’t laid well before so it was cracking and wouldn’t provide a stable ground for new tile.
My FIL goes more in depth about when to do each scenario below!
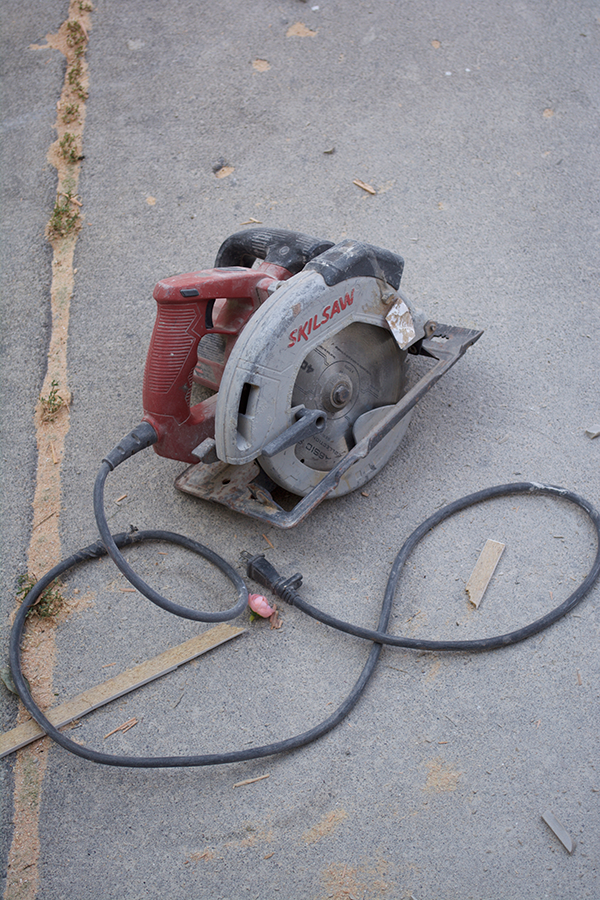
In our house we had 2 areas of carpet and 2 areas of tile. The tile was in the kitchen and the hallway/entry. We used these tools below to get the job done – a 3 foot pry bar and a wrecking bar (similar).
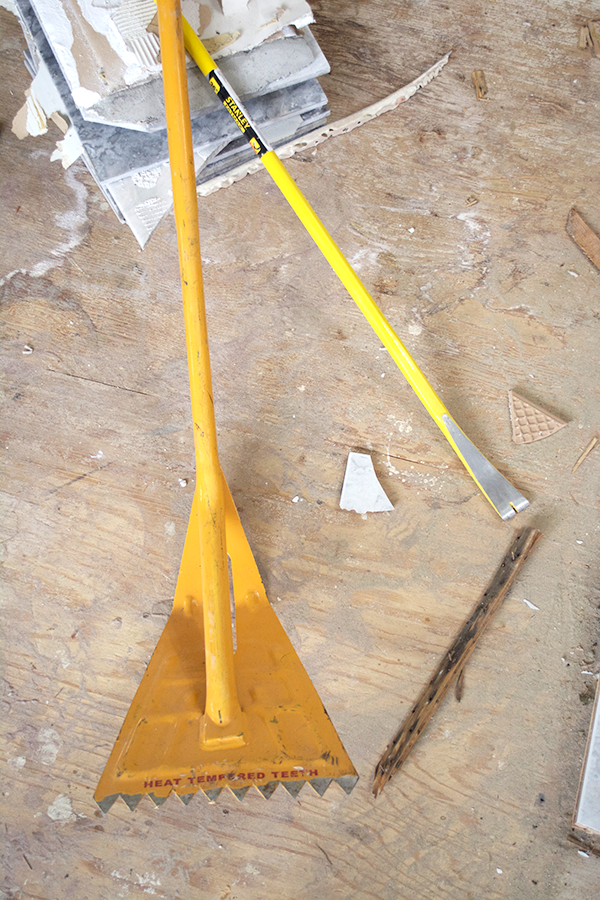
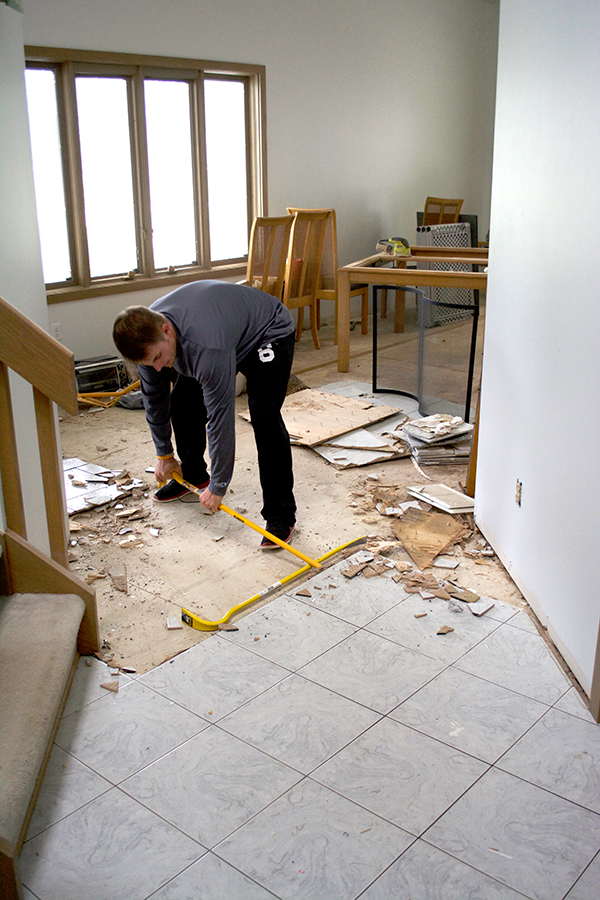
The larger yellow one was a big life saver and allowed us to get big chunks out at once. We removed the old tile and subfloor along with it to get to the same level as the original subfloor that was under the carpet.
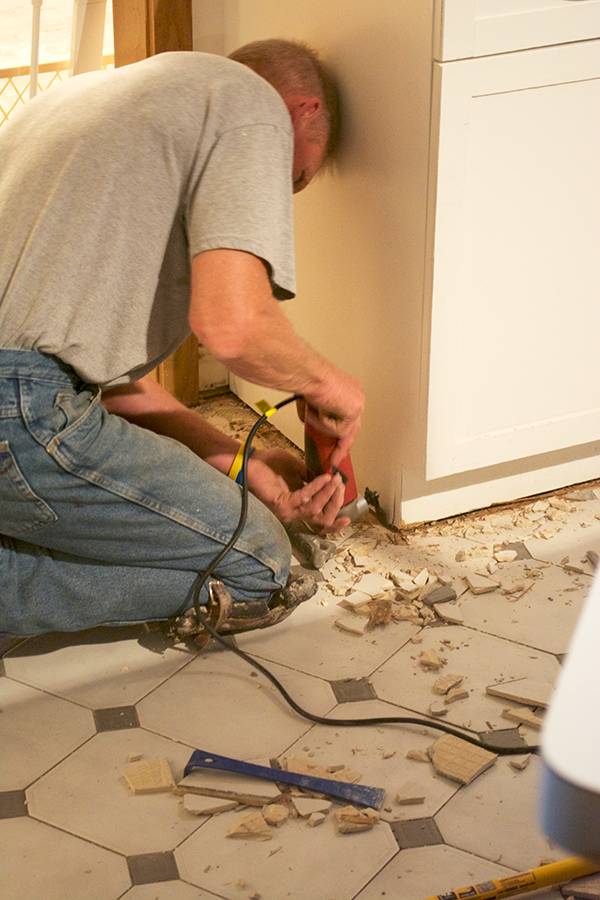
The hallway was the easiest area to remove – but the kitchen gave us a little more trouble. The tile didn’t go under the cabinets but the subfloor did. So my FIL had to go around the entire perimeter with his handy dandy tool and cut through the subfloor so everything would still be even.

It’s a multi function oscillating tool and he uses this thing for everything. They’re super affordable (around $15) and It also comes with different types of blades and a sander so you can use it for all sorts of stuff. He also uses it to cut the door jams so they aren’t too low for the tile.
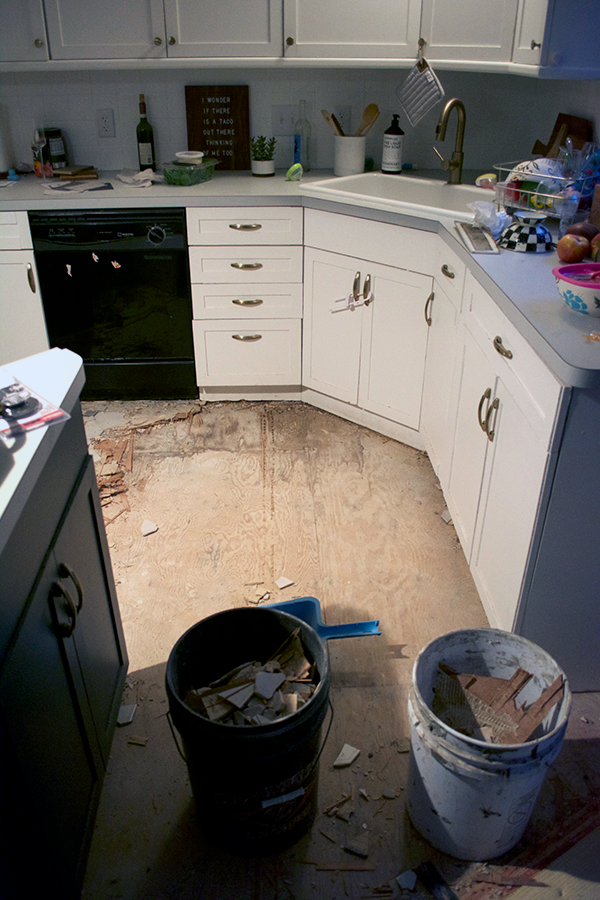
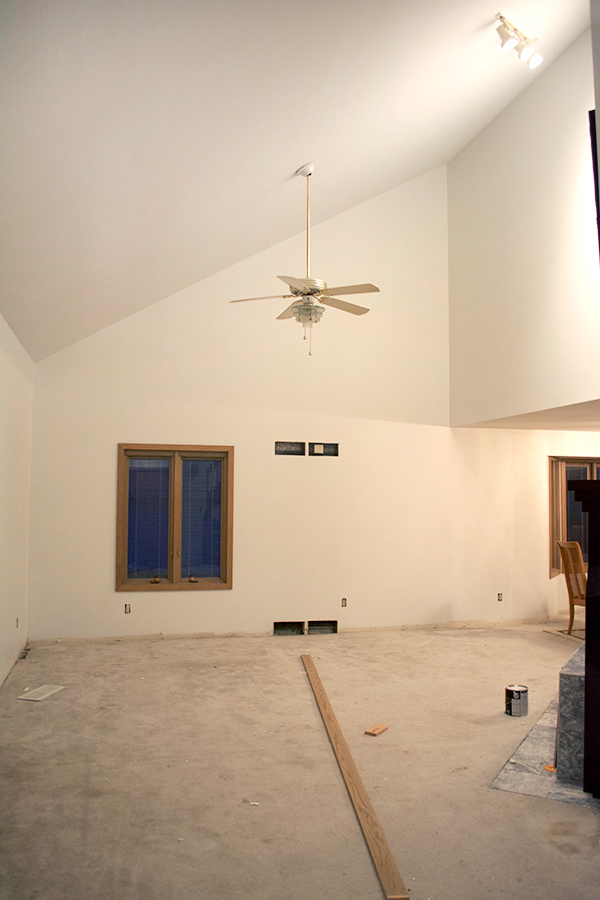
Once you’ve got all your old flooring out – go back through and make sure you have a completely even surface. Get all the old nails, screws etc. This is extremely important. You need as flat a surface as possible so you get a smooth surface with your tile. Then it’s time to lay the new sub floor.
LAYING SUB FLOOR
We used 1/2″ plywood for our subfloor and installed it using our nail compressor. Since this was such a large space we were able to use a lot of full sheets and only had to make a lot of smaller cuts in the kitchen around the cabinets.
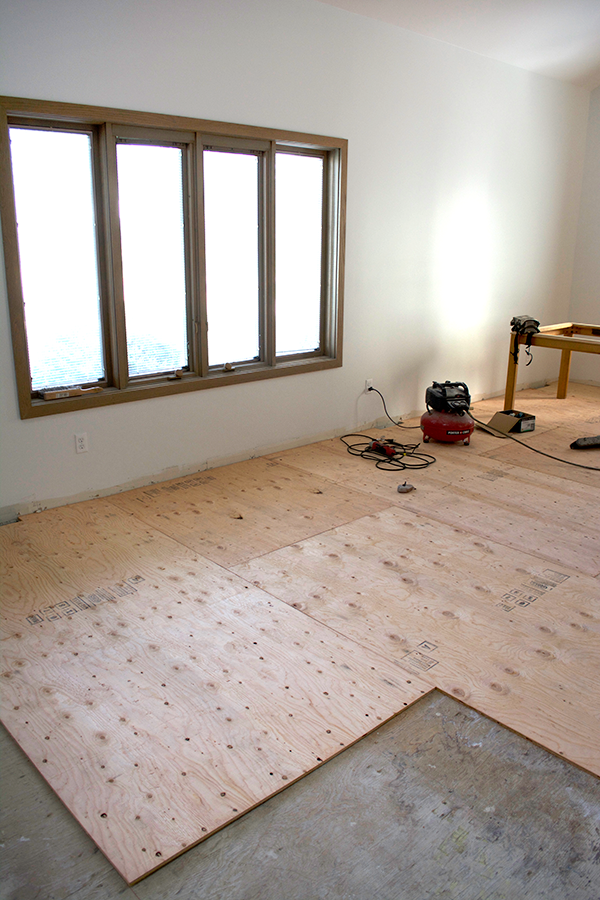
There are a few different options you can use for subfloor but my FIL prefers plywood (see more below in the Q&A).
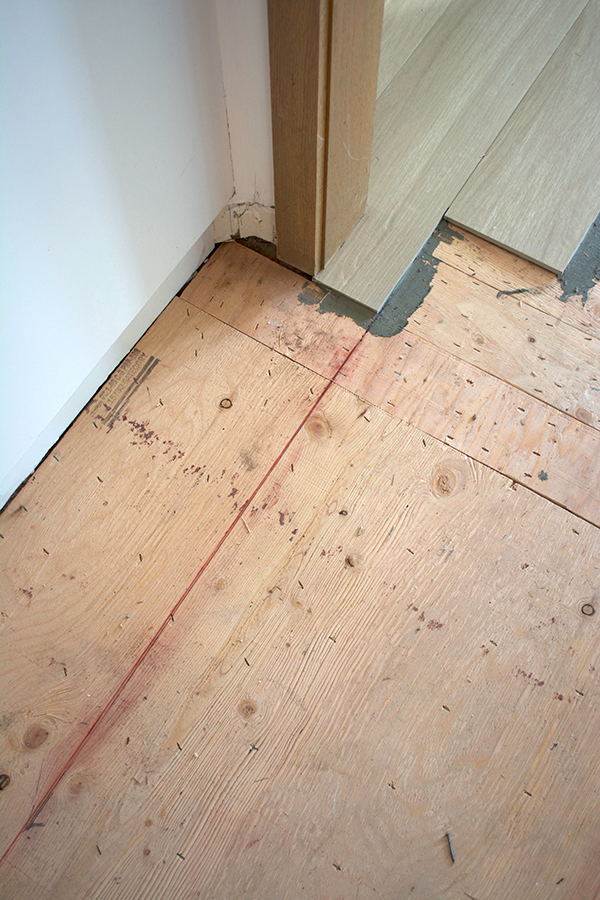
SNAPPING LINES FOR YOUR TILE
Once you have your subfloor in, the next step is snapping your lines so you have a straight line to follow. My FIL uses a chalk reel to do this.
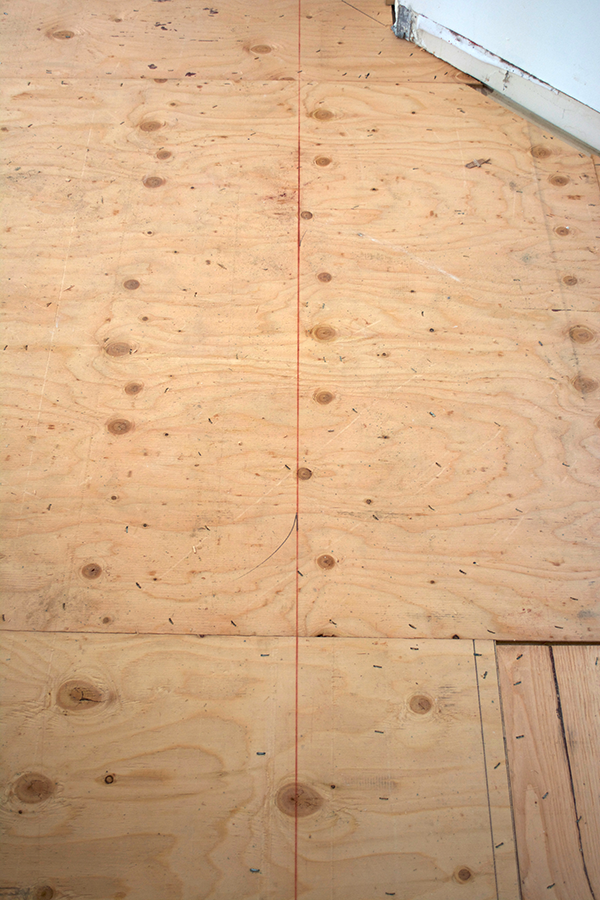
You’ll want to determine where you’re starting your tile and what angle it will be laid. This will help you figure out where to snap the lines. Make sure that when you’re snapping your lines, you factor in the width your grout joints will be so that your tiles line up properly with your lines.
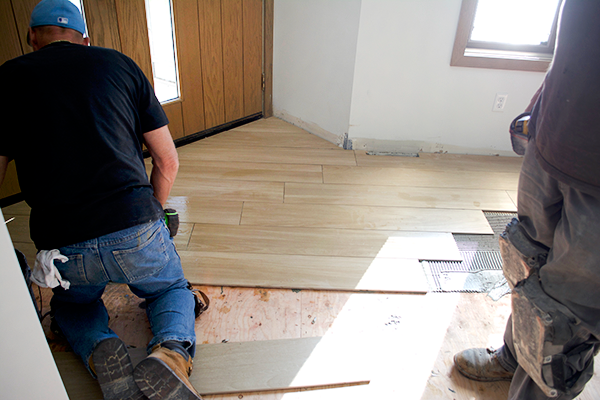
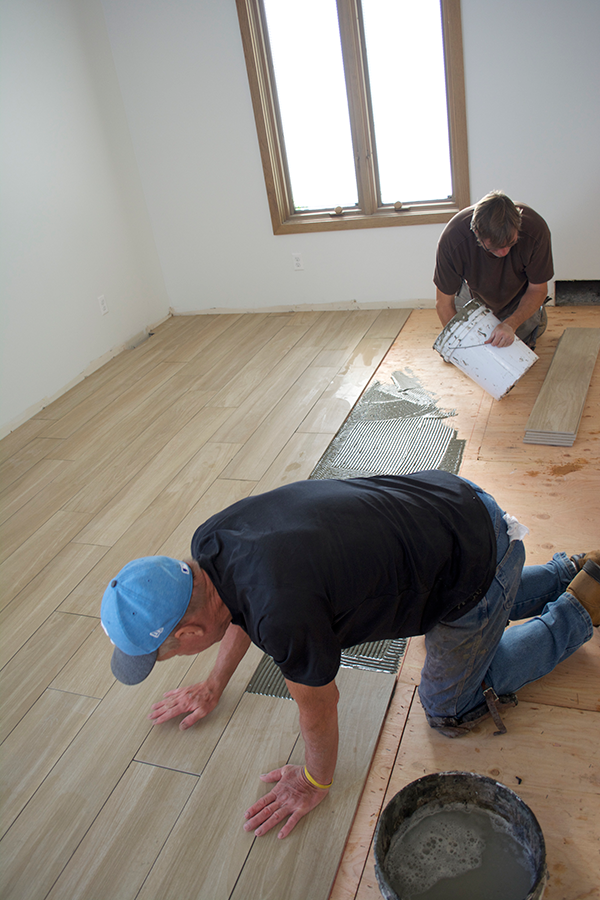
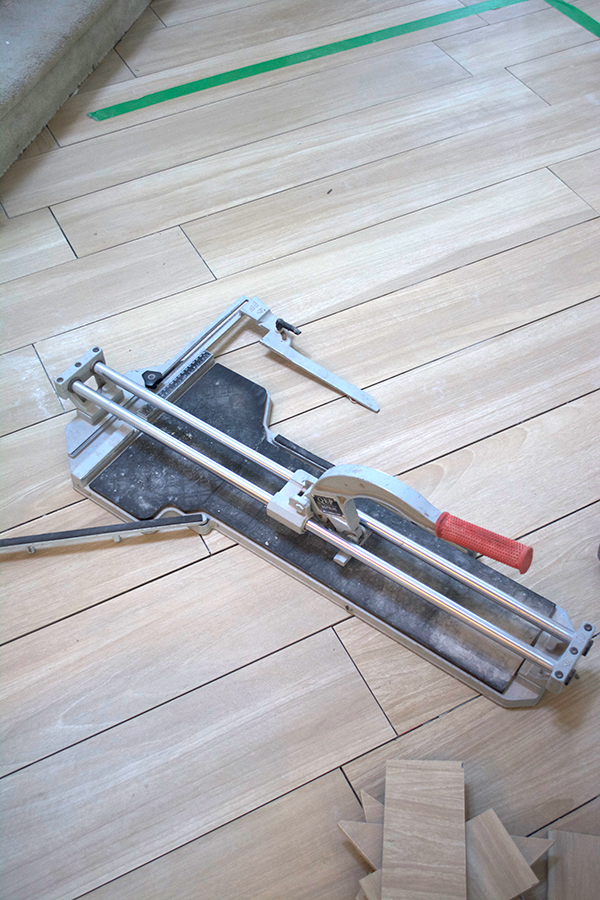
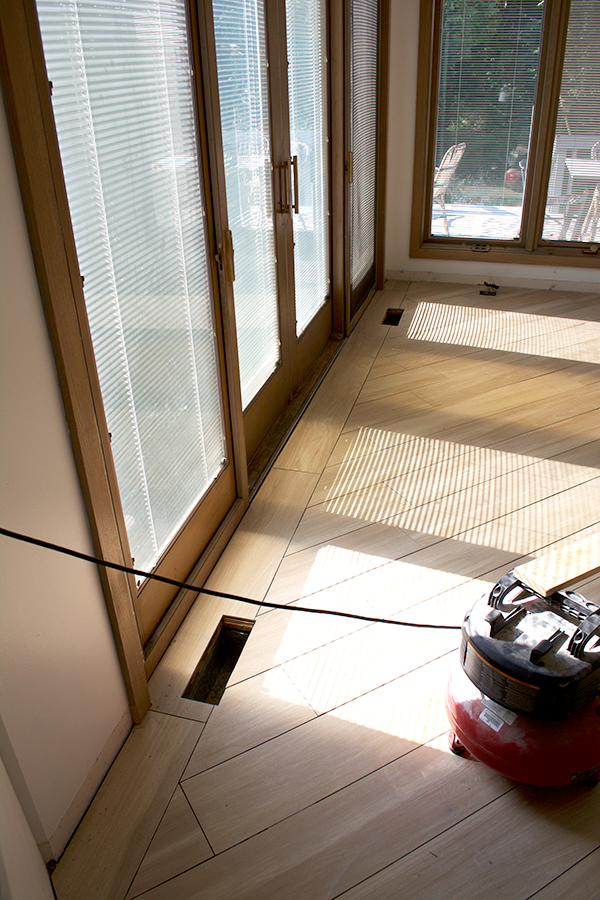
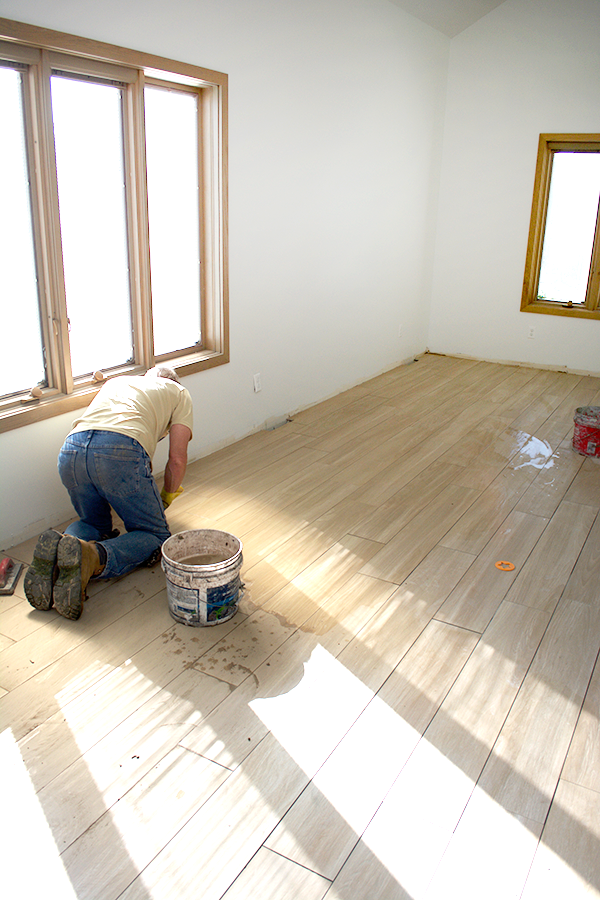
LAY YOUR TILE
When deciding where to start your tile – think about how it will look in the rest of the space. If you want to get a better visual, you can lay pieces down to give you an idea of how it will all look. Some people like it to be square with the space when you walk through a certain door. Some people want it to be square with a focal point in the room.
It’s best to start laying your tile along an outside wall and not an inside one since those tend to be at angles.
We have a lot of weird angles in our house so it took us a little while to decide what direction we wanted the tile to go. We ultimately decided to keep it square going horizontally in the largest room (family/dining). Then when it comes into the other spaces it goes vertically down the hallway and straight at the fireplace in the room off the kitchen.

One thing we did decide to do was create a threshold where we have sliding doors next to the kitchen. We wanted to have a factory edge along where the tile would meet the doors so it was nice and clean.
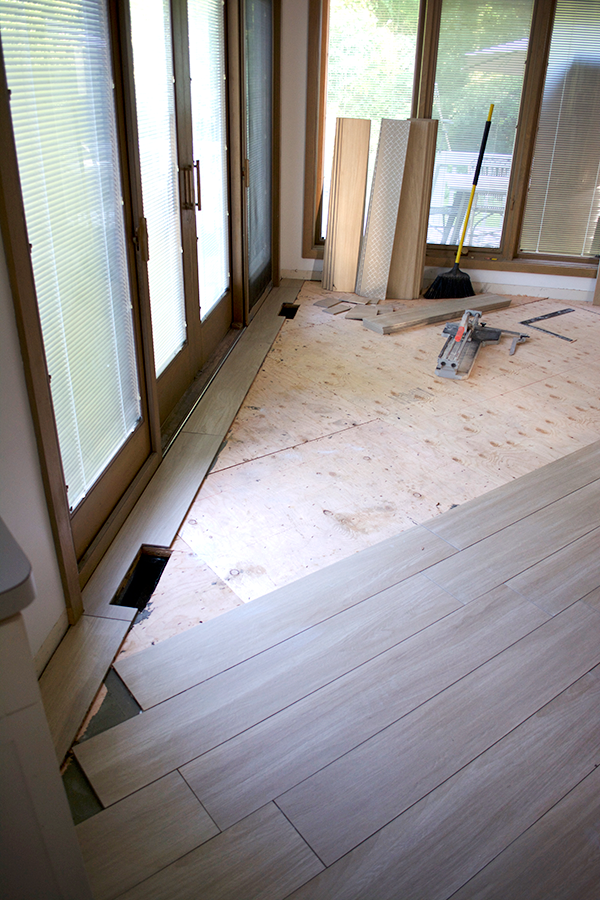
It was my FIL’s idea and I wasn’t totally sure how I was going to like it but I think it was definitely the right call and I think it looks great! Definitely something to consider if all your tile will be going at an angle against something like this that won’t have base.
GROUTING
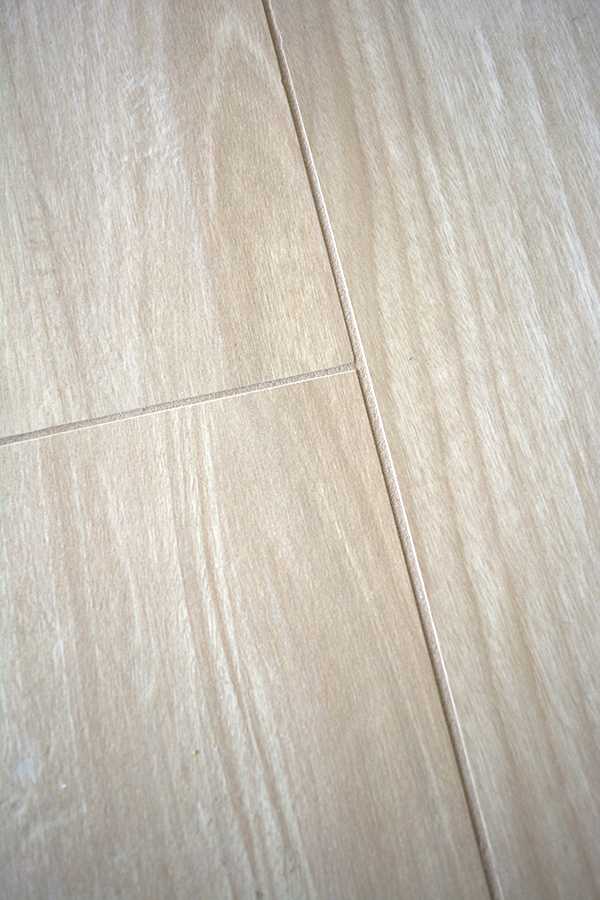
With the materials that my FIL uses – they are able to grout the next morning. We decided on the color Desert Khaki that was a pretty good match to our floors. We didn’t want to go any lighter but wanted to keep it as close as possible so you couldn’t see the grout lines.
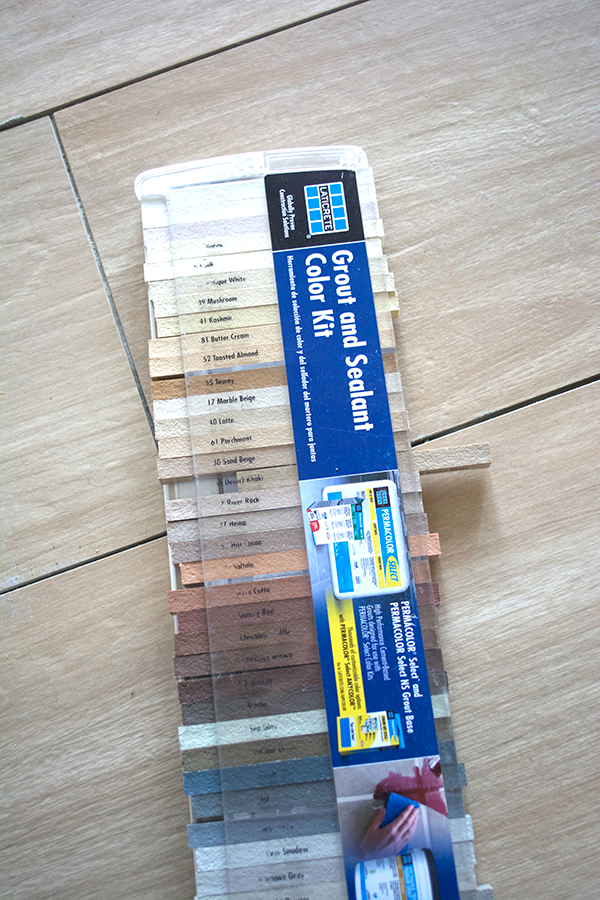
As you can see, my FIL didn’t use any spacers. He’s been doing this long enough he doesn’t need to ha. But he tried to keep the lines at about 1/8″ or less to have the smallest joints as possible.
This is what it looked like up close once it dried.
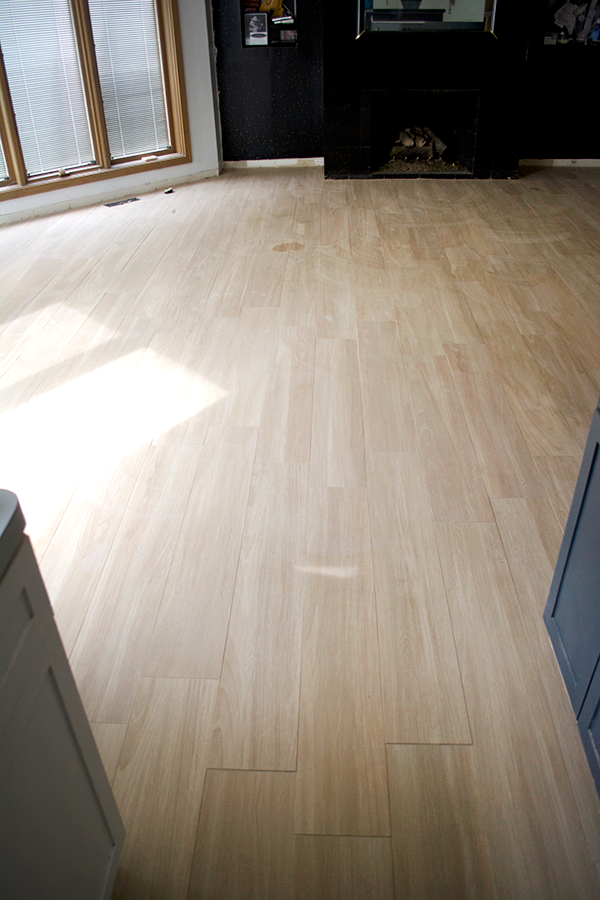
Once the grout dried – he went back over everything with his sponge and clean water to rinse the floors off. Then we could really see the finished product and admire how gorgeous our new floors are!
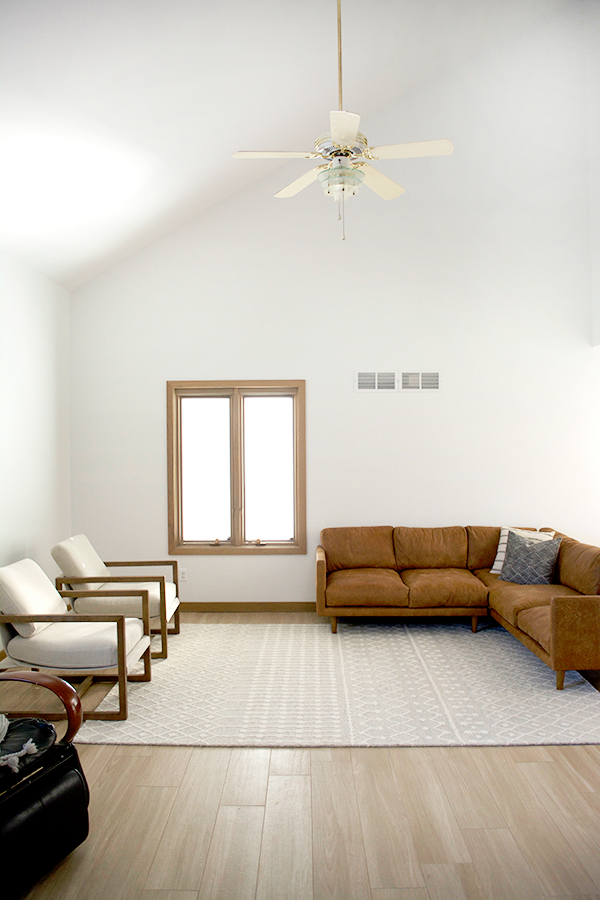
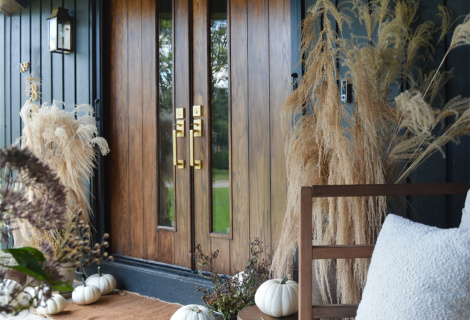
I’m so happy with my choice of Treverkchic in Francese by Marazzi. The length is perfect, the color is perfect and I couldn’t love them more! I’ve got one more blog post in this series that will give you a better view of the floors in our space coming soon.
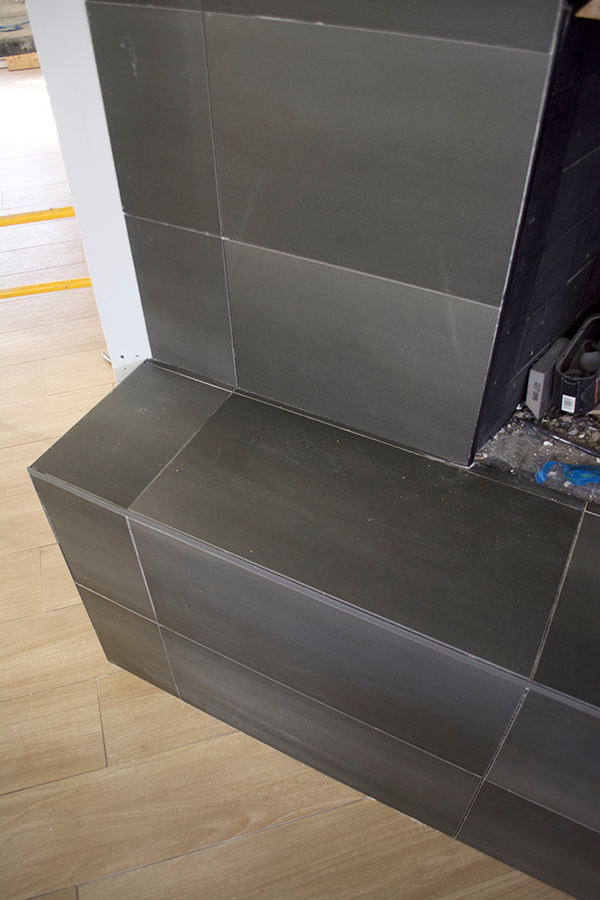
We’ll also be tackling our fireplace next with Marazzi’s Influence tile. I’ve been blown away by all the options they have for floors and walls these days. You can follow their instagram and facebook for all sorts of inspo.
Once your floors are in, you can put back all your baseboards. And furniture 😉 For us – we’re pretty much starting from a blank slate (except in our kitchen) so I feel like we’re still kind of living in limbo with hardly any furniture or decor. But after the One Room Challenge we’ll at least have two rooms completed.
MATERIALS
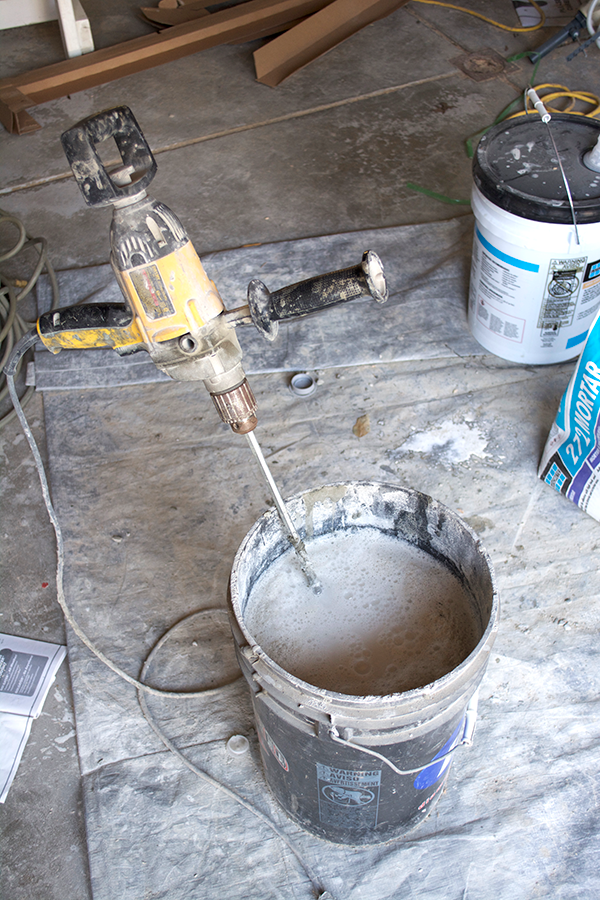
These are the materials my FIL uses – it doesn’t mean other products don’t work just as well but this is the brand he likes best for mortar and grout.
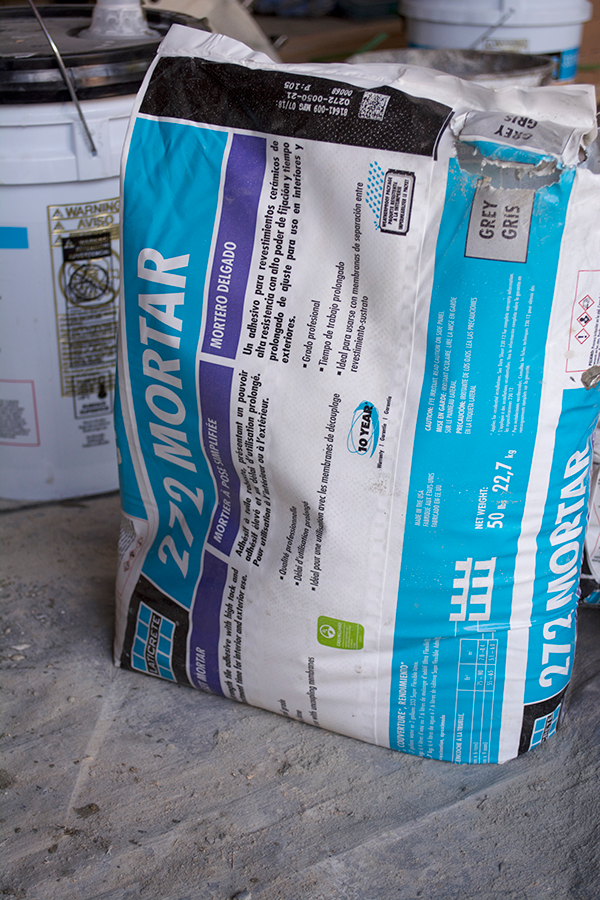
272 mortar mixed with 333 acrylic additive. This sticks to wood/concrete/basement floor – pretty much anything.
Don’t use too much water with your grout and don’t use well water. It can cause the grout to turn white from all the chemicals in it.
Ok – so now for your questions. I asked you guys on instagram what you wanted to know and some of the questions were duplicate or similar so I consolidated as I could.
What is the best thing to do when you pull up your carpet and find that your floors are uneven?
You can take a belt sander and sand down the high spots. Then re-nail the underlayment on the joists to get a flatter surface.
What subfloor do you recommend for under tile in different rooms? ie. Kitchen vs. bathroom vs. living area?
1/2″ plywood – anywhere except in shower and it must be fir.
Cement board adds extra weight and has to be glued down or thin set must be used underneath and then screwed and nailed. It’s much easier to use plywood. You can just lay it on top of the original subfloor (or tile) and then tile right on top of it.
Is it weird/hard for you to see all of the changes or are you ok with it?
I wouldn’t do them if I wasn’t ok with them!
What questions should you ask someone who you’re hiring for a flooring job?
Ask about their experience and how long they’ve been working. Most importantly ask if there is anyone you can call for a recommendation. You can also call your local tile distributors and see if they are on their recommended list.
There doesn’t appear to be any underlayment between your tile and the subfloor?
There is 1/2″ plywood on top of the original plywood. The American Tile Association recommends that you have 1 1/4″ of subfloor underneath tile. Original subfloor to a home is usually 3/4″ so by adding 1/2″ thick plywood you meet the recommended width.
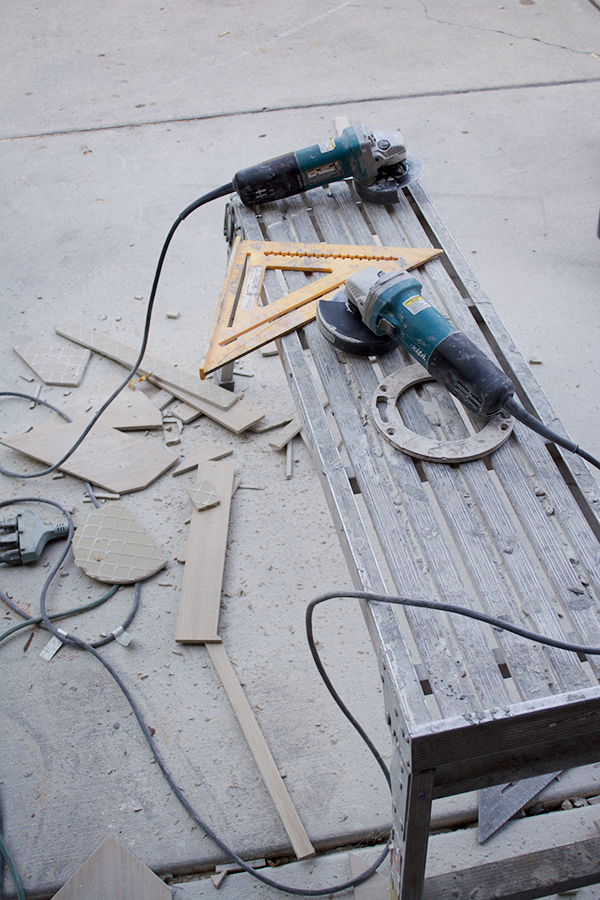
How hard is it to tile travertine flooring compared to standard tile?
All cuts should be made on a water saw and you should make sure you have the recommended 1 1/4″ thick of subfloor beneath it since it tends to crumble more easily. It’s harder but it can be done. For travertine I would recommend using cement board as your sub floor.
Any tips on taking up the old tile?
It’s easiest to remove the old subfloor with the old tile unless the tile just pops off. A hammer and chisel and the tools mentioned above are your best bet.
Where is the best place to start laying the tile? Corner? Wall? Front/Back?
Determine the most visual point. If you want everything to be square when you walk through the front door – go from there. If you want everything to be square off a focal point (like a fireplace) start from the center of that and work your way out.
Outside walls are generally square so they tend to be the best place to start.
How do you know if a tile will be suitable/strong enough to go on the floor?
All tile is suitable providing you have the proper subfloor and adhesives.
What is harder to mess up – smaller or larger tiles?
As long as you stay square there’s no difference but larger tiles are harder to lay.
How do you transition to a flush (engineered hardwood) threshold?
If the two won’t be perfectly even you can build it up with adhesive to slightly slope it if it’s too low. No one will notice the slight increase.
Did you put the tile under the kitchen cabinets? If not, how would you work around that in the future if you change the layout?
We did not. We’ll cross that road if a kitchen reno ever happens 😉
Can you lay new tile on top of old tile or do you have to rip everything out?
Yes – if you don’t have any cracked or loose tiles. If it isn’t 100% firm and solid, it won’t be a good support for new tile. The weight of tile on tile is not a factor and isn’t something you should worry about.
Is tile less comfortable to stand on than wood floors?
This is a personal opinion but I don’t notice much of a difference.
How can you ensure the tiles are as even as possible (smooth surface)?
Adjusting the depth of your notch with the thin set underneath. if you go over a small bump don’t put as much down and vice versa. Go slow and take your time.
Tips for grouting large areas? What are your tips for efficiency?
Trial and error – smear a 40 sq. ft. section and remove the grout. Don’t get on it too soon or too long. The consistency of grout will determine how much working time you have with it. If it’s medium paste you should be able to do 50-60 ft. at a time. Smear a small amount and then go back and wipe. Just be sure to follow the directions on the bag since every brand is different.
Also – wear knee pads 😉
How do you avoid tile lippage? After laying thin set on flat hardbacker, tile is suddenly uneven.
Hardbacker is soft and can bend so this could be causing the issue. Also, if your floor isn’t level before you start you will have lippage. You can pick up each piece and re-lay them to get them where you want them. As mentioned above, stick to a 33% offset and that should help you avoid it. The less offset you do, the less lippage you should have.
If you guys have any other additional questions just leave them below and I’ll have him answer them!
SHOP MATERIALS FOR LAYING WOOD LOOK TILE

This post is sponsored by Marazzi, but as always, all thoughts and opinions are entirely my own.


Lisa CillESsen
Hi! Did you seal the grout when finished?
brepurposed
We did not!