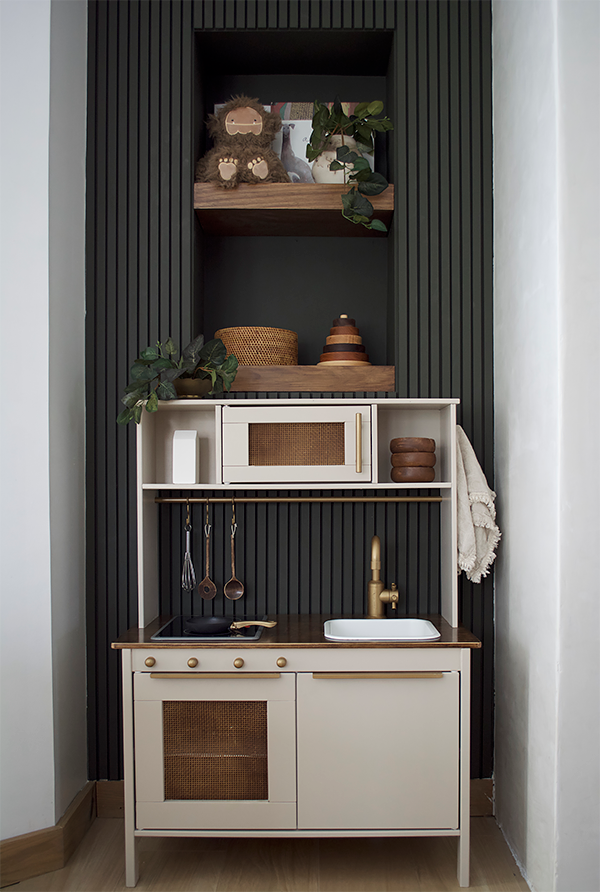
Along with the kid’s playroom makeover came a new kitchen. We moved their old plastic one outside and I decided to makeover the IKEA DUKTIG play kitchen. It’s the perfect neutral piece to update so I could make it seamlessly blend in with the rest of the decor.

This thing has been made over SO many times by parents so that it matches their kid’s space better. I had a lot of inspiration to look at but kind of just winged it as I got started.
I’ve been kind of obsessed with having everything in their playroom be color coordinated and look a little more sophisticated than your typical play space. Only because it’s right next to our kitchen and a more frequented room in our home.
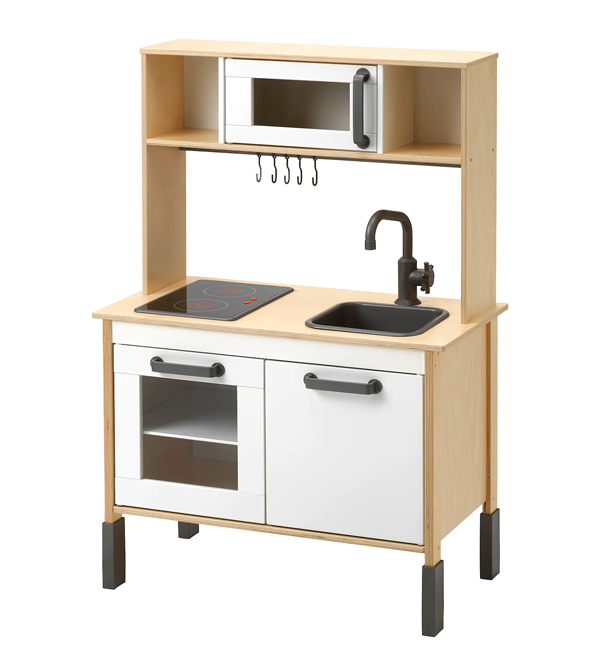
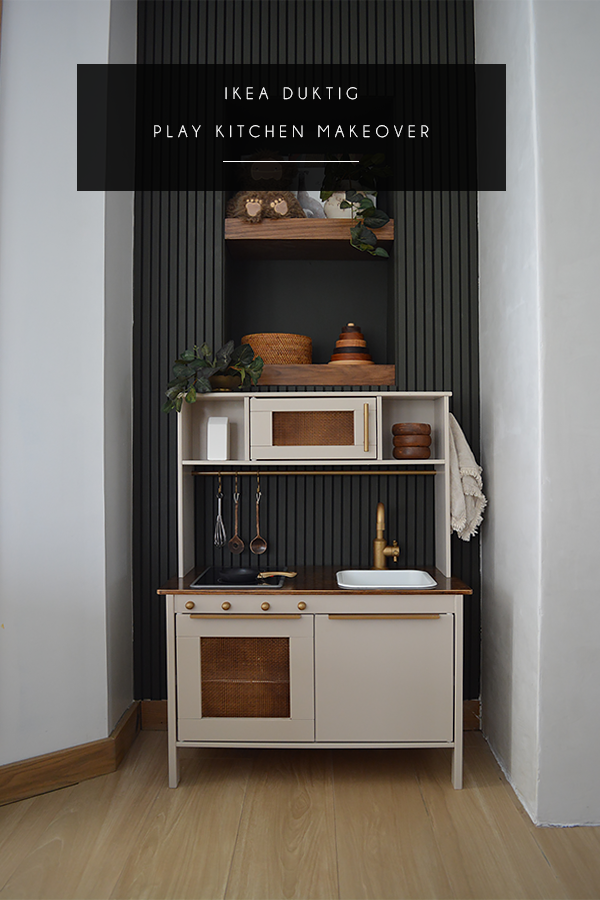
HOW TO UPDATE THE IKEA DUKTIG PLAY KITCHEN
STEP 1: PREPPING & PAINTING
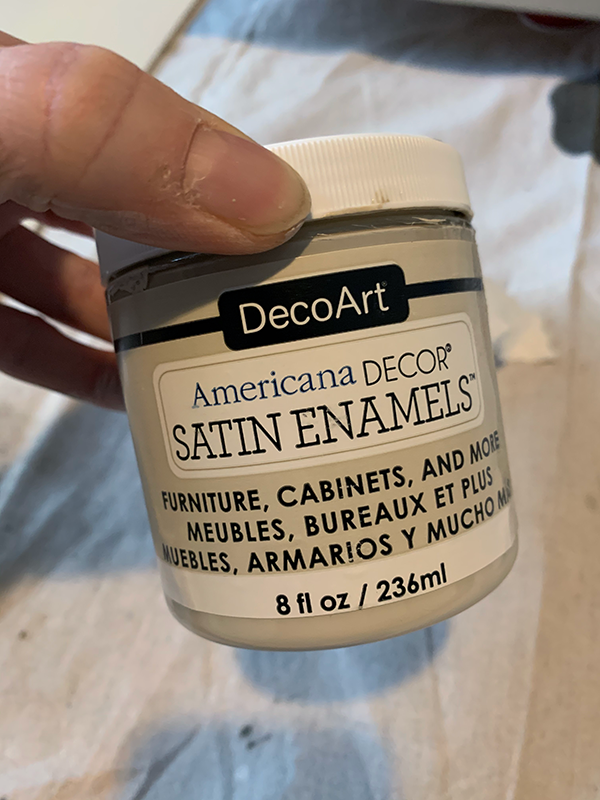
The first thing I needed to do was decide on my paint color. Since we’re quarantined and I don’t have the luxury of just hopping over to the paint store – I checked my stock of paint I had on hand.
This is where all my days of painting furniture came in handy. I found this really pretty shade from DecoArt and decided to go with it. It’s called Neutral Beige.
Now before actually painting you want to prep your pieces. You’ll want to read over the directions so you get an idea of what pieces go where and figure out what you actually need to paint and what you don’t.
For instance, I didn’t paint anything that was going to be hidden behind doors etc. or really anything inside. This will save you lots of time! It’s a little hard figuring everything out but once you do it makes your life way easier.
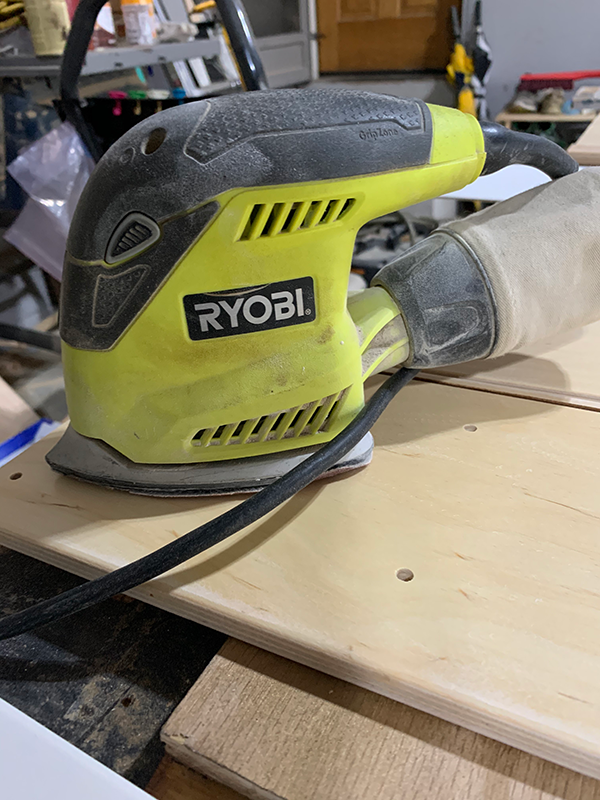
So when you have all your pieces ready, give them all a quick sanding. I used my corner cat sander with 80 grit paper but you could use a sanding block or just a piece of sanding paper too.
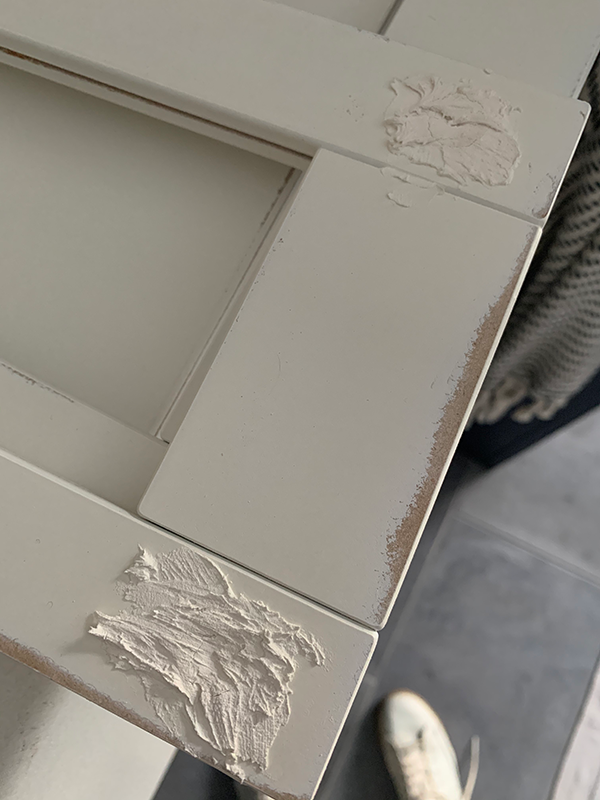
Also, if you plan to use different hardware that won’t cover the existing holes, then you need to fill those in. I used some spackle and had to do a few rounds of filling and sanding before it got nice and smooth since the holes are so big and deep.
Once everything is sanded, wipe it all down with a wet paper towel to remove any dust. Then it’s time to prime.
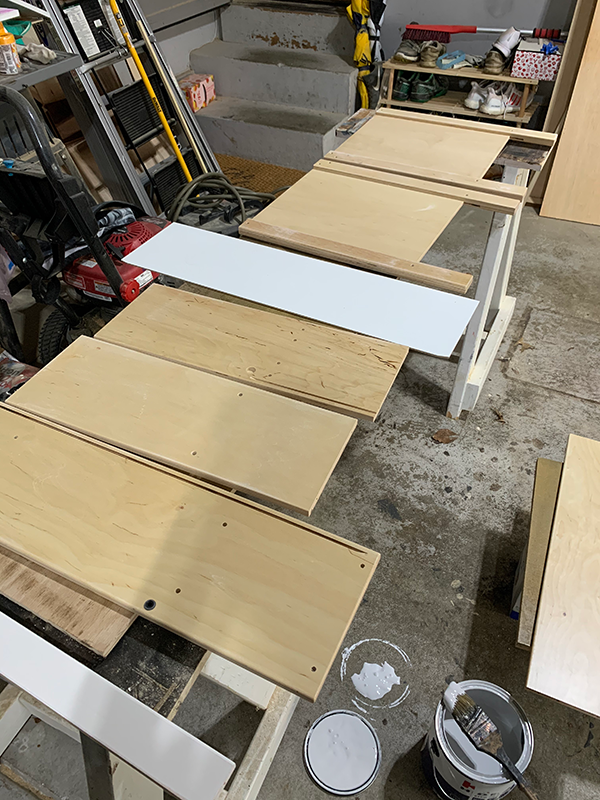
I used KILZ primer and did one coat.
Next up was painting. You could use a small roller or a brush – I decided to use a brush and did two coats of the paint.
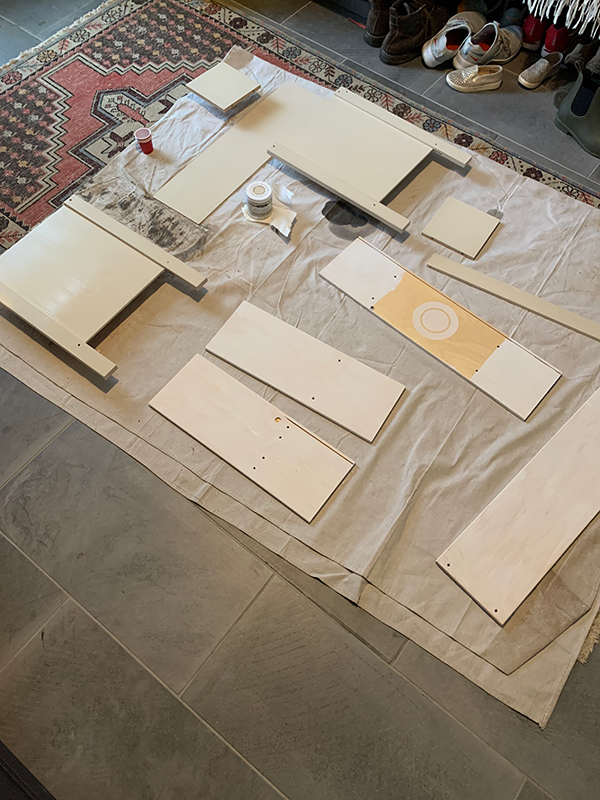
Anytime you paint over plastic you risk chipping. I didn’t seal mine, but I’m thinking I might go back and do this just to give it some added protection!
FAUCET, COUNTERTOP & SINK
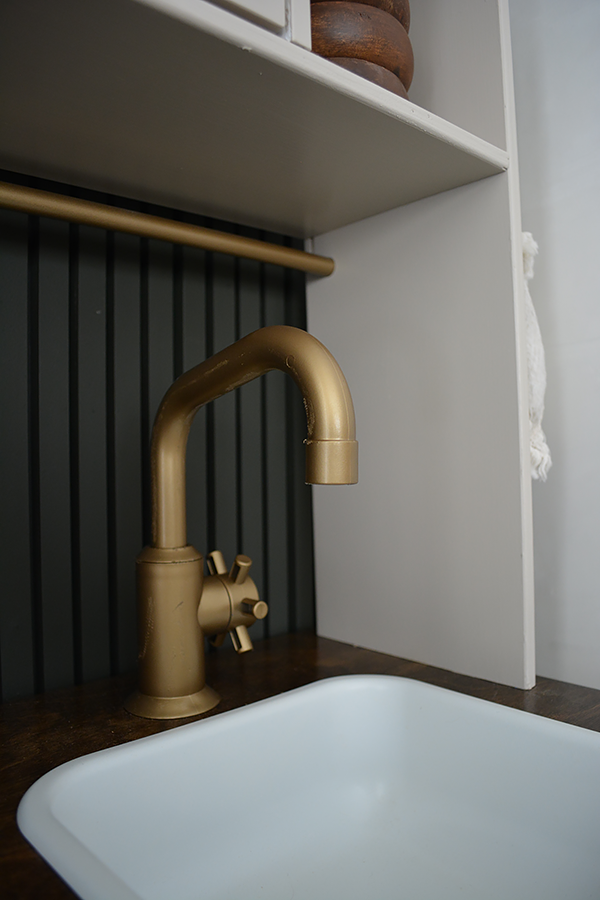
Next up was figuring out what finishes I wanted on the faucet, countertop and sink. I knew I was going to do the new hardware in a brass/gold finish so decided to match the faucet to that.
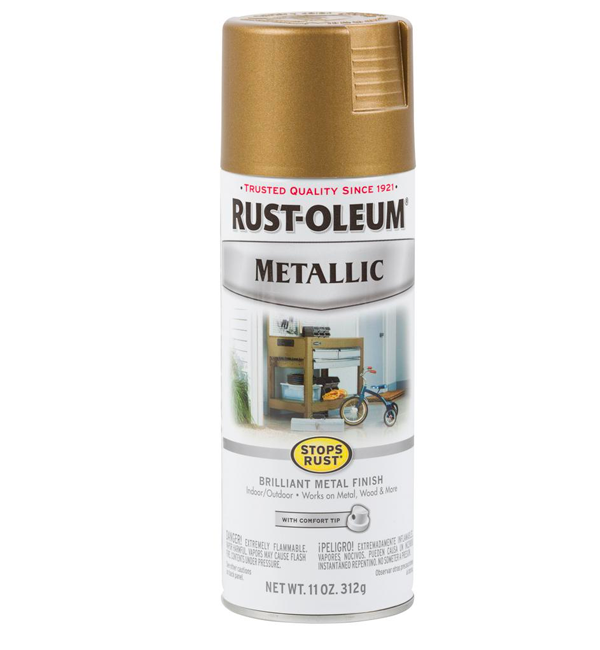
I used Rust-Oleum Metallic Spray Paint in Champagne Bronze.
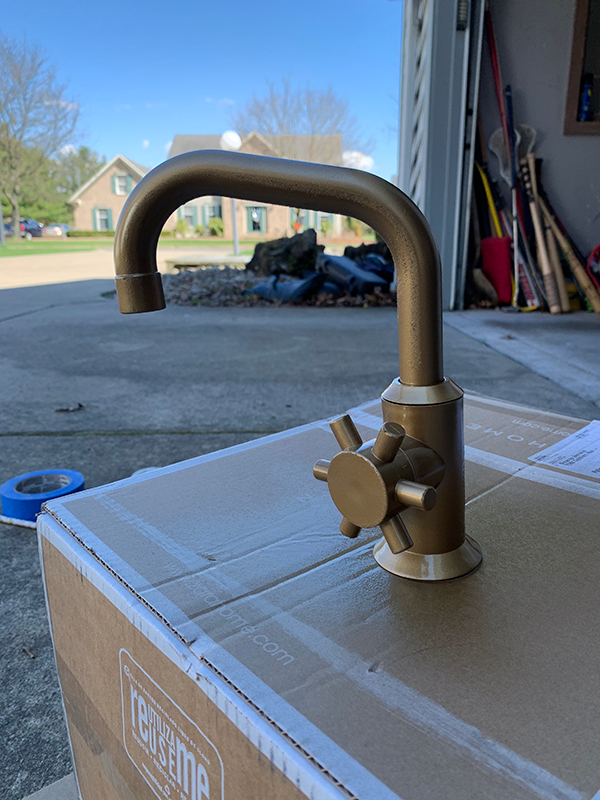
The sink I was torn between white and the same gold I used on the faucet but went with white. I used a left over can I had sitting in the garage.
After spraying both of these pieces, I sprayed them with a Polycrylic to help seal them.
Now for the countertop! My plan for this changed from what I thought I was originally going to do. I was planning on covering it with marble contact paper but then I saw an inspiration pic where they stained it.
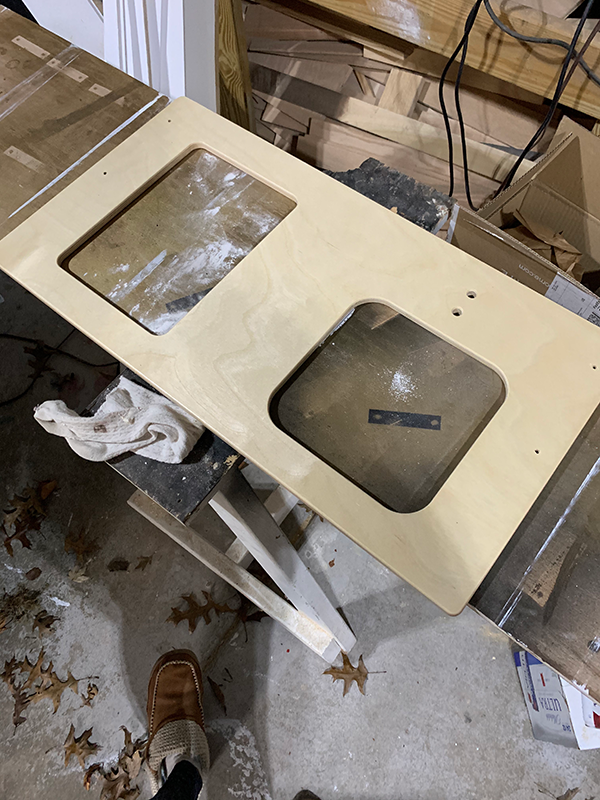
First you’ll want to sand this down as good as you can. You should start to see the top layer of sealer coming off and that’s what you want.
I’ve been using a Varathane Gel Stain for all the wood pieces in the playroom so I wanted to match that, but the gel stain DID NOT WORK. It didn’t soak into the wood and basically sat on top and was a really icky color.
So I switched to a regular liquid stain and that worked much better. I used a combo of Minwax Dark Walnut and Minwax Red Oak.
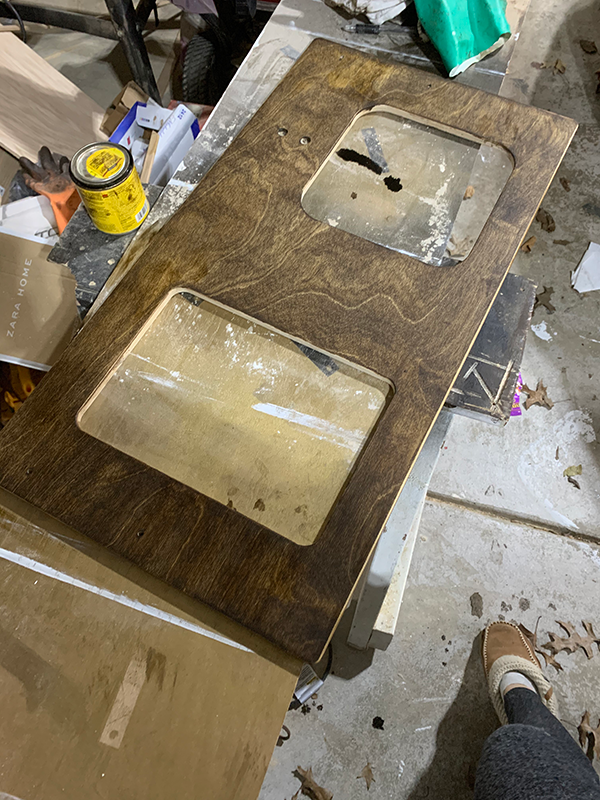
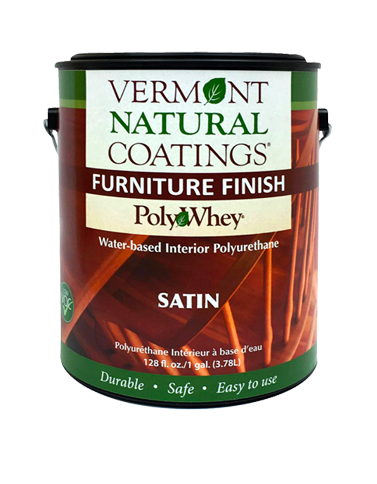
To protect it I sealed it using my favorite sealer – Vermont Natural Coatings in 3 coats.
CANING & HARDWARE
I’ve been doing a lot of projects with cane lately and since one of those was in the playroom I thought it would be fun to incorporate some more into this play kitchen.
Luckily I had some left over, which I bought from Frank’s Cane and Rush Supply, in the W700 Fine Radio Weave pattern. It was already spray painted with Mission Oak Polyshades to darken it up and then I attached it behind the opening of the microwave and oven doors.
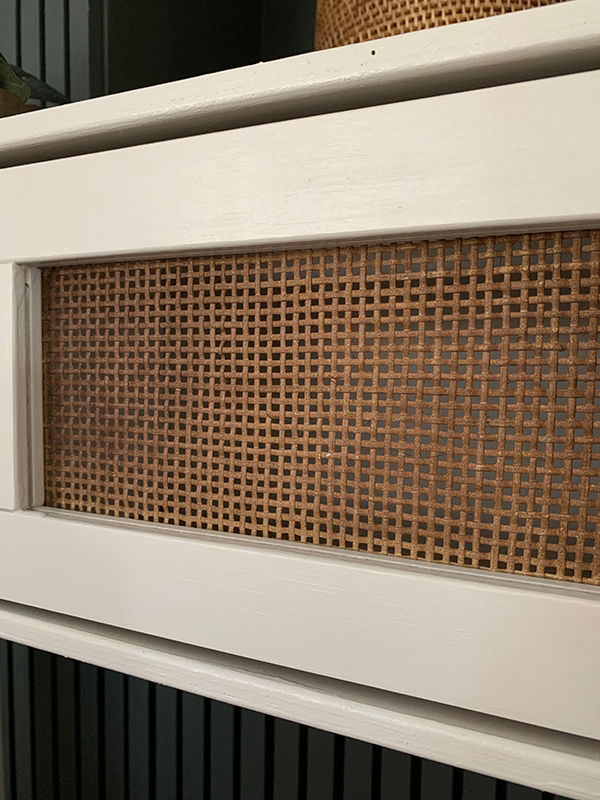
To get the pre-existing plexiglass out – just grab a hammer or something heavy duty and bang on it until it shatters. Make sure you’re wearing eye protection! Then you can just pop the pieces out easily.
Then using a staple gun, just attach it from the inside.
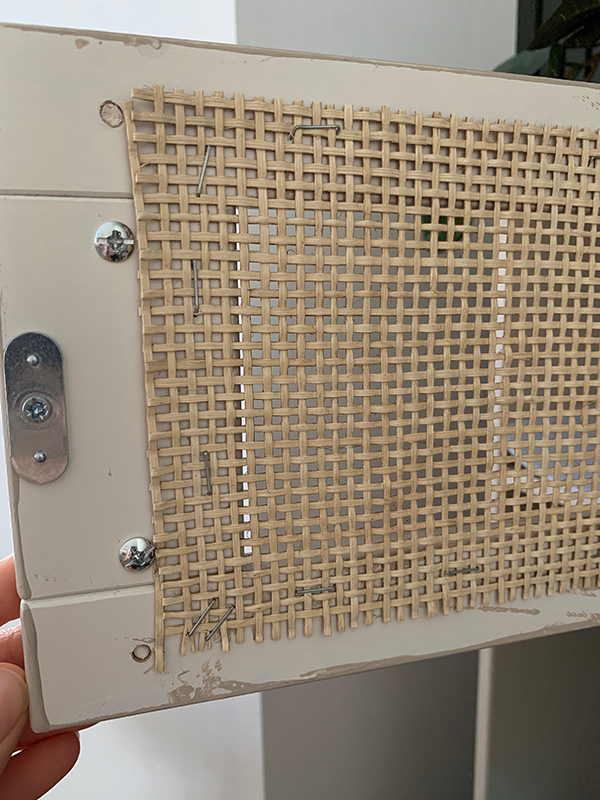
I’m hoping the kids don’t poke through this but if it looks like it’s getting loose, I may put a thin piece of wood behind it for extra support!
Onto the handles! I bought three different kinds – one for the oven and door next to it, one for the microwave handle and one for the “oven knobs”.
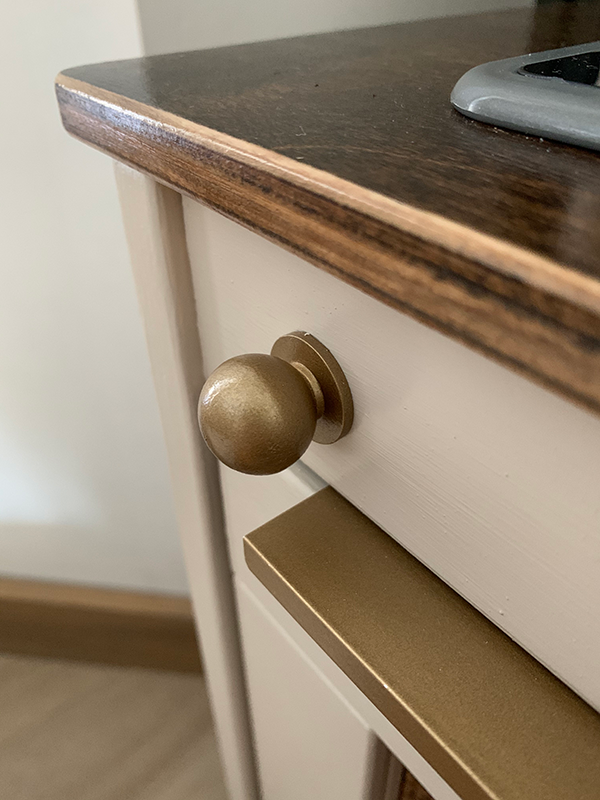
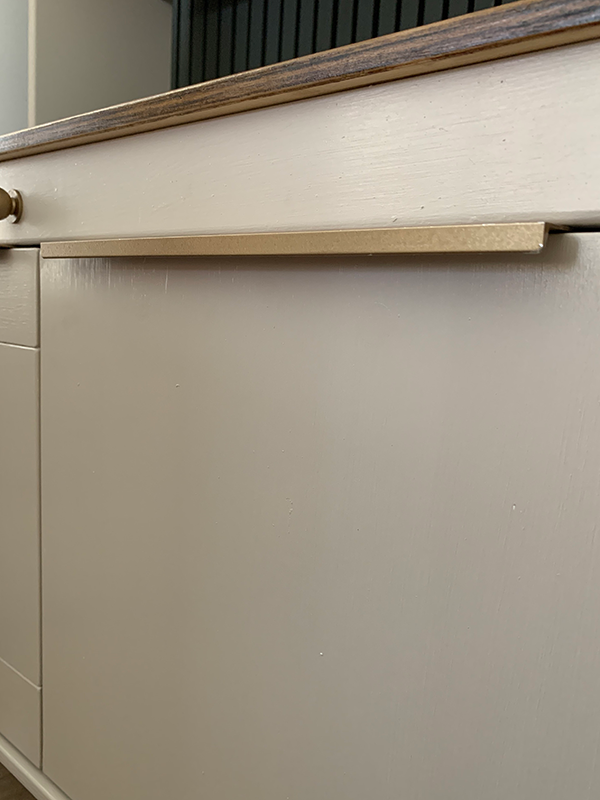
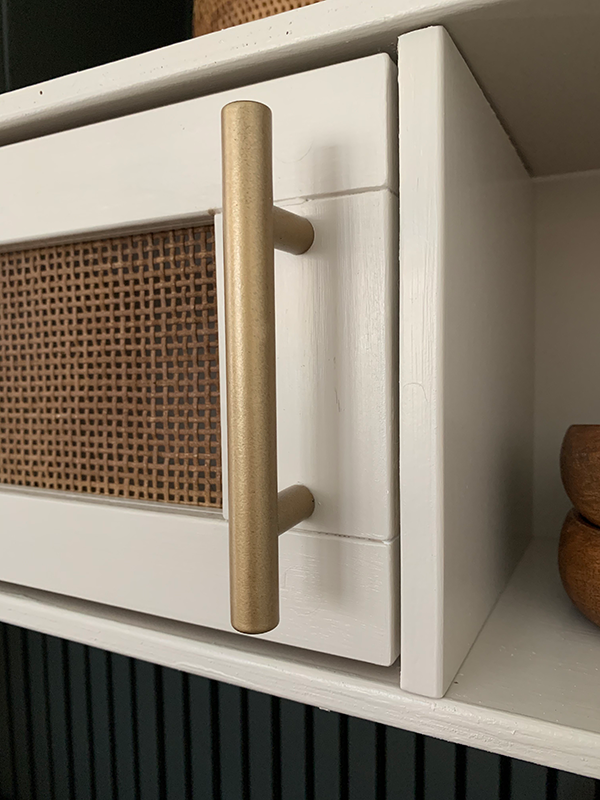
For all of these, I spray painted them the same Champagne Bronze and sealed it with the polycrylic.
Then it was time to put it all together and accessorize!! One thing to note is that I left the little feet off the legs. Since I put this against the slat wall and there is a shelf right above it, I didn’t want it to be too tall, so I left those off.
REVEAL OF THE KID’S NEW PLAY KITCHEN!
I’M OBSESSED.
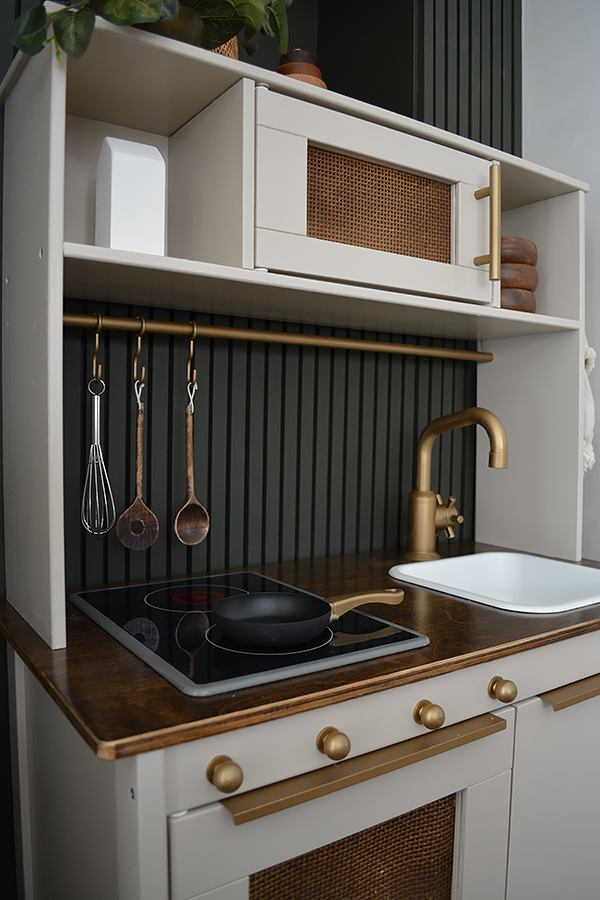
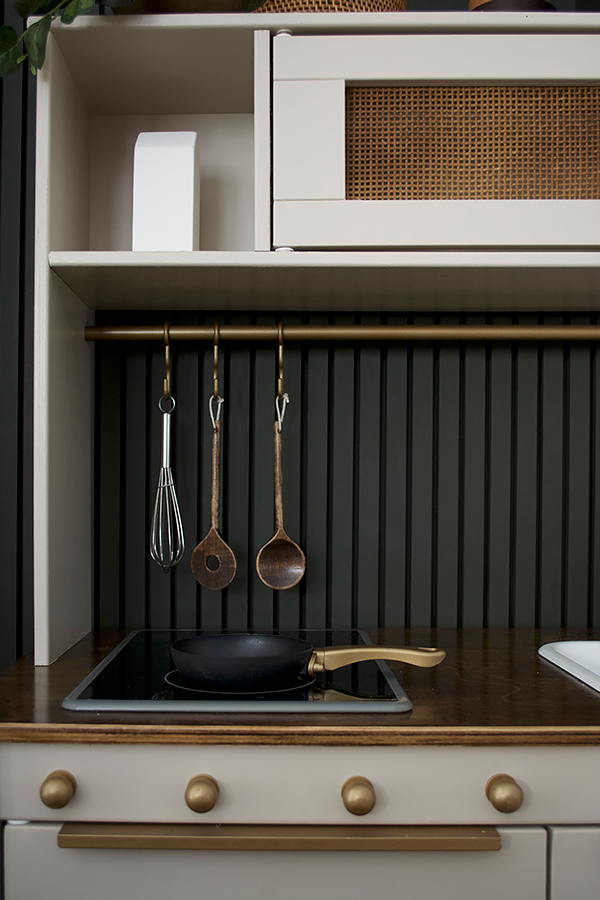
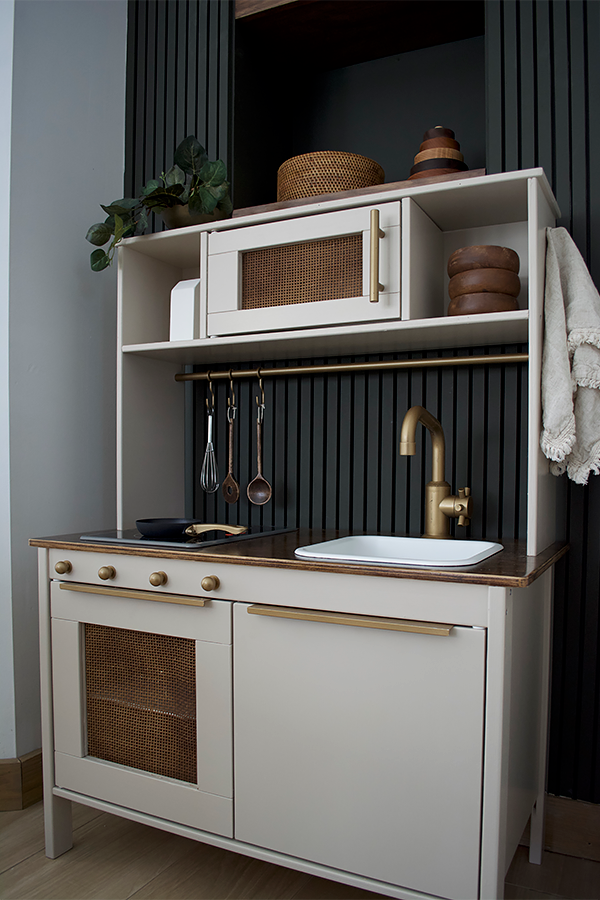
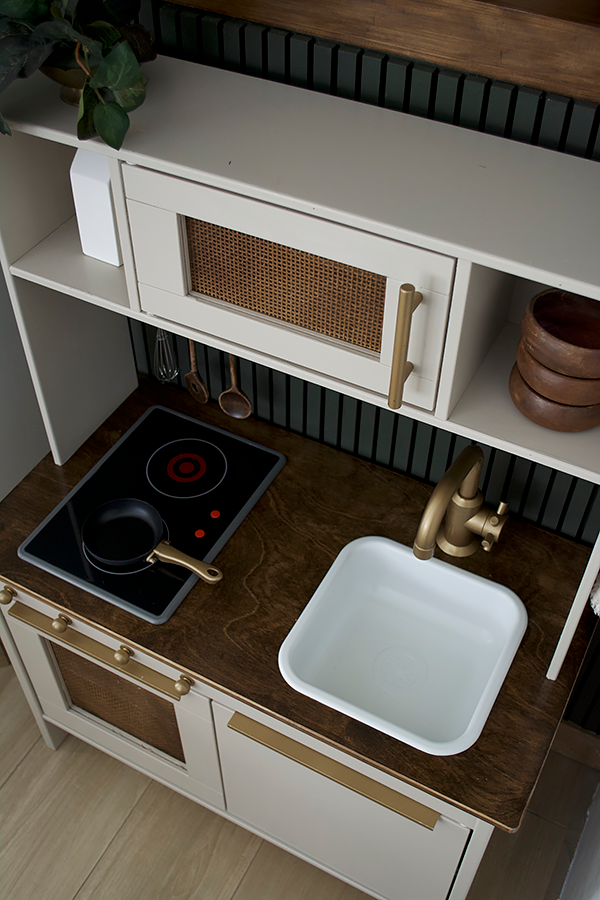
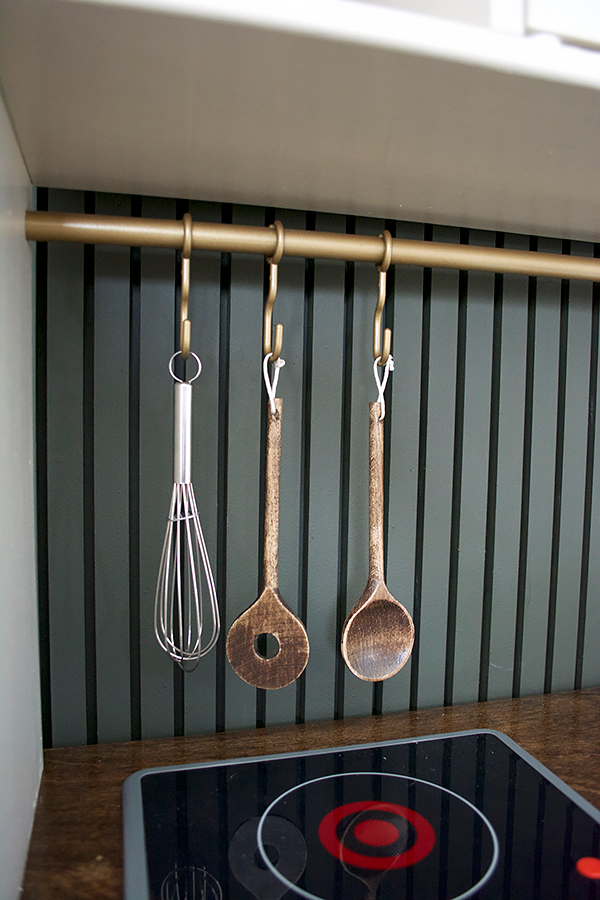
I purchased this Utensil Set and we drilled holes in the spoons and attached some string to hang them. Of course I also stained them to match the other wood accents :-p
The kids are big fans too!
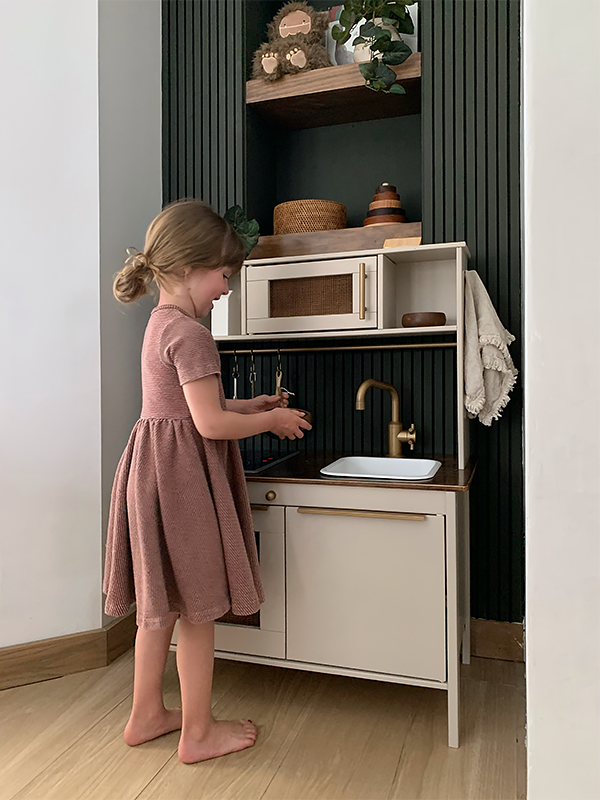
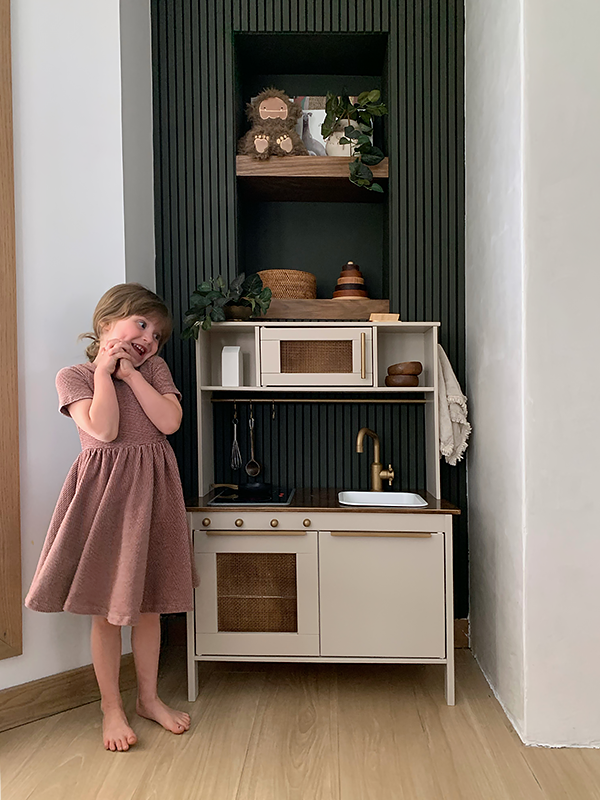
I got super into this IKEA DUKTIG play kitchen makeover and it was a nice distraction from everything going on right now. There are plenty of bright colored toys tucked nicely inside the kitchen, but I tried my hardest to color coordinate everything and it makes me so happy!
Most importantly the kids can’t get enough of it and are whipping up meals all day long. I hope this makeover inspires you!
PIN FOR LATER!




Sandra
Wauww beautiful! What is the size of the handle from the microwave hole to hole?
brepurposed
Thank you! That is an 18″ pull 🙂
matleave
How tall is it without the feet?
Danielle
So beautiful! Best one I’ve seen, for sure.
I’m in the middle of renovating one and having trouble with the plastic parts. My primer even peels off! I might need a different primer but I’ve wasted so much time now and need to start again. Just wondering if the polycrylic stopped it peeling or not?
Thanks!
Gabrielle
You did such an amazing job on this!!
It is absolutely beautiful!! ♡♡♡
brepurposed
Thank you so much Gabrielle!!
Mollie
Everything you do is amazing, duh, but this is sooo fun! You killed it. I feel like if this were me that little kitchen would spark joy every time I walked in that play room. Definitely saving this for when my son gets to this age! Super rad, great job!
brepurposed
Aw that is so sweet of you – thank you!! And it definitely does spark joy!!