DIY FAUX CEILING BEAMS
The nursery/guest room is finally complete so it’s time to share some of the tutorials for projects along the way. Today I’m sharing the DIY Faux Ceiling Beams that instantly elevated and brought character to this space.

With every room makeover, I want there to be that one wow factor that really makes it stand out. Sure, anyone can decorate a space, but going beyond that and adding architectural interest is what really creates a polished look.
I stumbled upon this photo on Pinterest of Casa Quinta Da Corte and was instantly drawn to the ceiling.
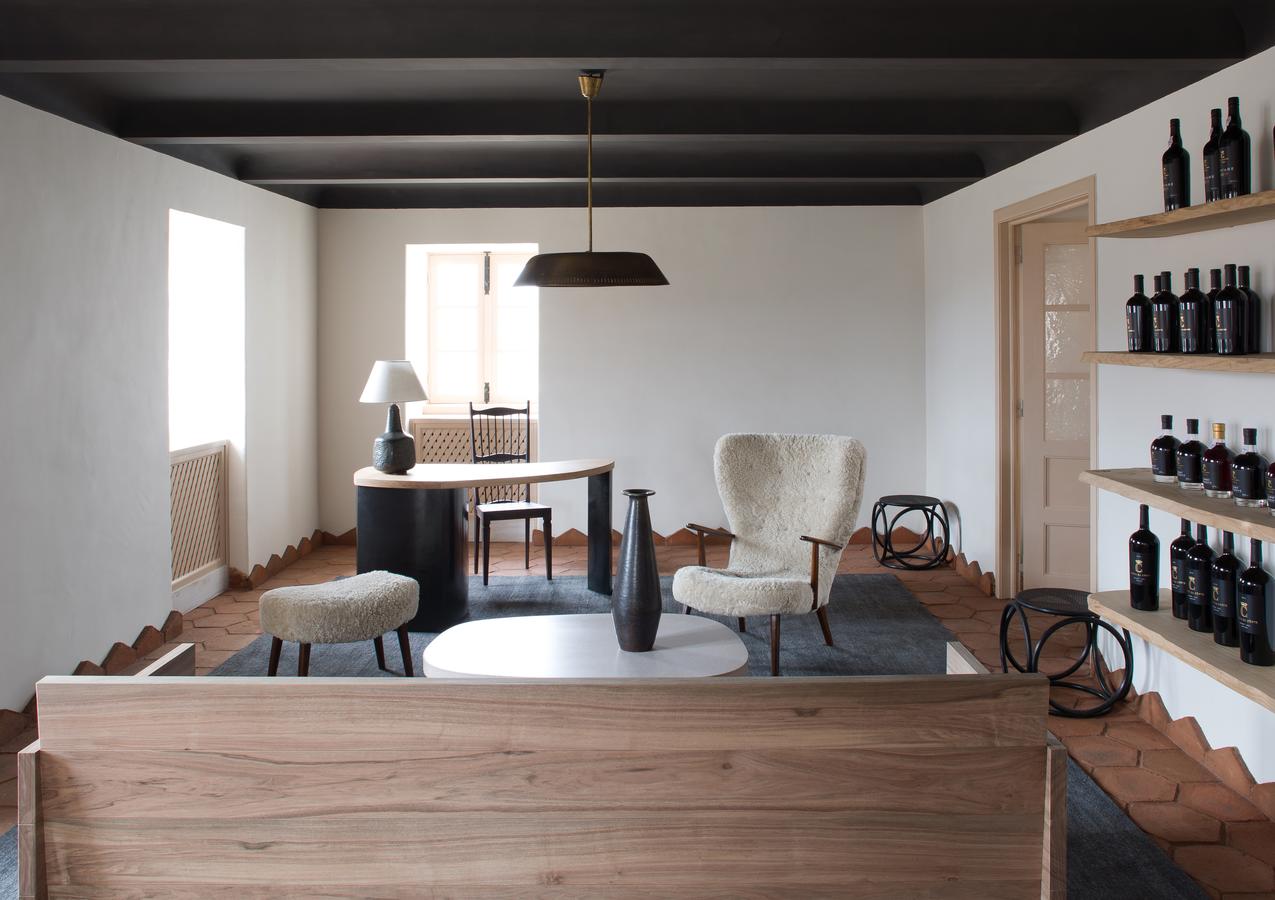
I was a little worried about adding beams with standard height ceilings at 8′ but decided to take the risk and go for it. The room was so bare and plain, it needed something to give it some dimension.
SUPPLIES TO MAKE DIY FAUX BEAMS
- MDF Boards (we used these Primed MDF boards)
- Liquid Nails
- Nail Gun
- Caulk
- Paint
STEP 1
Figure out the spacing of your beams on the ceiling. I chose to have our beams going horizontal when walking into the room and we spaced them about 26″ apart from one another. Since our studs run vertically, we knew it wouldn’t be a problem being able to screw into them through each beam.
We used a chalk line to mark where each one would go to get a visual.


STEP 2
Cut your boards to length if needed. Glue along each side of the backside of one board using liquid nails.

STEP 3
Place another board along the edge you just glued. Nail them together using your nail gun and then repeat on the other side with another board.

You’ll have a 3 sided beam that looks like this:

STEP 4
There are two ways you can hang your beams. You can first secure a board to the ceiling, and then place this 3 sided beam over that and nail it together from the sides. If you do it that way, you would have to cut down the width of the board on the ceiling so that the other piece fit over it.
What we did was turn this piece upside down, secure it to the wall and then secure another board over it to complete the beam.

Make sure to use liquid nails on the back of the beam before securing it to the ceiling!

STEP 5
Repeat with the rest of your beams! This is how ours looked after all 4 were installed.

STEP 6
Caulk! You can see the gaps that are left after you put your beams together but it’s nothing a little caulk can’t fix!

I like to squeeze it on, smooth it out using my finger and then wipe off the excess with a baby wipe. A wet sponge or paper towel works great too.
You can see how much cleaner that looks and once it’s painted you won’t even notice!

STEP 7
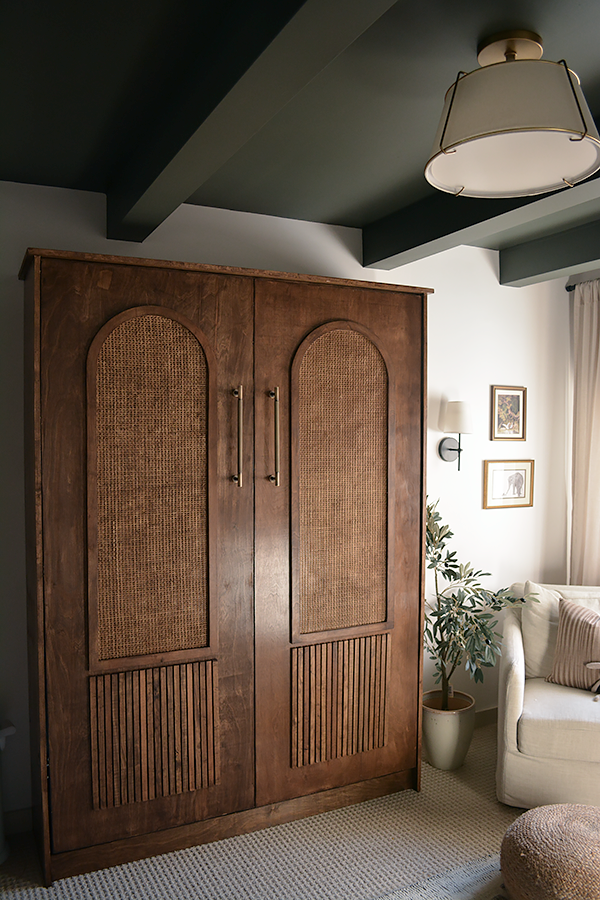
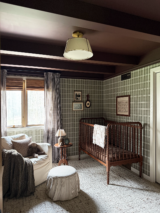
Paint! I used the color Sable Evening by Valspar which is such an interesting color. It photographs very green but in person it reads much more grayish.


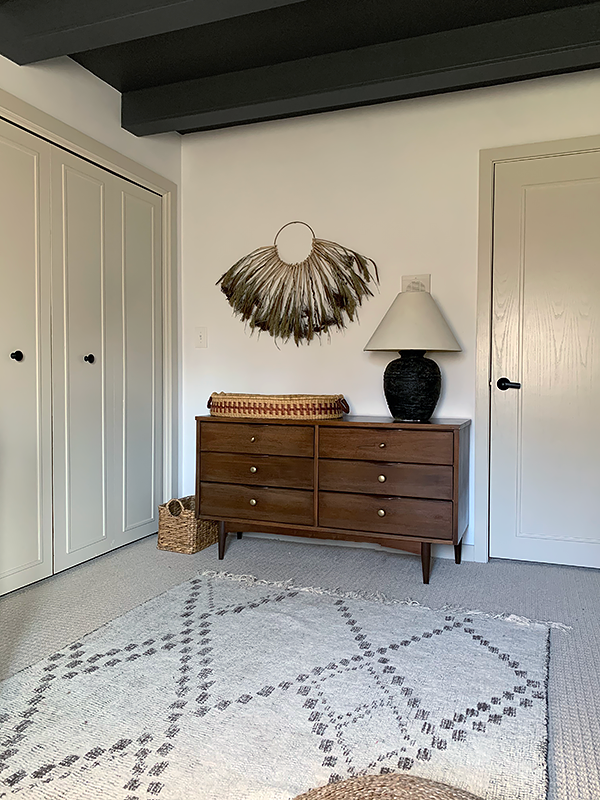
I’m OBSESSED with how this turned out. It instantly added character to this plain and boring room and made it extra cozy too! People are always shocked that our ceilings are only 8 feet tall and that I decided to paint it a darker color.
Despite what you’d think, it doesn’t make the room feel smaller at all. As long as you balance out the rest of your decor and let the ceiling be the most prominent element in that darker tone, it won’t be competing with anything else.
I’m so glad I decided to create these DIY Faux Ceiling Beams for the nursery/guest room. They add so much to this space and truly make it one of a kind.


Irina
Какой у Вас чудесный дом! Столько интересных идей. И очень терпеливый и трудолюбивый муж.)
Смотрю с огромным удовольствием. Спасибо.