I think we can all agree that the one thing we all want our homes to feel is cozy. Coziness is a feeling that makes us feel safe, and warm and welcome. It can feel like a giant hug and bring us comfort and peace. We all want that cozy feeling, so how do we bring it into our homes? There are so many different ways but one of my favorites and most impactful is with window treatments.
Window treatments are typically there for a functional purpose like blocking out the sunlight or providing privacy at night. But they can also be there for beauty. They create a layered and dimensional look to a room and can help bring in texture and pattern and color. They can make a statement or be more neutral. There are so many styles and shapes and varieties so let’s take a deep dive into how to use them in your home.
TYPES OF WINDOW TREATMENTS
You might think this would be a pretty short list, but there are actually quite a few different window treatments out there. Which can be totally overwhelming. So I’m going to stick to the most common ones and the ones that we use in our own home.
SHADES
Window shades hang above your window and can usually be pulled up and down by hand, by using a cord, or automatically. They are “soft” window treatments that are made of a material on a continuous roll to cover the whole window opening. They don’t have any slats and are one solid piece of material.
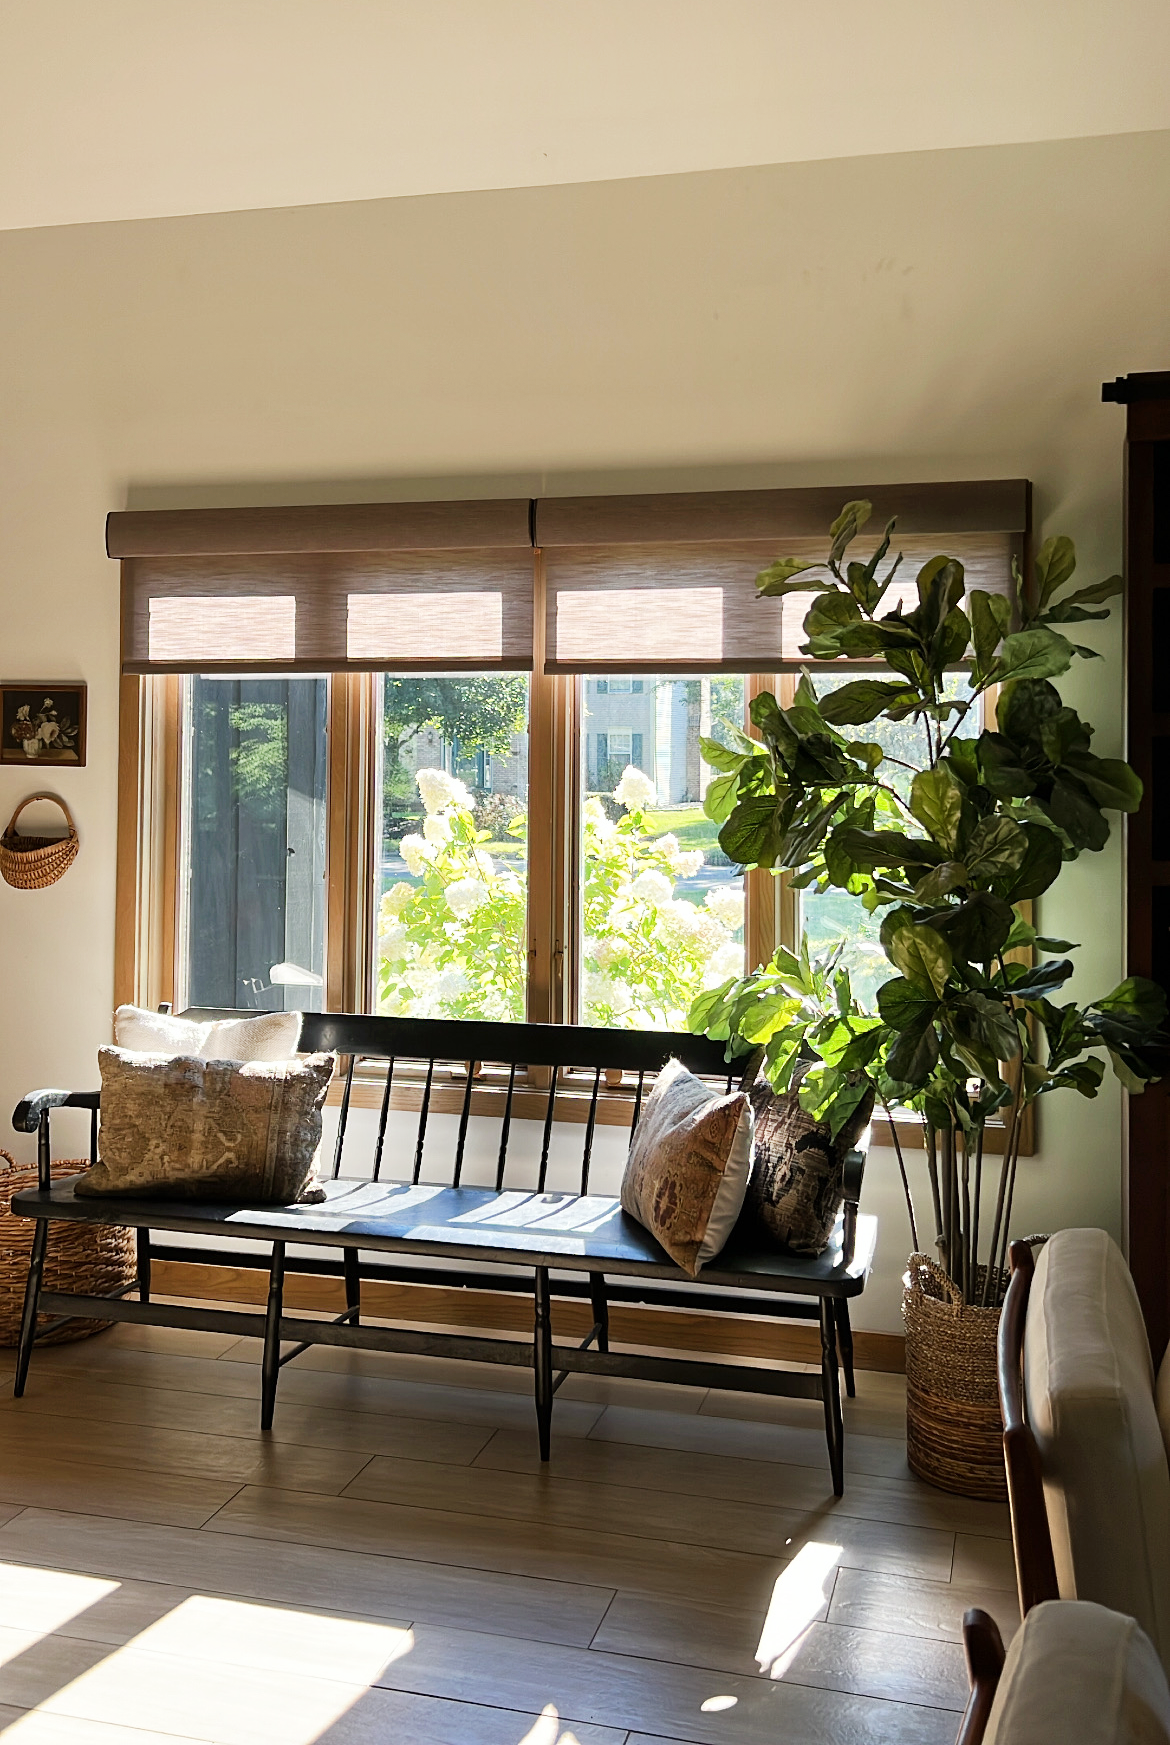
We recently installed Serena Smart Shades by Lutron Electronics in our living room which have been a total game changer. They automatically open and close on their own and we can set them on a schedule so we never have to manually open and close them.
You can control them with their Pico remotes, or through the Lutron app where I have various schedules saved. They can even pick up on the change of seasons and will adjust sunset/sunrise accordingly. Isn’t that so cool??
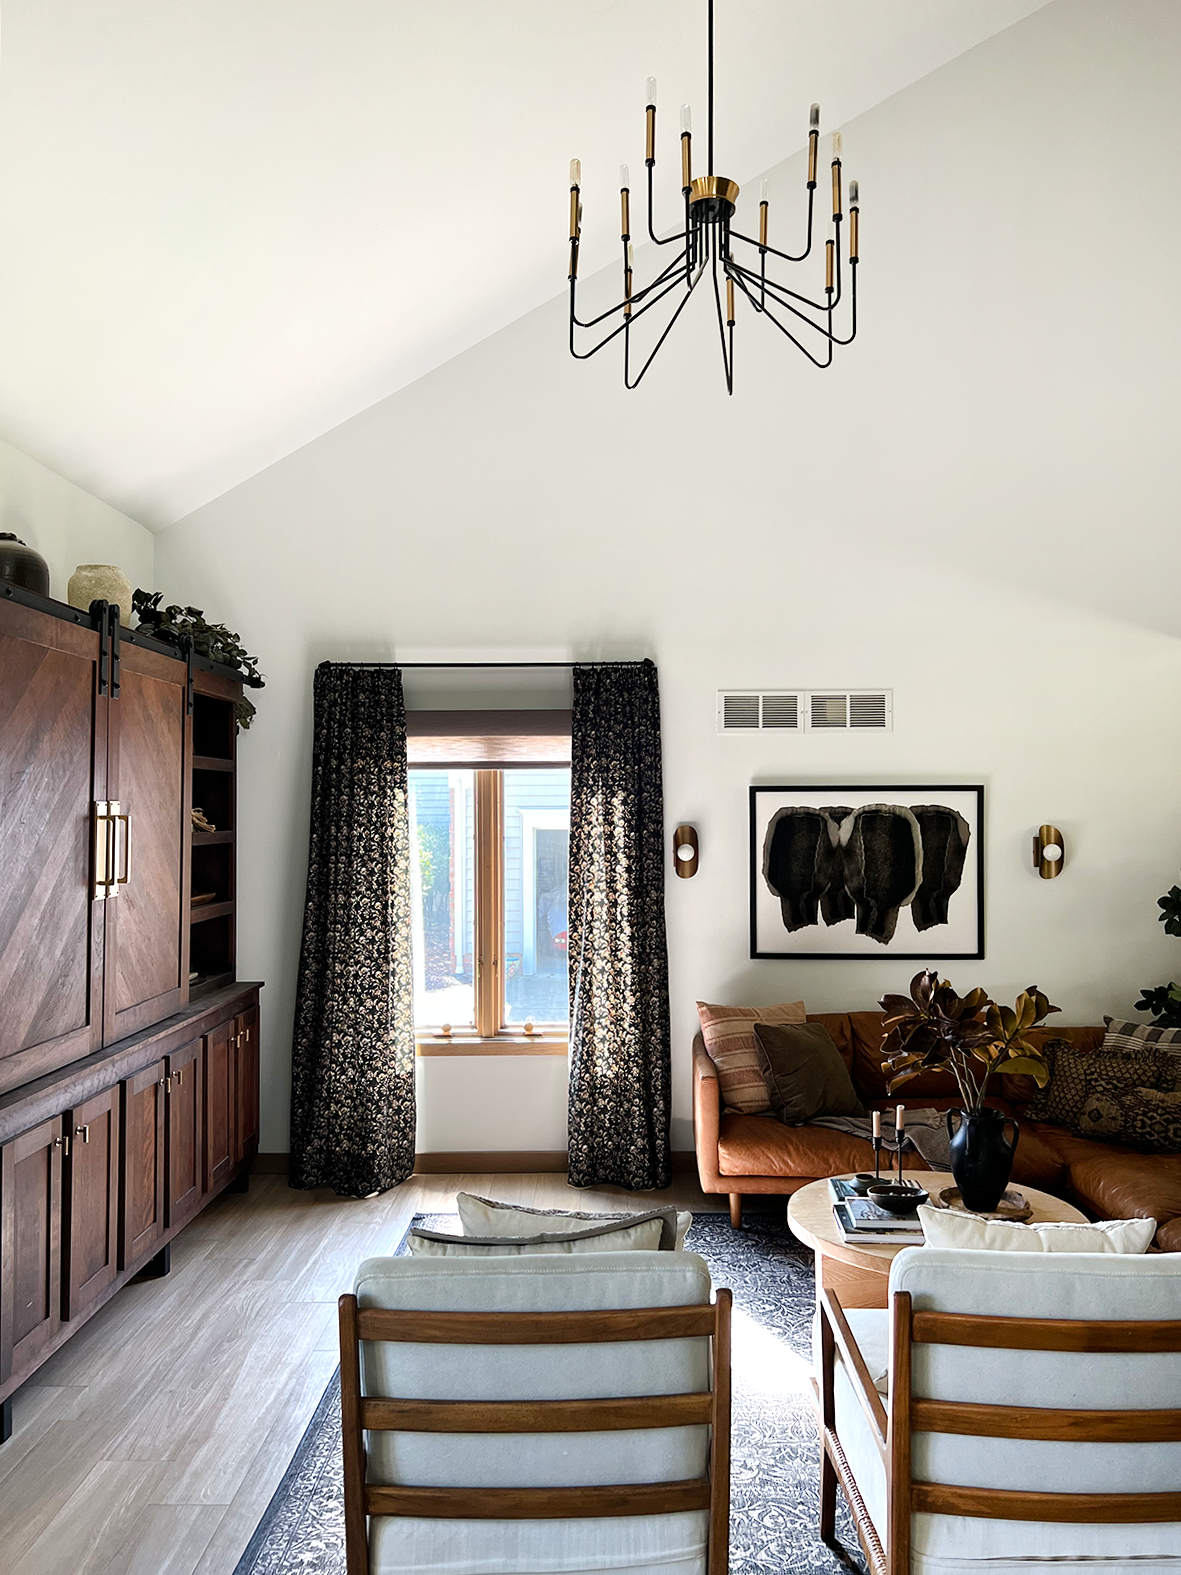
The shades provide great privacy but what I love the most about them is how beautiful they are. Lutron has a huge selection of fabrics and colors that look so high end. We used translucent shades here so they still allow some sunlight to shine through which is perfect in the early evening and early mornings. I ended up going with a darker color in here called Fog, and I think it pairs perfectly with the other tones in this room.
BLINDS
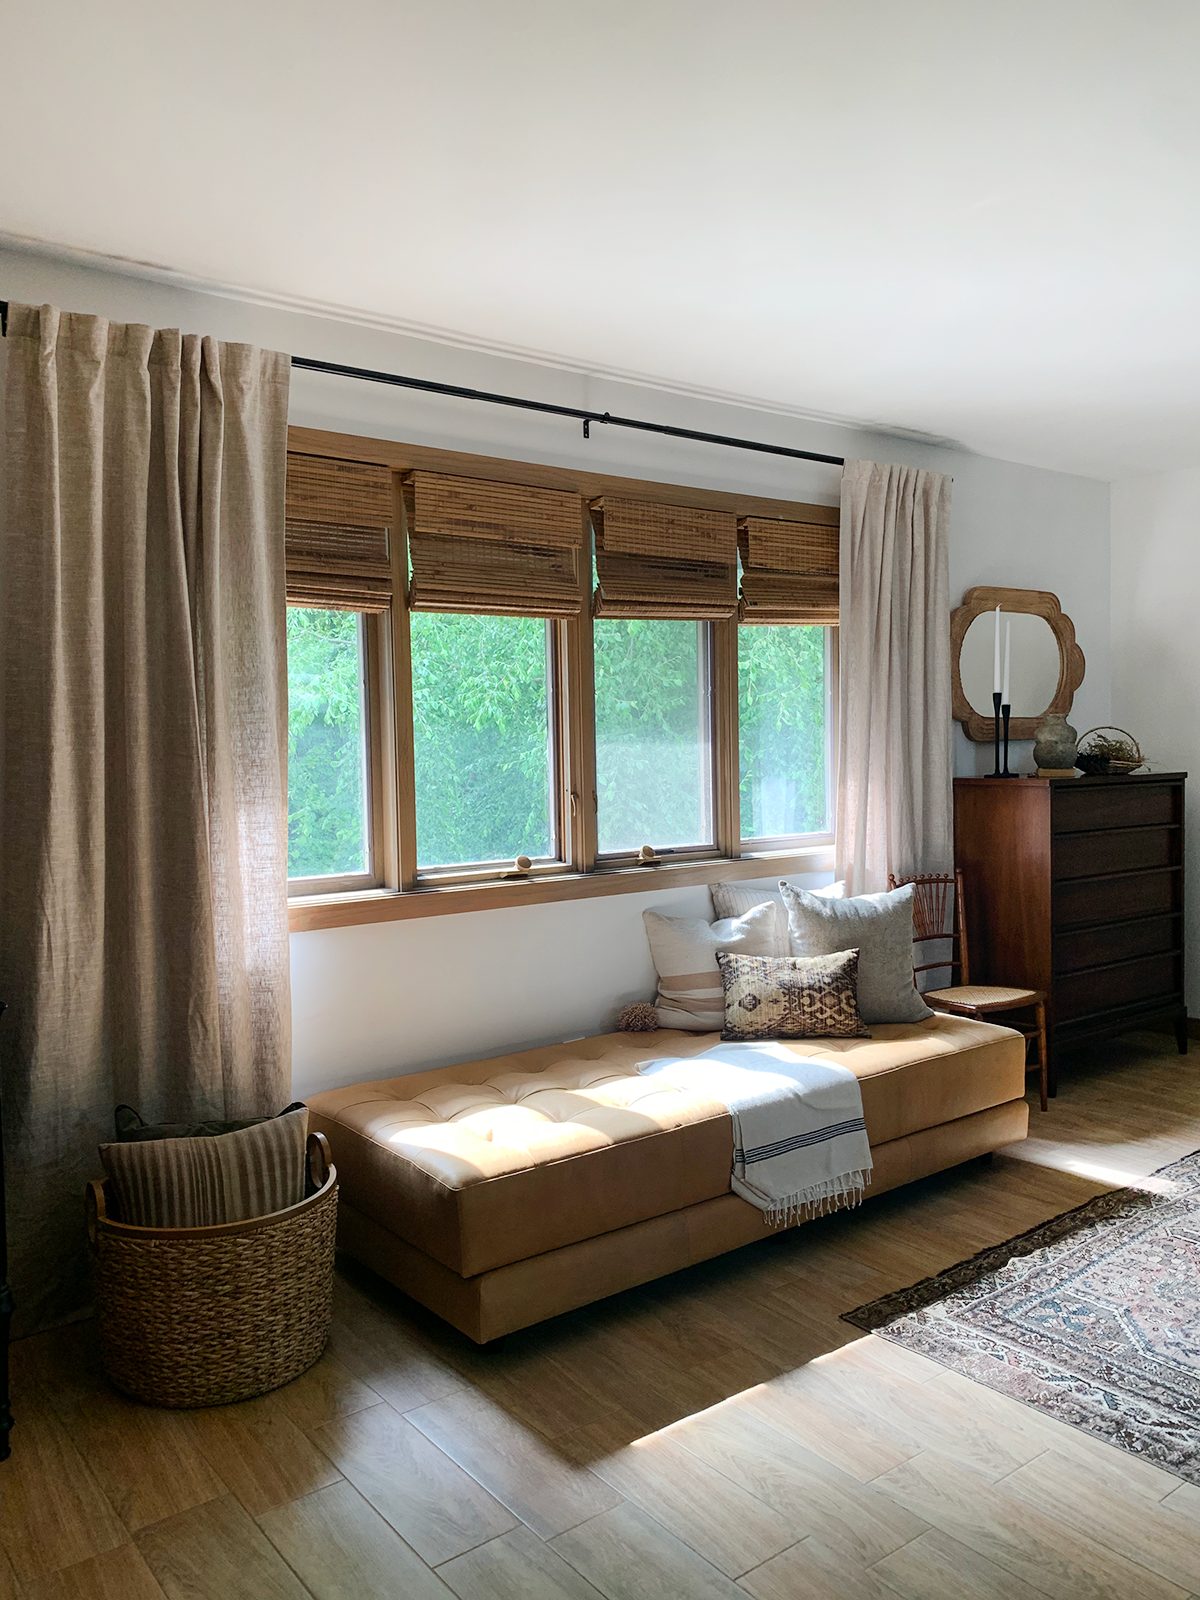
Blinds are different from shades in that they are a “hard” window covering with slats that expand down the window as they are opened. The slats can be adjusted with a cord to different angles which allows different amount of light in.
They are usually made of materials like metal, wood, composite or bamboo. Vertical blinds are great for longer windows or sliding doors.
CURTAINS
Curtains are fabric panels that are typically used as a pair but can be hung alone depending on the layout of a room. They are hung from a rod either by slipping it through the fabric pocket or by using curtain hooks. They come in a variety of different materials that will allow different amounts of light in. Sheer is more decorative and doesn’t block much light while blackout curtains allow almost zero light in.
Curtains are so versatile and can add a softness and coziness to any room they are hung in.
After we hung our Serena Smart Shades, I felt like something was missing, and I knew curtains were the answer. Blinds or shades are great alone, but I love layering them to create an even cozier look. When we hung our shades, I decided to hang them on an outside mount rather than an inside mount. What this means is that we hung them on top of the window frame instead of underneath it and inside the window frame.
This is a great way to make your windows look taller than they actually are. When the shade is placed inside the window, it breaks up the window as a whole and keeps your eye from going up. When the shade is placed above the window, it’s like one continuous frame that allows your eye to travel up.
HOW TO CHOOSE THE RIGHT CURTAINS FOR EXTRA COZINESS
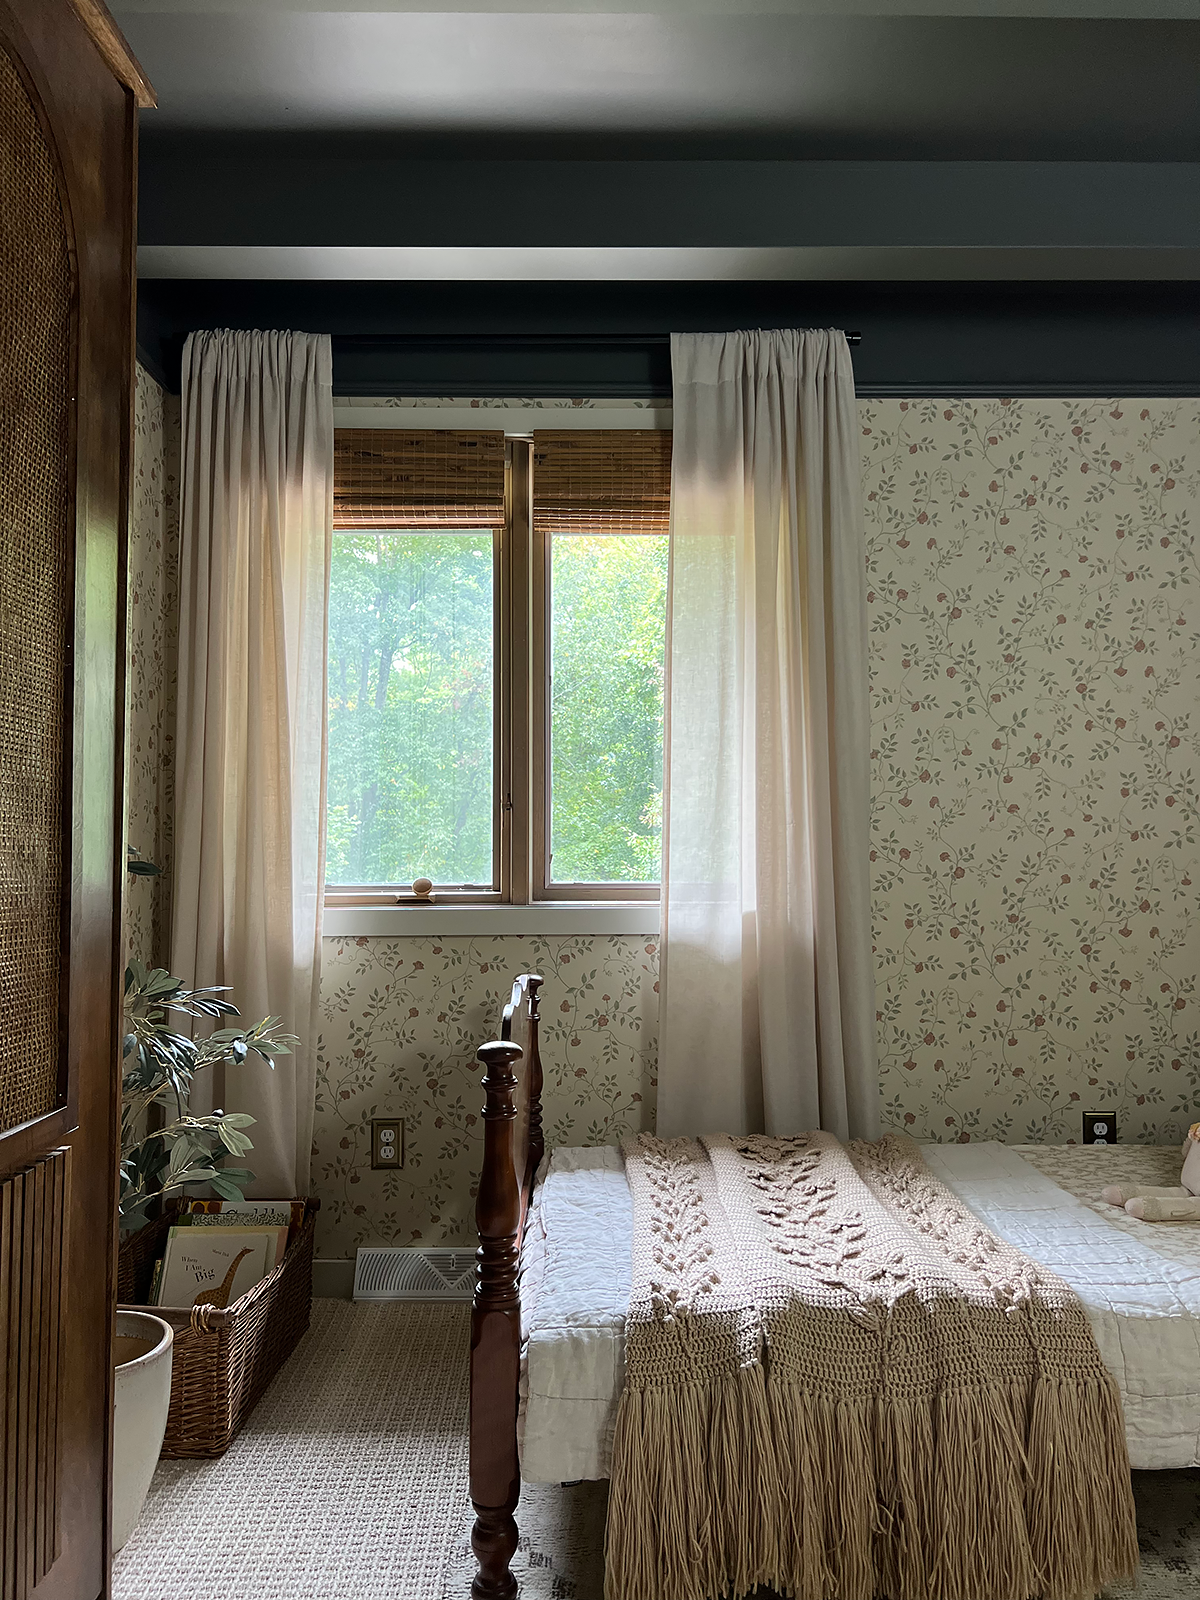
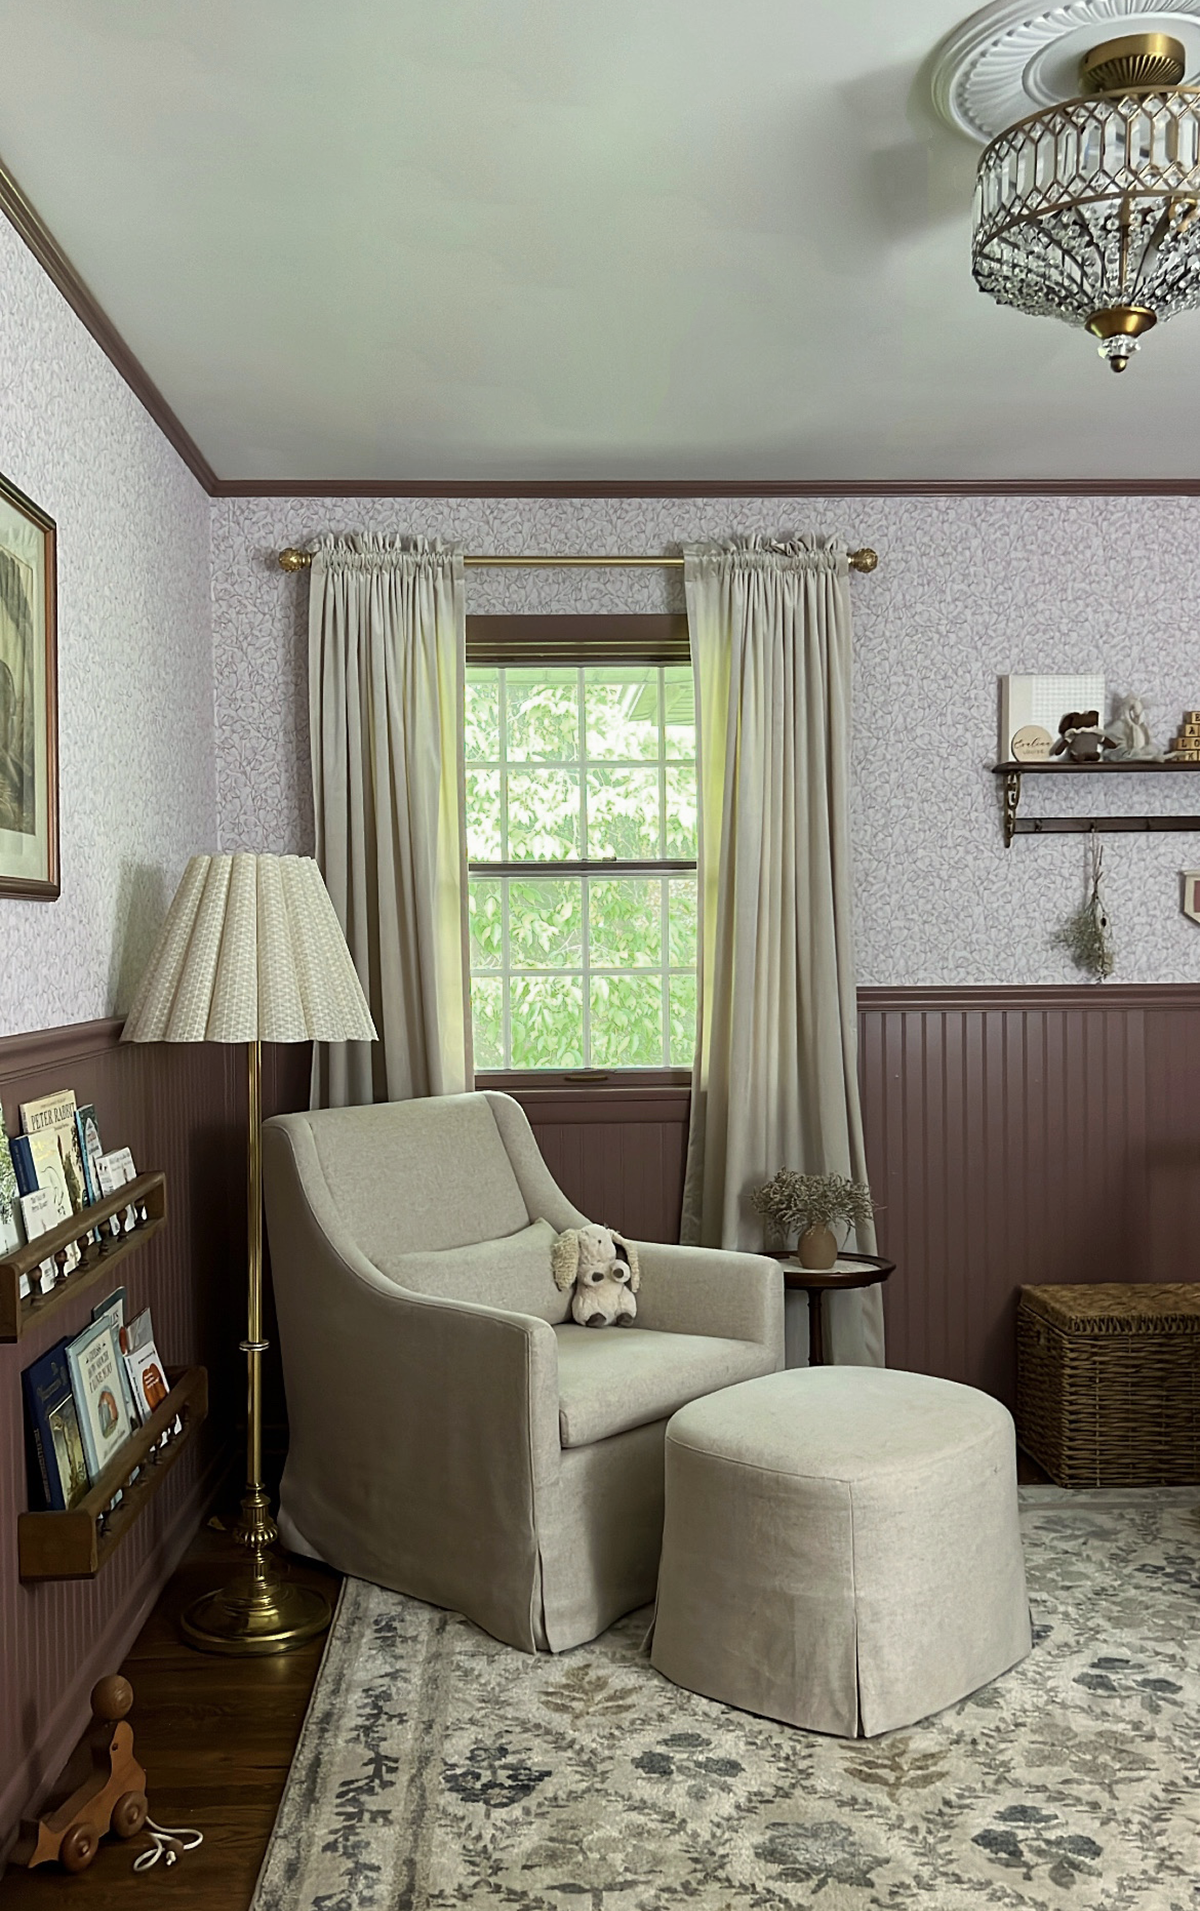
The first thing to think about is what kind of material you want. If the curtains are going in a nursery, you may want blackout. We used beautiful velvet blackout curtains in my friend’s nursery and they look so high end! If they are more decorative and you don’t want to block any light, sheer may be the answer. If you want a luxurious feel, velvet might be the right ones for you.
A great trick to add even more coziness is to double up your panels. If your window is large enough, try using two panels on each side. This will create a much fuller, custom look that will instantly make your room feel more cozy.
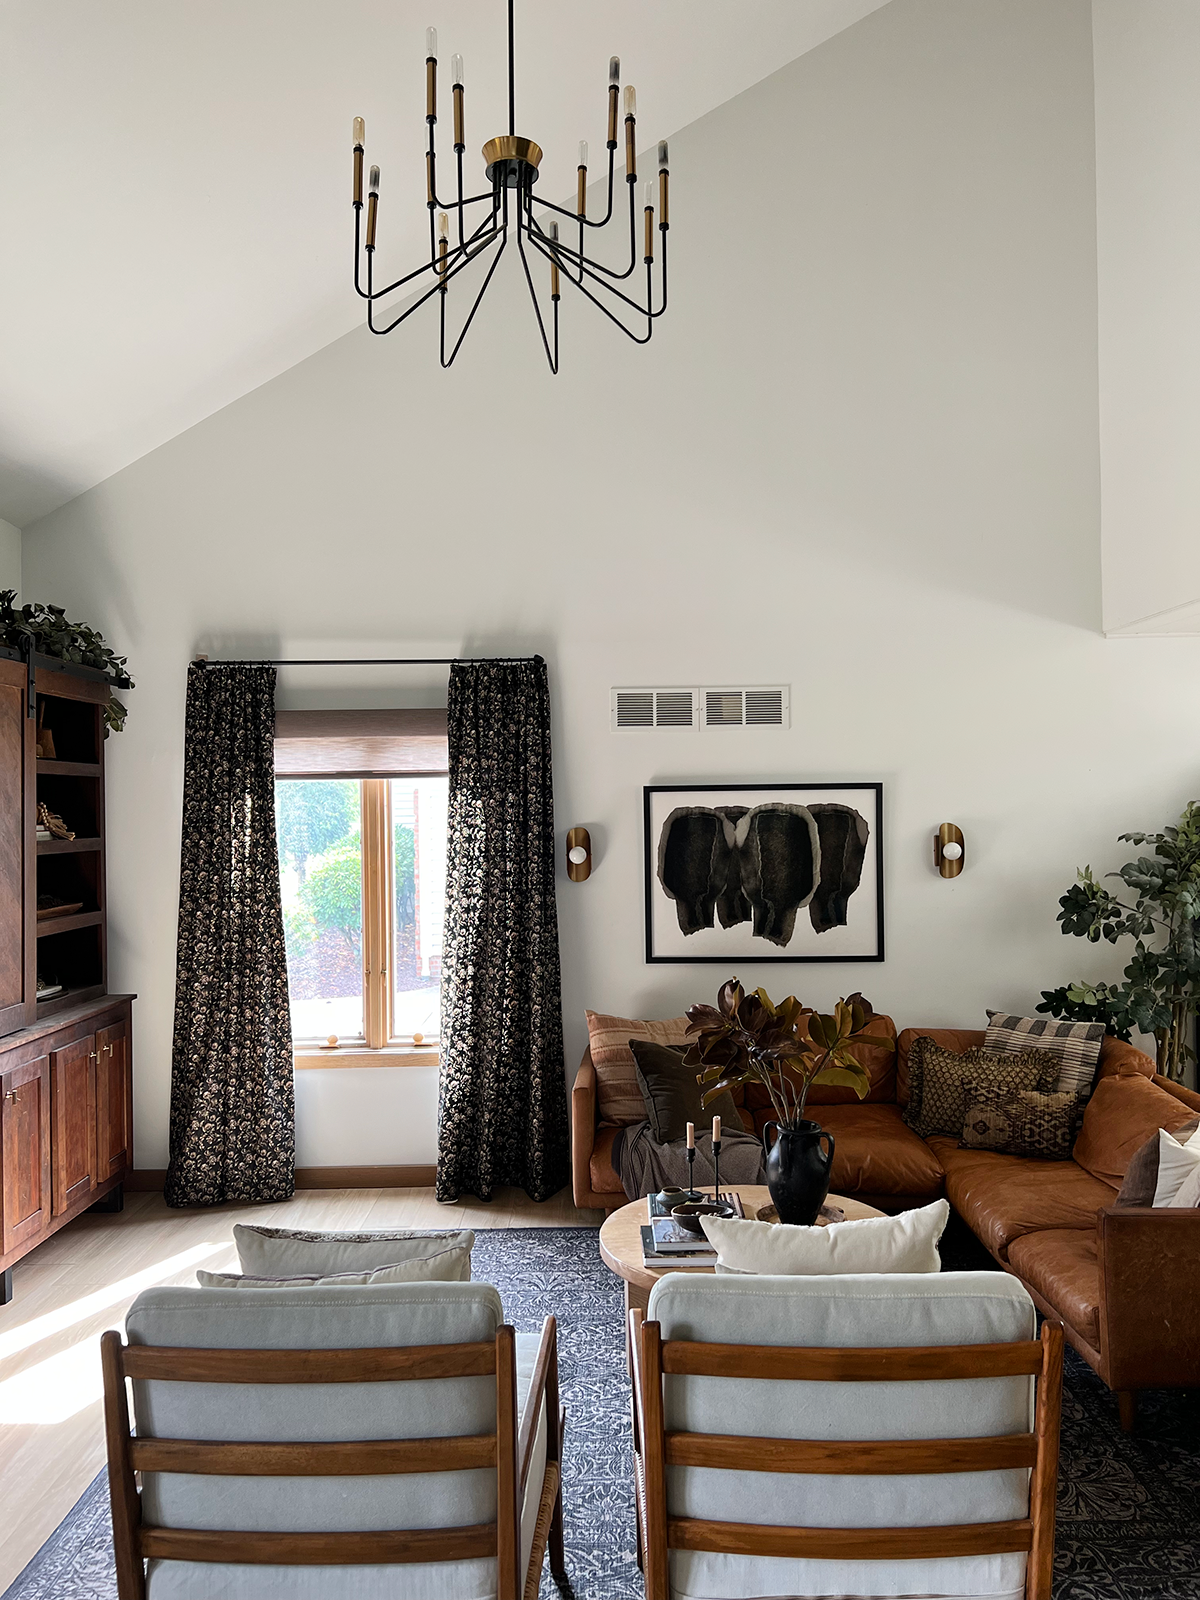
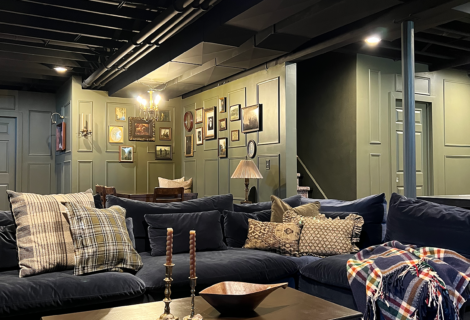
For our living room, since we already have our smart shades for privacy at night, the curtains were going to be decorative and to add coziness. If it’s one thing I’ve learned about my style over the years, it’s that I’m drawn to more moody, earthy tones. I knew I didn’t want something light and bright in here.
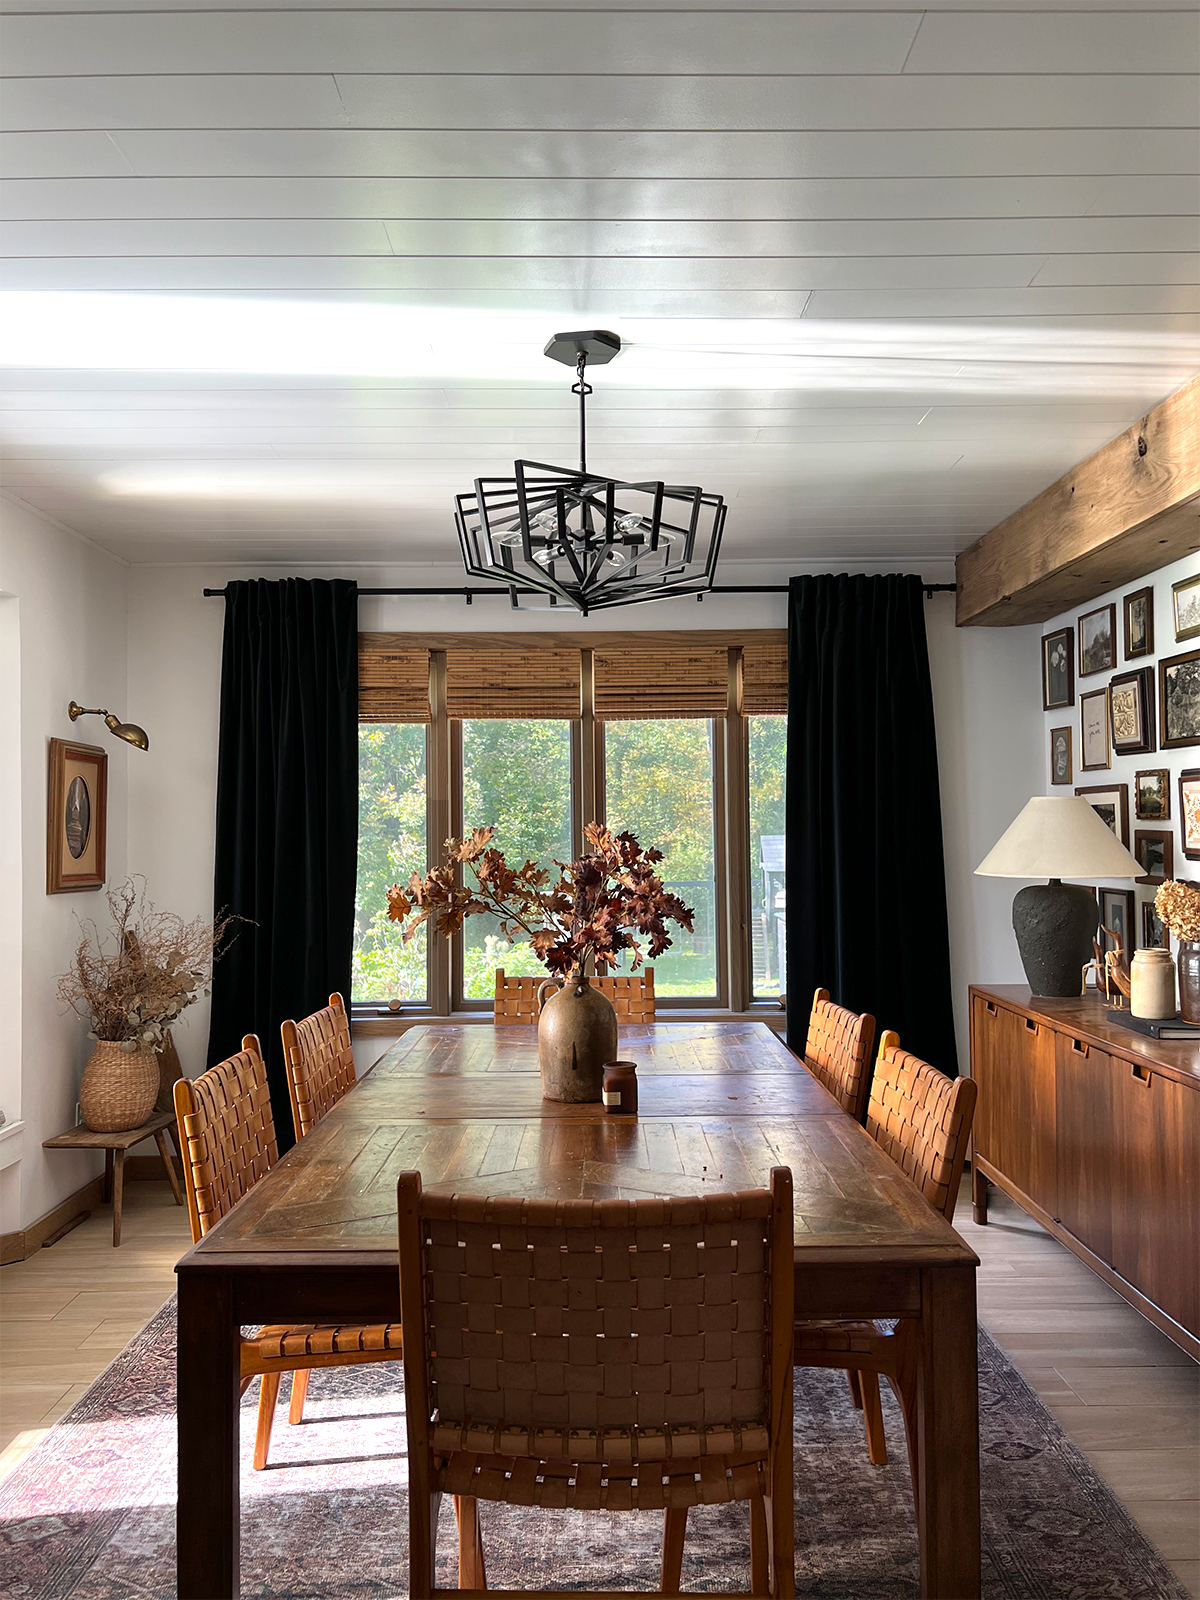
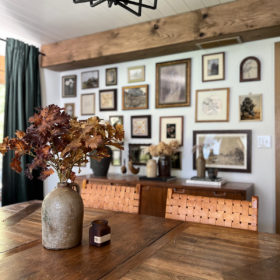
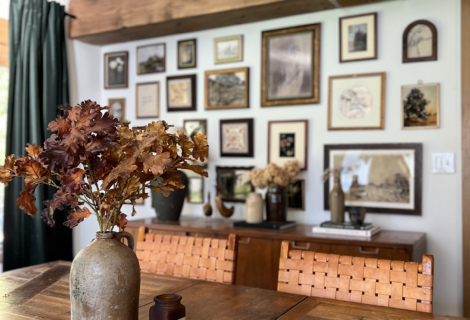
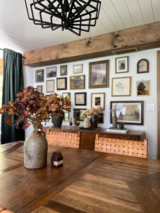
I almost went with the same dark green velvet curtains we have in our dining room until I came across these black floral sheets from Target. They were the perfect pattern (and price!) and I knew I could easily make them into curtains. I followed the same tutorial I used to create a no-sew pinch pleat curtain in our mud room and created two beautiful curtain panels for our living room.
HOW TO HANG CURTAINS
The number one thing I see people do wrong when hanging curtains is hanging them too low. They will often hang them directly above the window frame but this creates a stunted look and doesn’t maximize the space well. If you have standard 8′ ceilings you can hang your curtain rod all the way up the ceiling! This will immediately make your windows look taller and make your curtains feel more sophisticated.
You an also hang them split between the top of your window frame and the ceiling, but they should always be at least 4-6″ above the frame.
If you have a vaulted ceiling like we do in our living room, you can go even higher! With all that negative space above our windows I didn’t want to create a breaking point. So I decided to hang them about 10″ above our shades and this allows your eye to keep moving up the wall and viewing the entire room.
You also want avoid having curtains that are too short. If you want a more luxe look, you can allow them to drape along the floor. Otherwise, your curtains should be barely above the floor about 1/2″.
Depending on how much room you have on either side of your window, exttending your rod further out will also help to make your windows feel bigger. A good rule of thumb to follow is to hang your rod 4-6 inches past your window on either side.
OUR COZY NEW CURTAINS
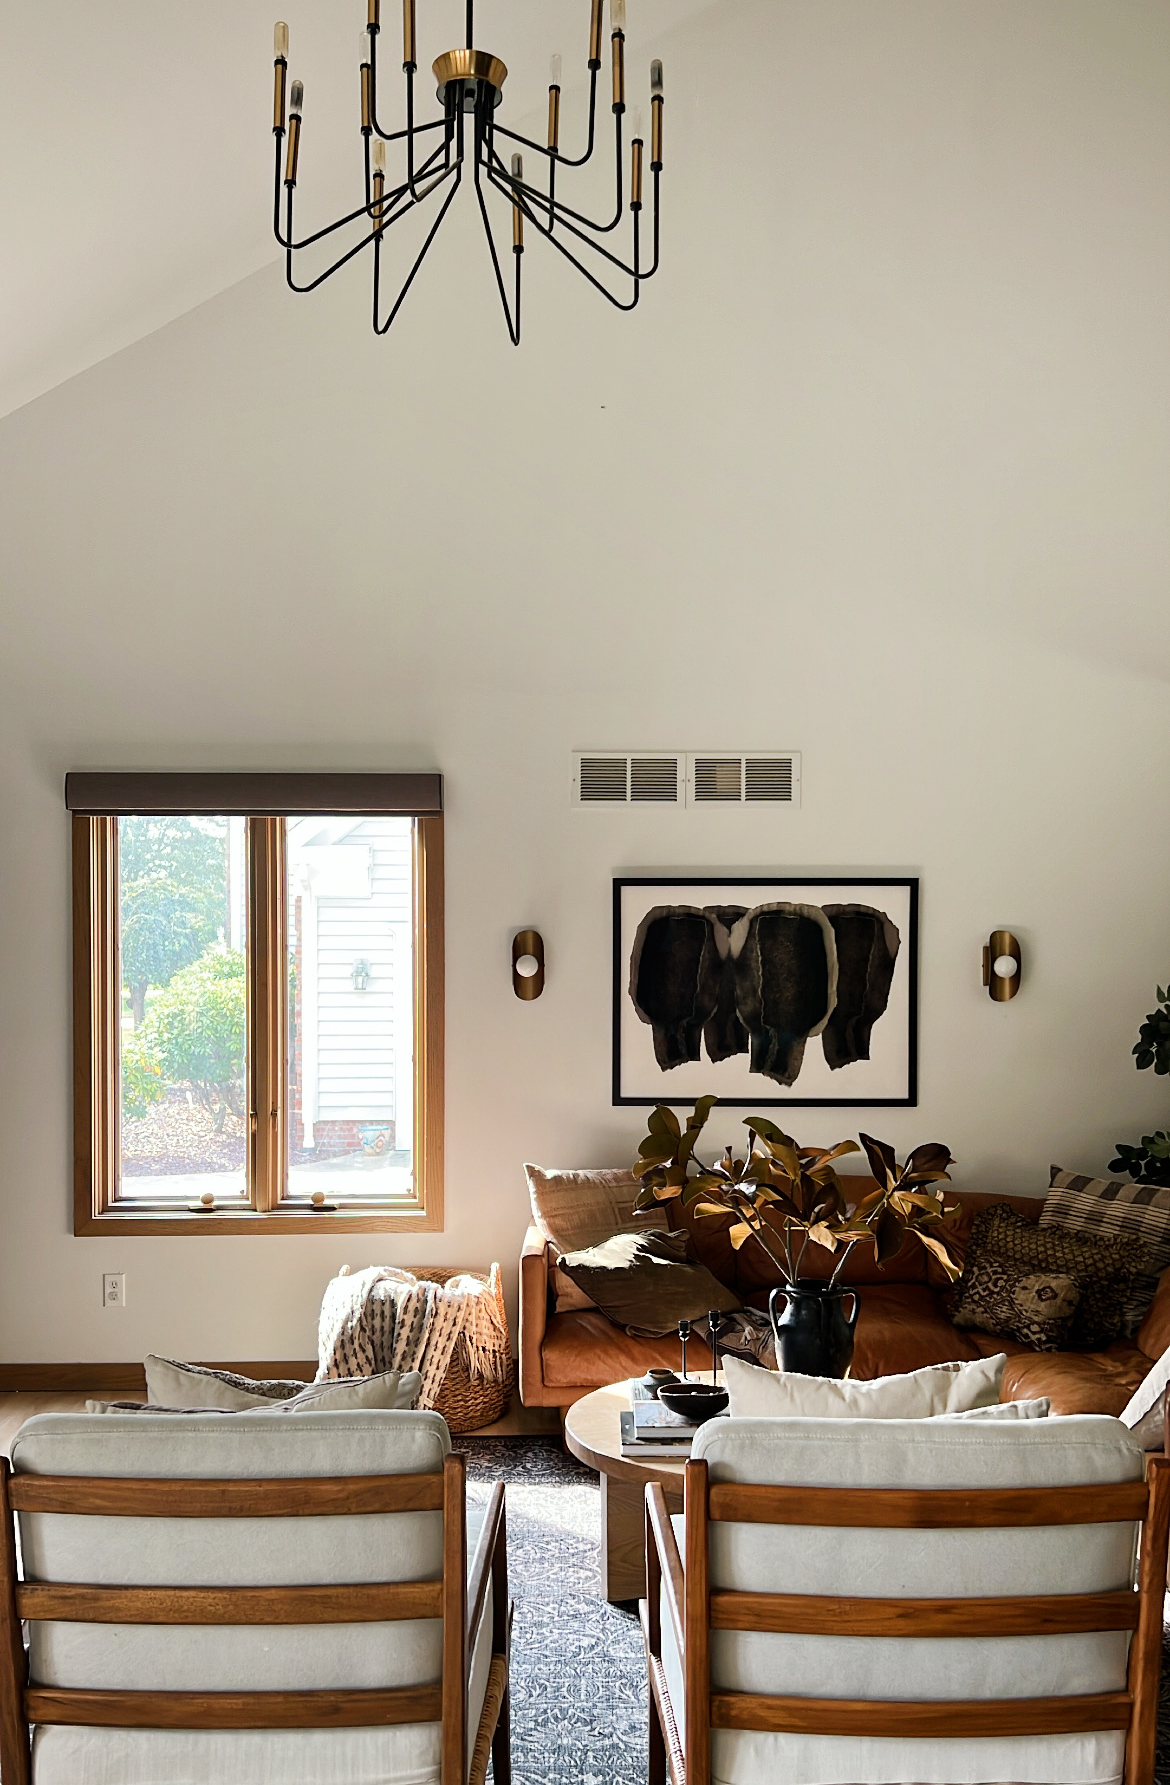
I’m obsessed with how these turned out and how much coziness they added to this space! Even though they are black, the floral pattern helps them feel lighter and creates a softer aesthetic. The color also pairs so perfectly with our smart shades! They compliment each other so well and create such a beautiful and layered look.
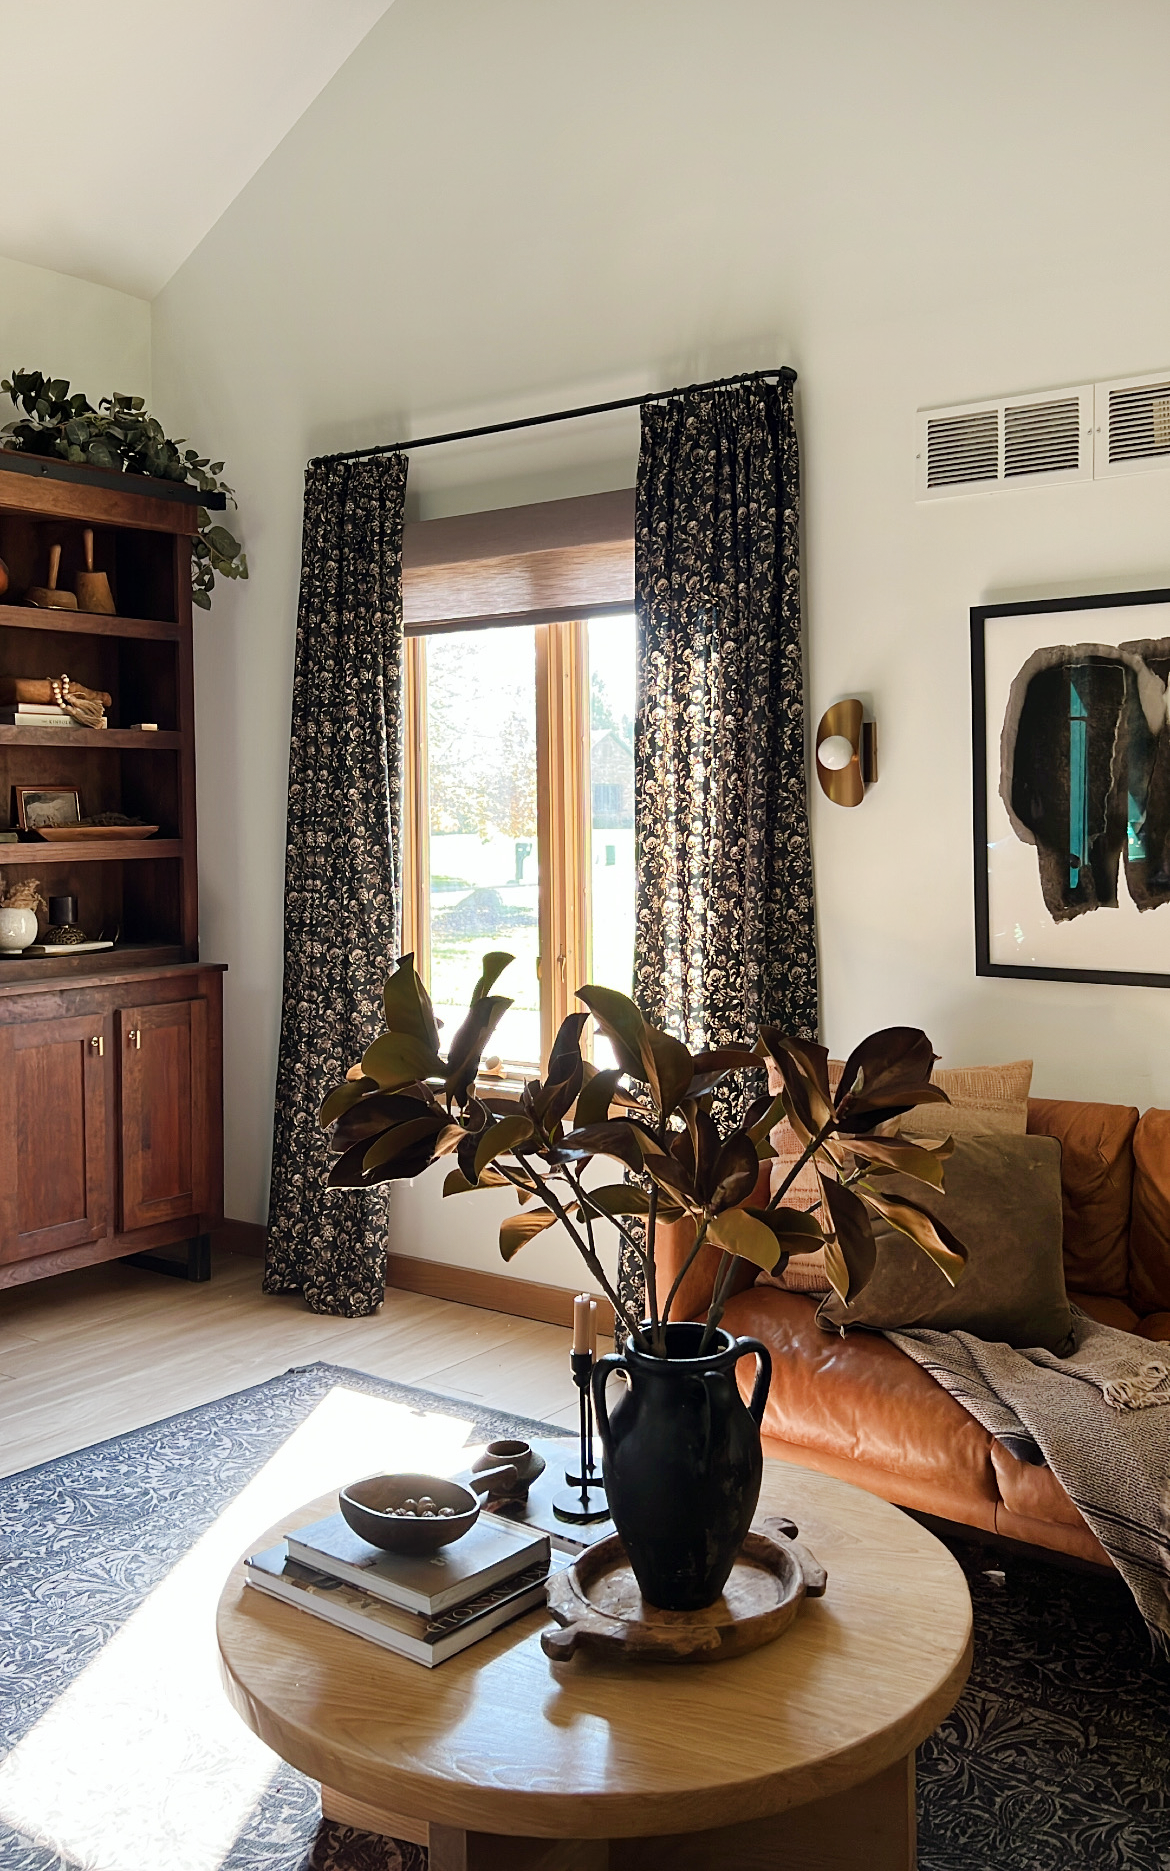
I used a return black curtain rod which I feel like is a more sophisticated look. It’s also great if you want to block out all the light. But having that slight curve on the ends is such a beautiful detail.
This room always kind of felt like it was missing something and I don’t know why I didn’t hang curtains sooner! As you can see from the before and after, adding curtains totally made our living room feel more cozy and I can’t wait to curl up here and enjoy them!
Stay tuned for the tutorial to make these beautiful curtains out of sheets!


Kelsey
I never thought of doubling the panels on each side and after seeing yours, I am definitely doing it too! Can you share the secret behind hanging the rod? We’ve used every type of anchor / tried every trick in the book and in order to have them properly hang / line up with our windows, none of them were in studs. So, no matter what, every single one of our rods have started to slouch.