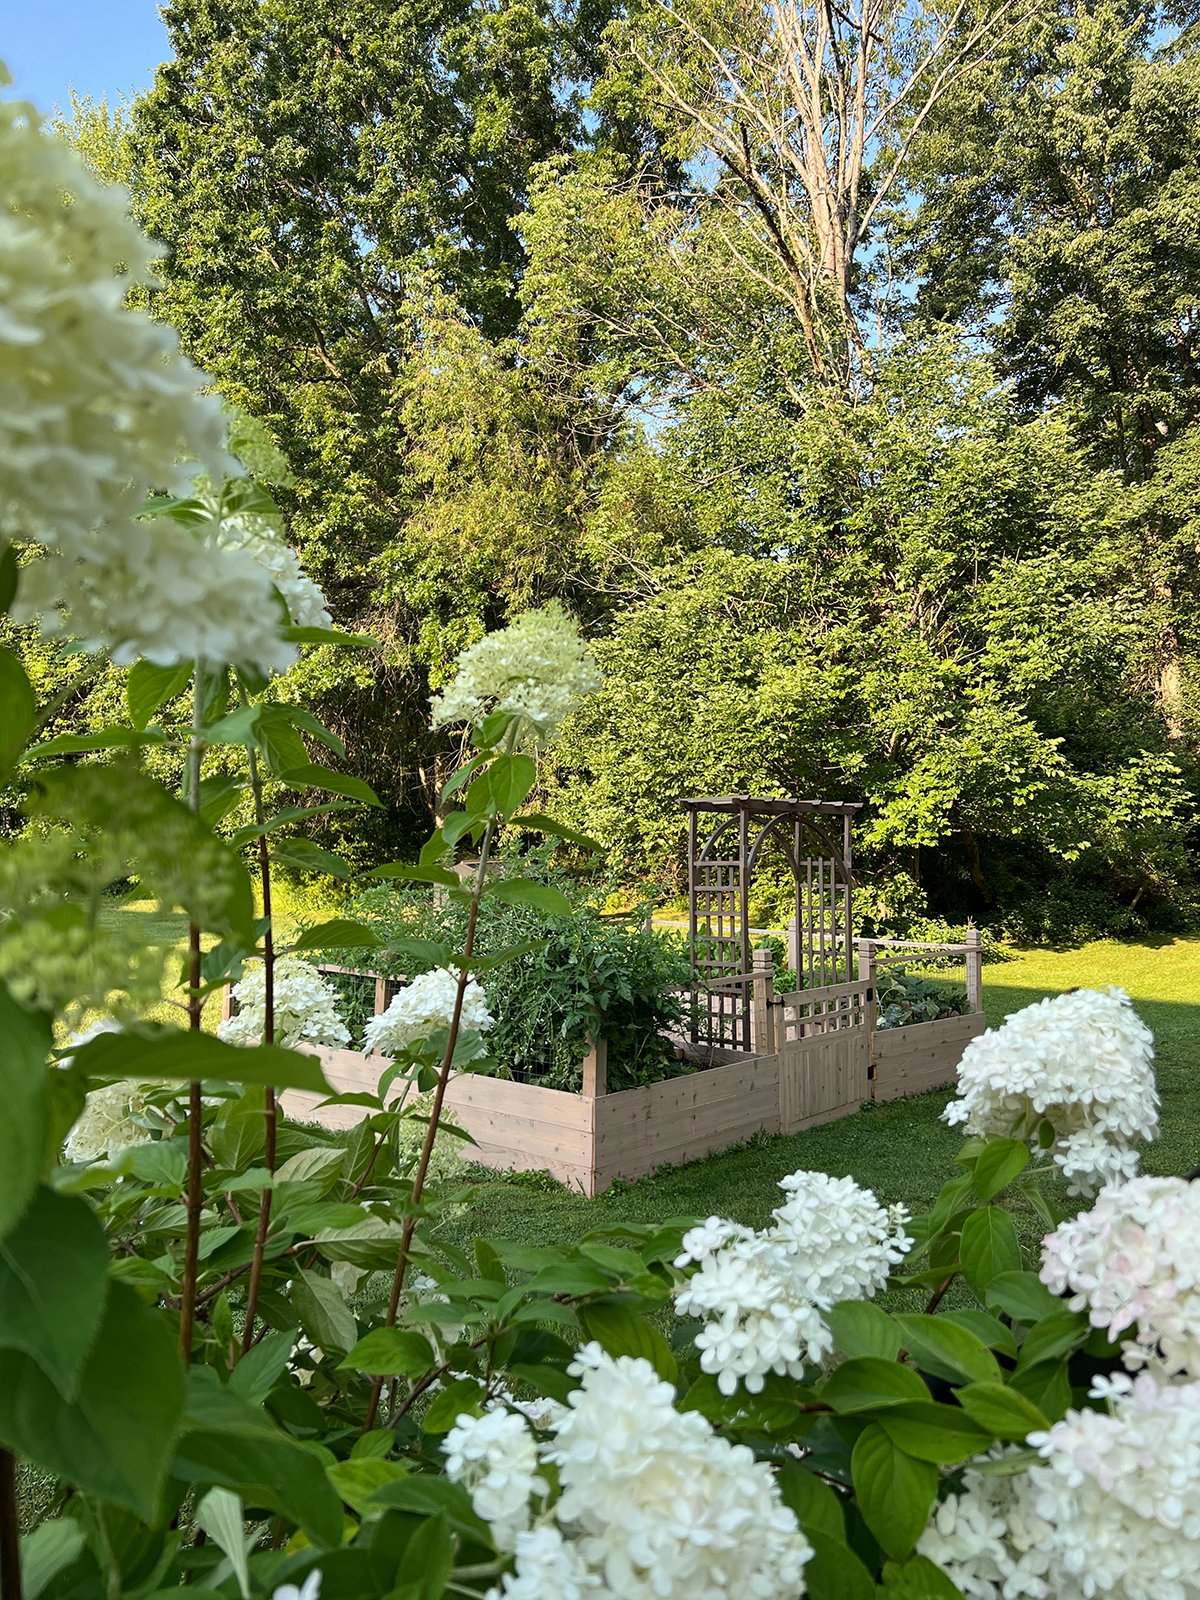
This year we finally made my garden dreams come true and I’m here to share all the details of the beautiful space we created. We are total newbies when it comes to gardening and it’s all been a learning experience, but hopefully what we’ve learned so far can help you! The amount of joy it has already brought us is well worth the time and money it took to create our enclosed raised garden bed.
Earlier this year I did some research on everything you need to know before starting a raised garden bed and it was really helpful to have some background knowledge before diving right in. There are so many different methods to gardening and everyone’s yards are different which will require different layouts and fencing. And of course we all live in different areas of the world, so our climates are going to be a factor as well.
The one tip I remember reading about a lot and I’m glad we followed was to plant what you like to eat. If you don’t, you’re just going to waste time, energy and freshly grown food. Planting what you enjoy eating saves lots of wasted food!
Why an Enclosed Raised Garden?
Our backyard is up against woods so we need protection from all the animals who like to come visit. We didn’t want to go through all the work of building and planting a beautiful garden just to have it eaten by someone else! Since we don’t have a fence around our yard, I was trying to think about how I could enclose some raised beds. One day I was over at a friend’s and took a peek out their window and saw their garden – it was the perfect solution!
We used theirs as inspiration and tweaked it a bit to better fit our yard and our wants/needs.
Supplies to Make an Enclosed Raised Garden Bed
FOR THE FRAME
- 6 1x8x12 cedar boards
- 15 1x8x8 cedar boards
- 8 1x2x8 cedar boards
- 9 outdoor deck posts
- Hardware Cloth
- Wire Mesh
- Exterior Screws
- Pavers
- Polymeric Sand
- Garden Arbor
FOR THE GATE
- Gate Hinges
- 2 1x8x8 cedar boards
- 4 1x2x8 cedar boards
- Kreg Jig
STEP 1: PLAN THE SIZE OF YOUR GARDEN
I highly recommend mapping this out with some string or spray paint so you can see exactly how big your garden will be. We very quickly used a measuring tape to get a rough idea and once we brought the wood back and laid it out, I realized it wasn’t as big as I wanted. It wasn’t a big deal, we just needed to go get more wood but make sure you finalize a size before you start!

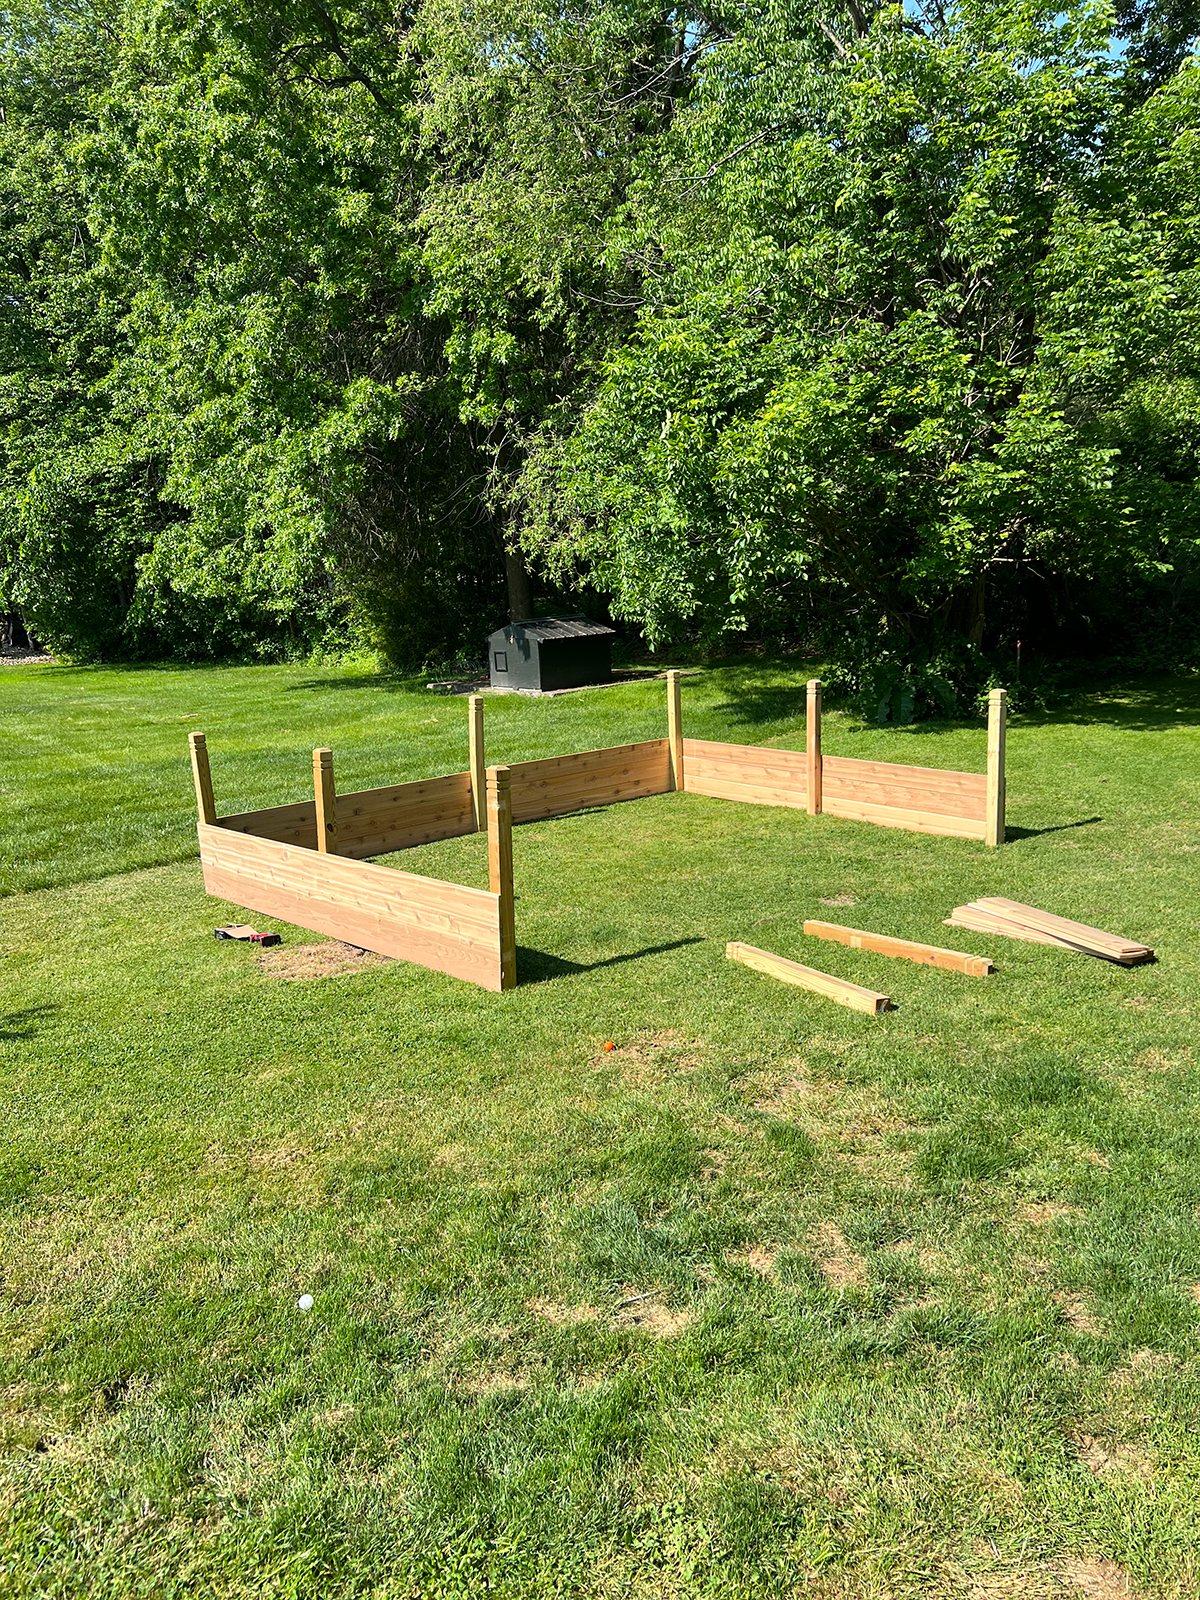
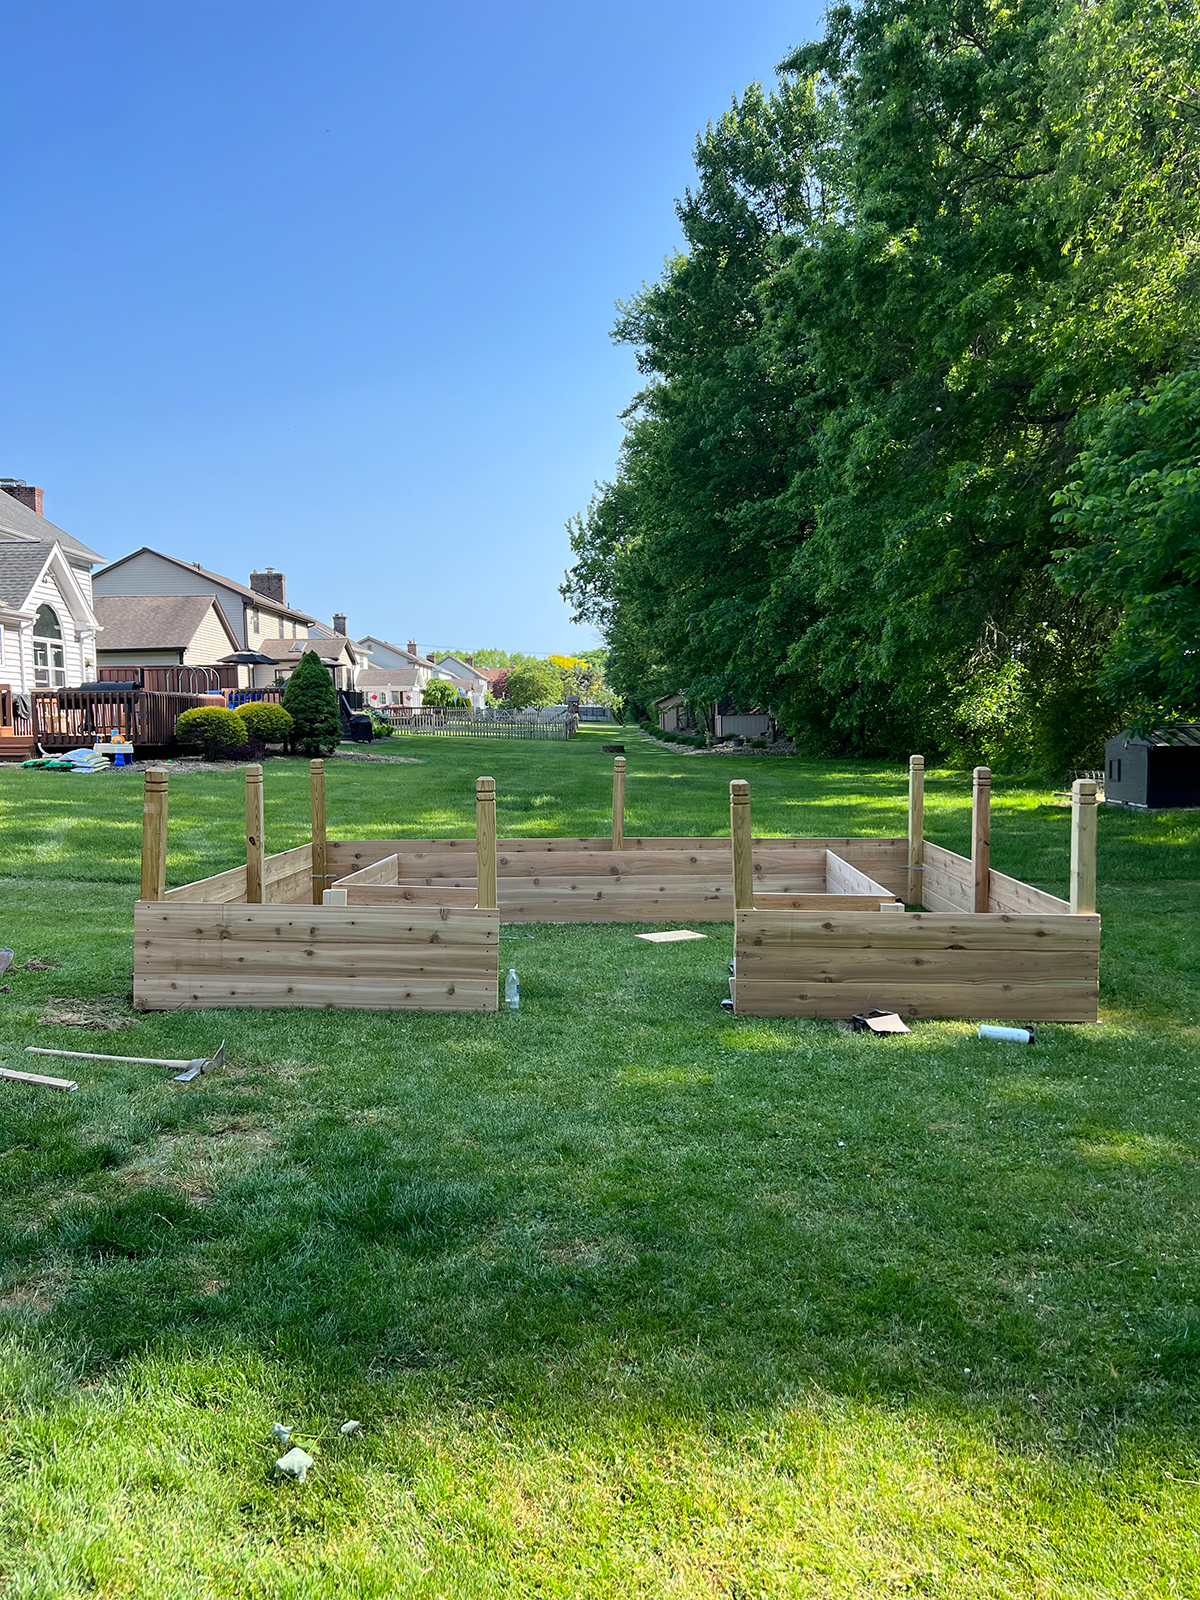
STEP 2: BUILD THE FRAME
We tried to use 12′ and 8′ boards where we could so there weren’t too many cuts. Starting with the back row, we attached the bottom board to a post on both ends. Our posts don’t go into the ground but this is definitely something you could do if you want it to be a more permanent structure.
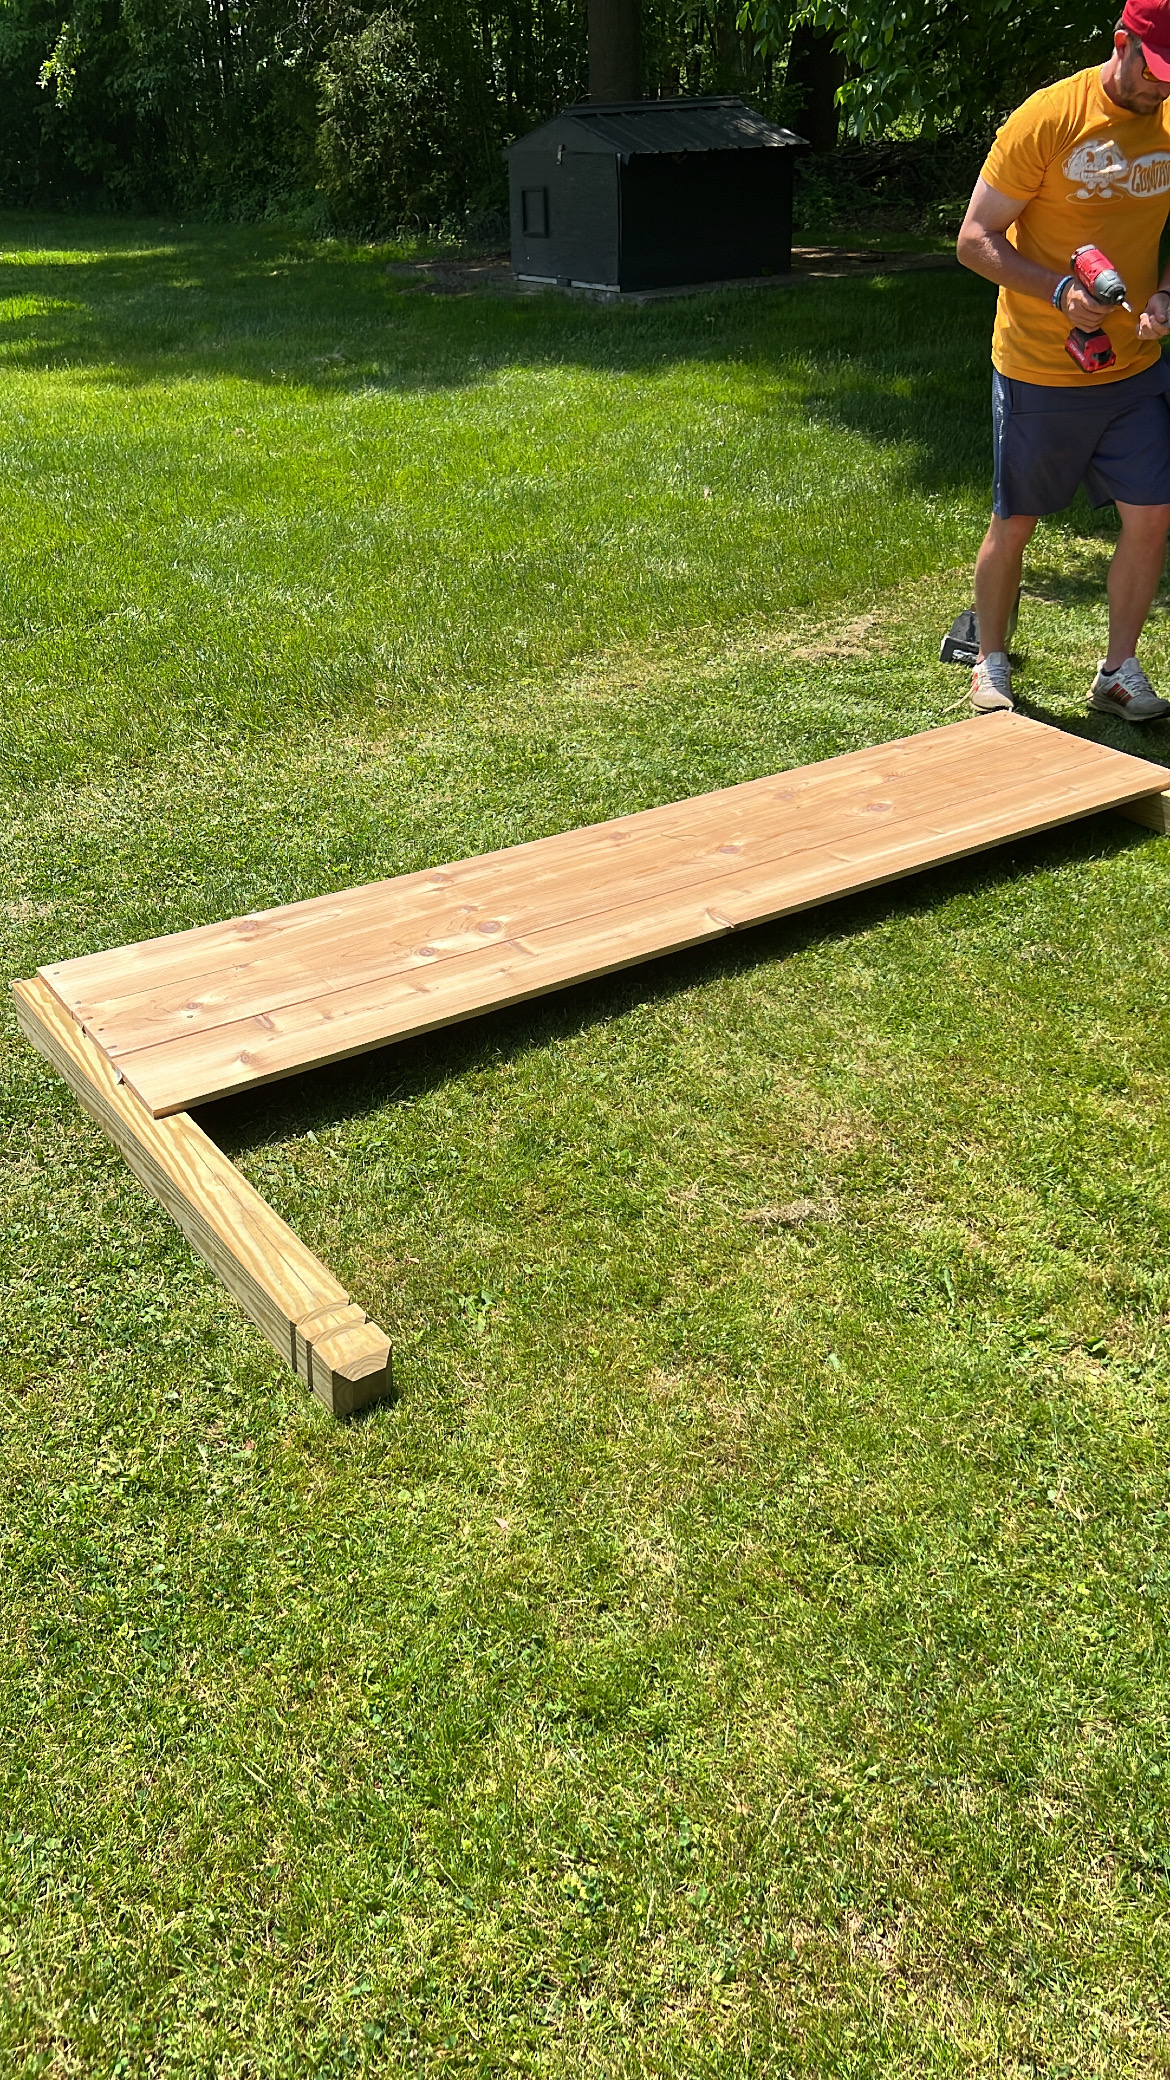
The 8″ boards are actually around 7″ wide and we stacked them 3 high, so our total height was roughly 21″. You could absolutely go lower or higher on this, but I can say now after using the garden that I think it’s a pretty good height. I don’t have to bend over too much which is really nice.
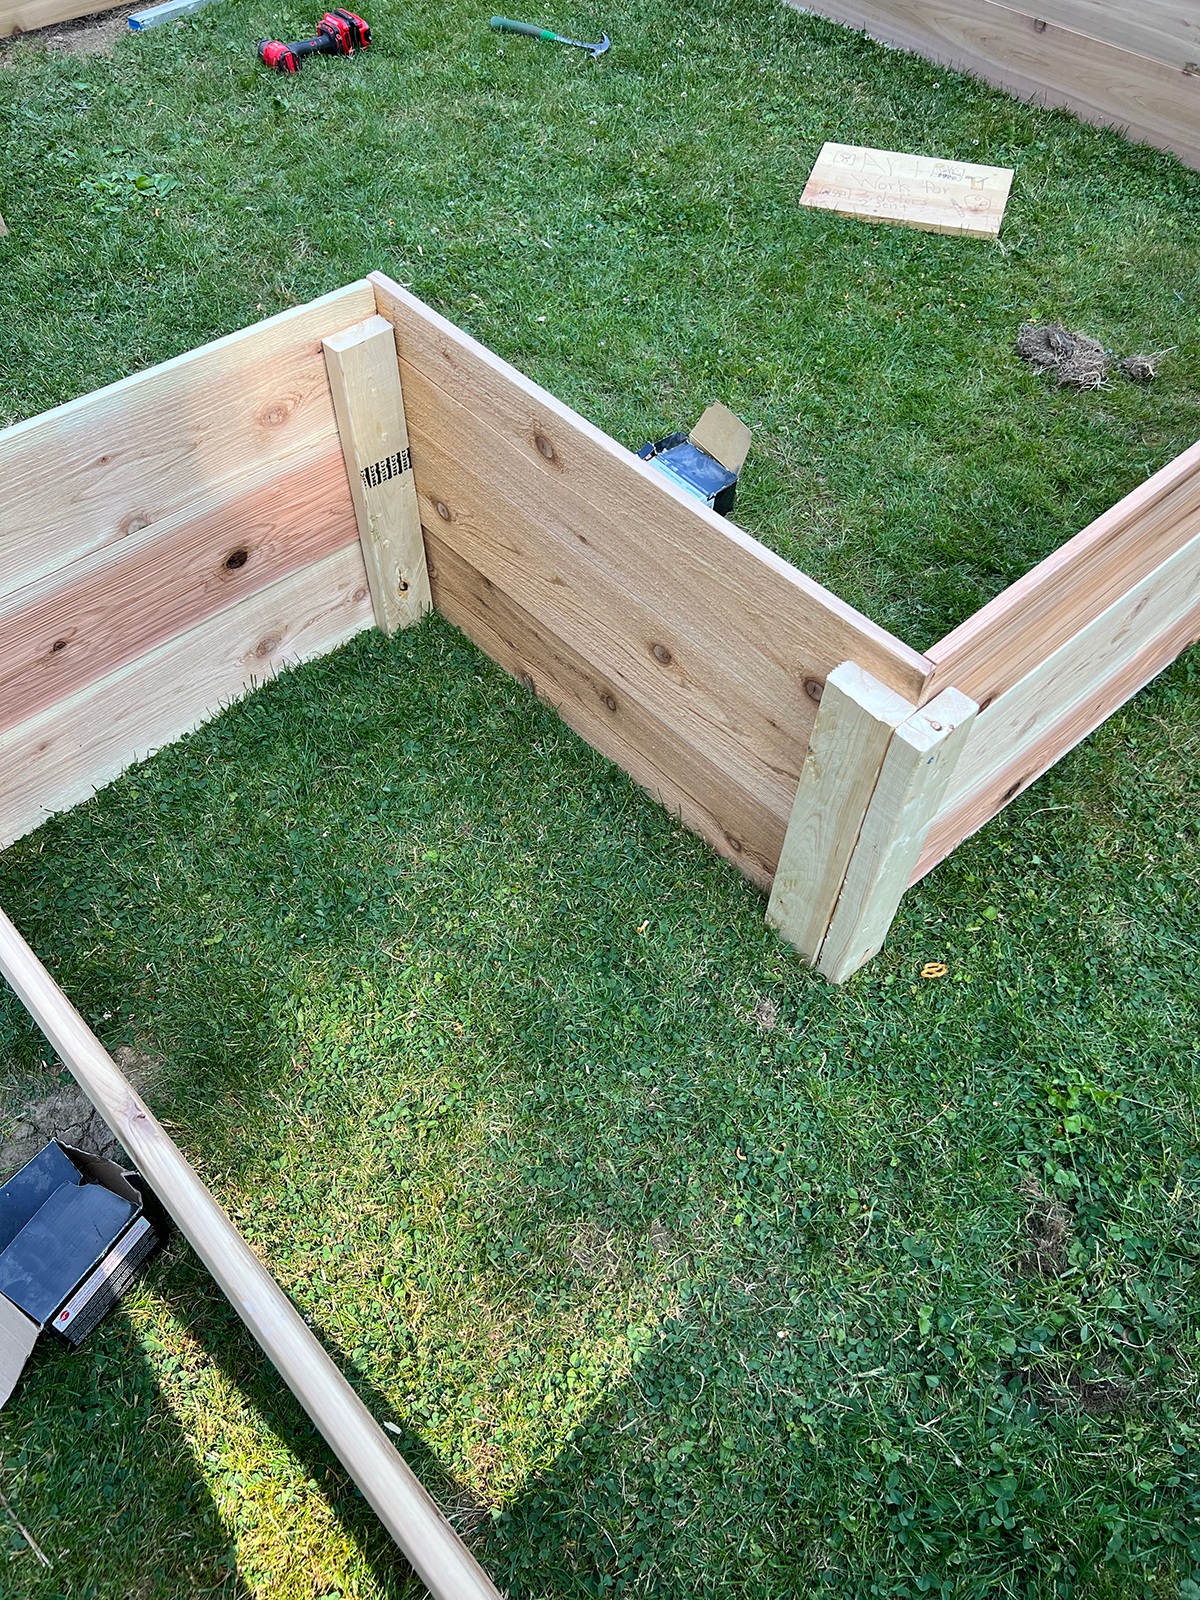
We used exterior screws to attach all the boards and create our frame. One thing to note is that the cedar does tend to split easily, so I would pre drill your holes to avoid that!
We also were dealing with some unlevel ground and had to go in with some shims and scrap wood to make adjustments. Looking back, I would definitely suggest leveling out your ground first!
STEP 3: ADD SUPPORTS
Once your frame is built, you’ll want to go around and add in some supports using 2x4s. I recommend doing this vertically in between all the posts as well as adding some in that lay flat on the ground between the sides. We’ve noticed some bowing happening already because we only added the supports on the sides and not the bottom/in between.
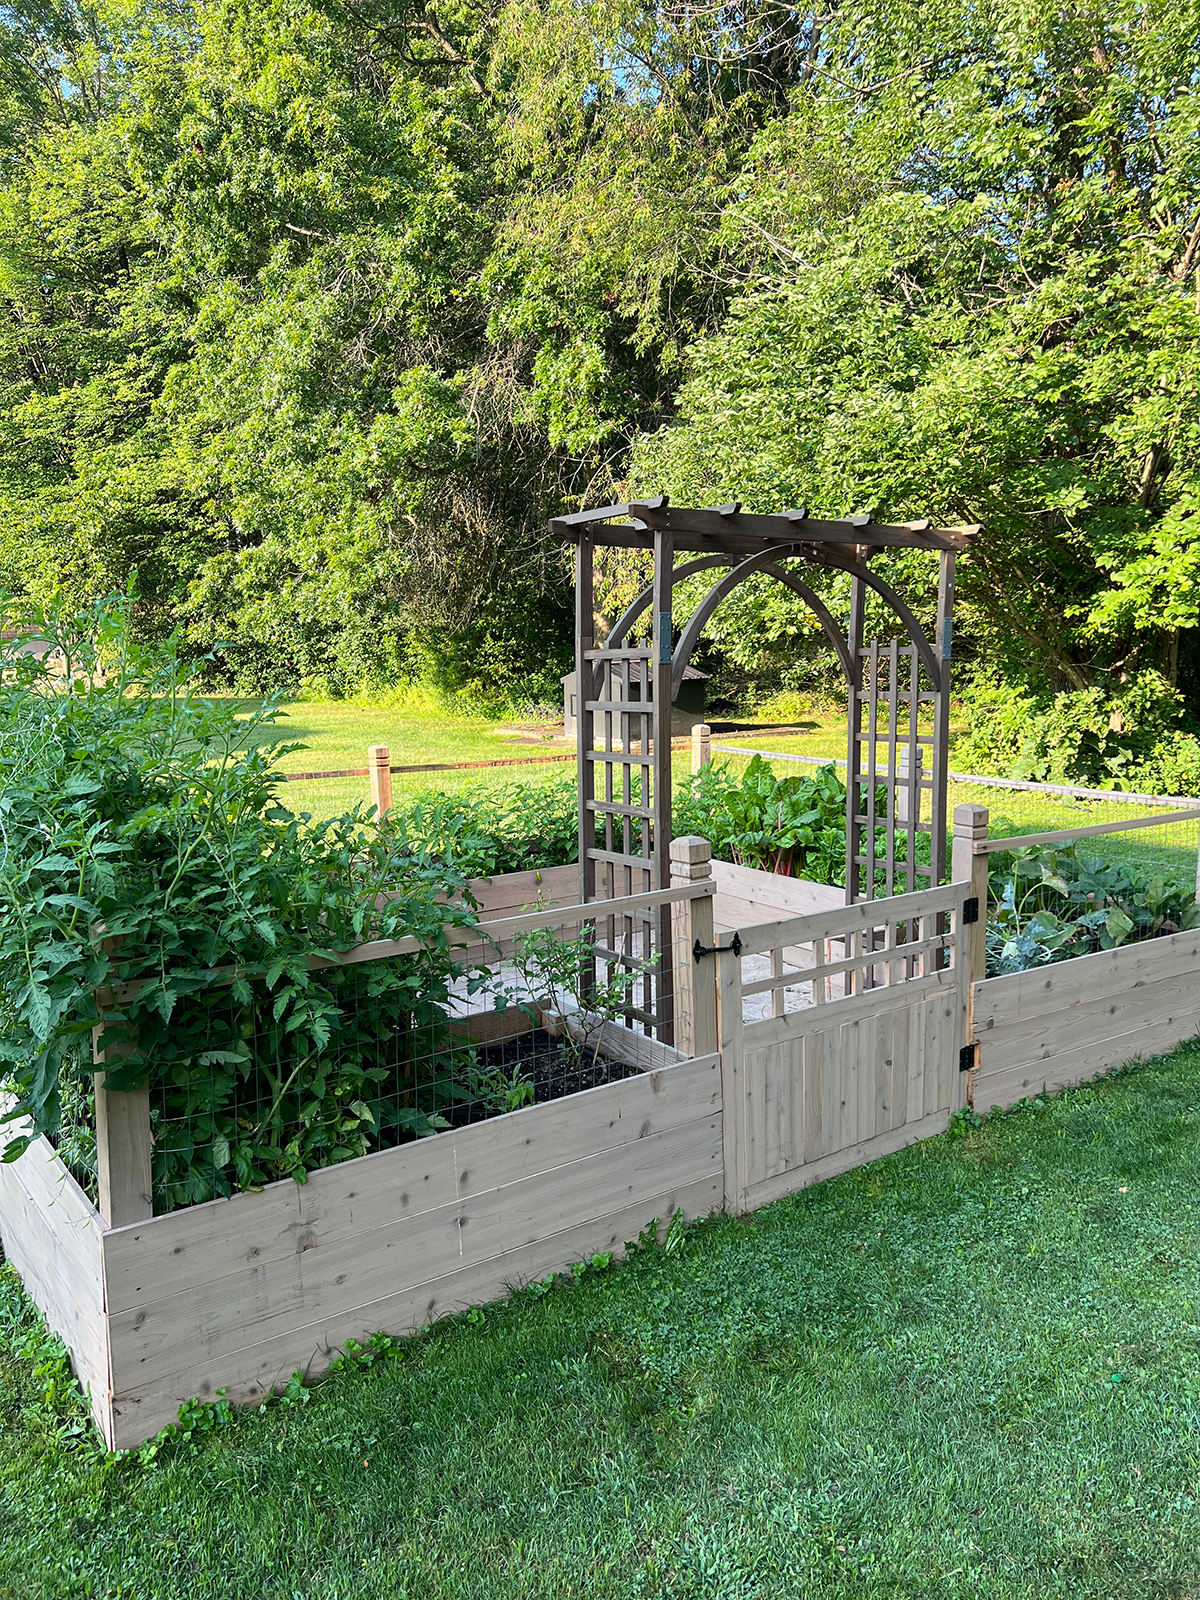
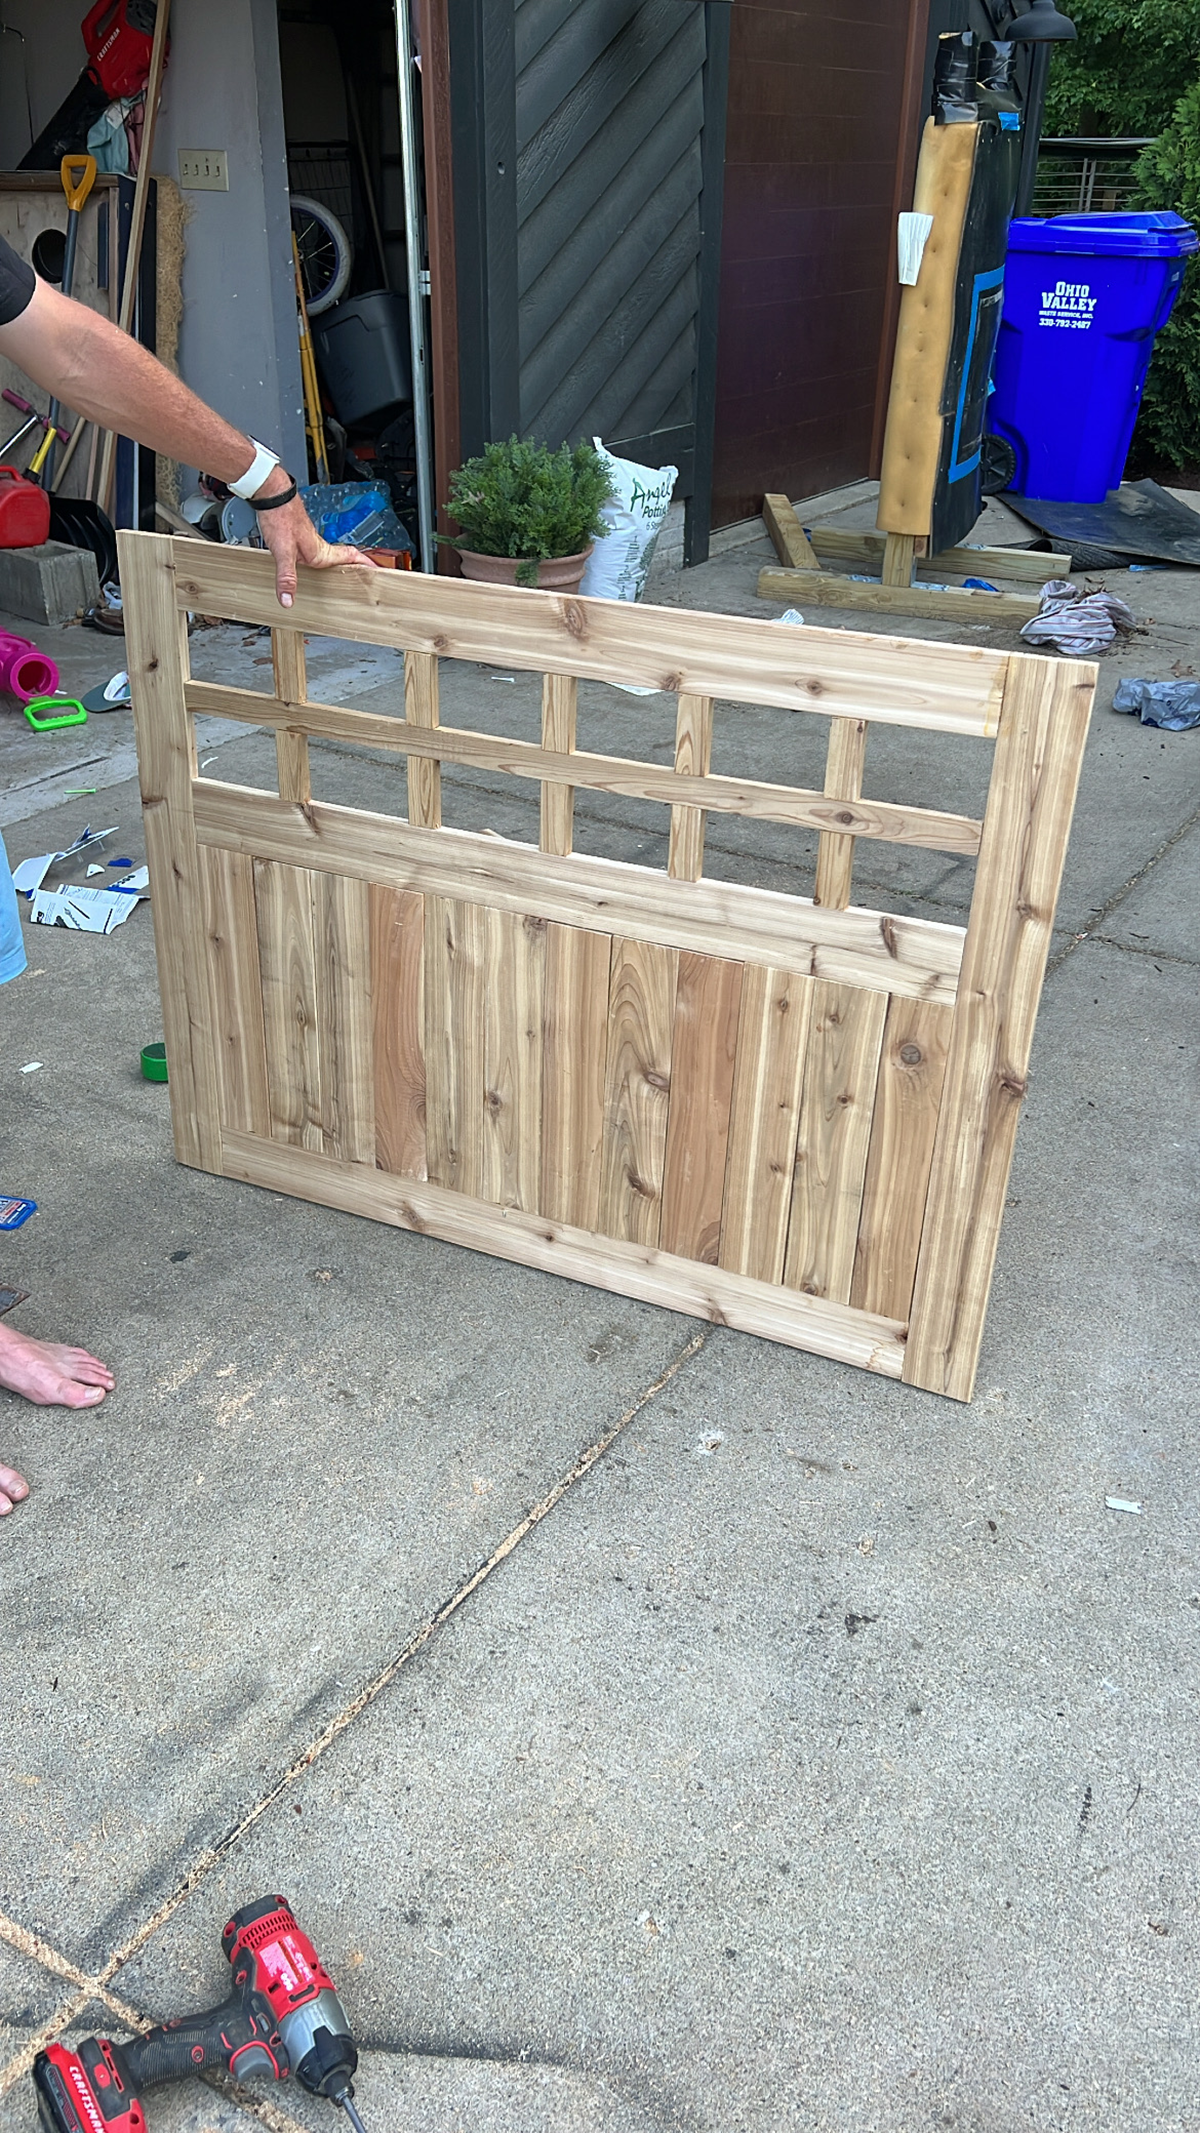
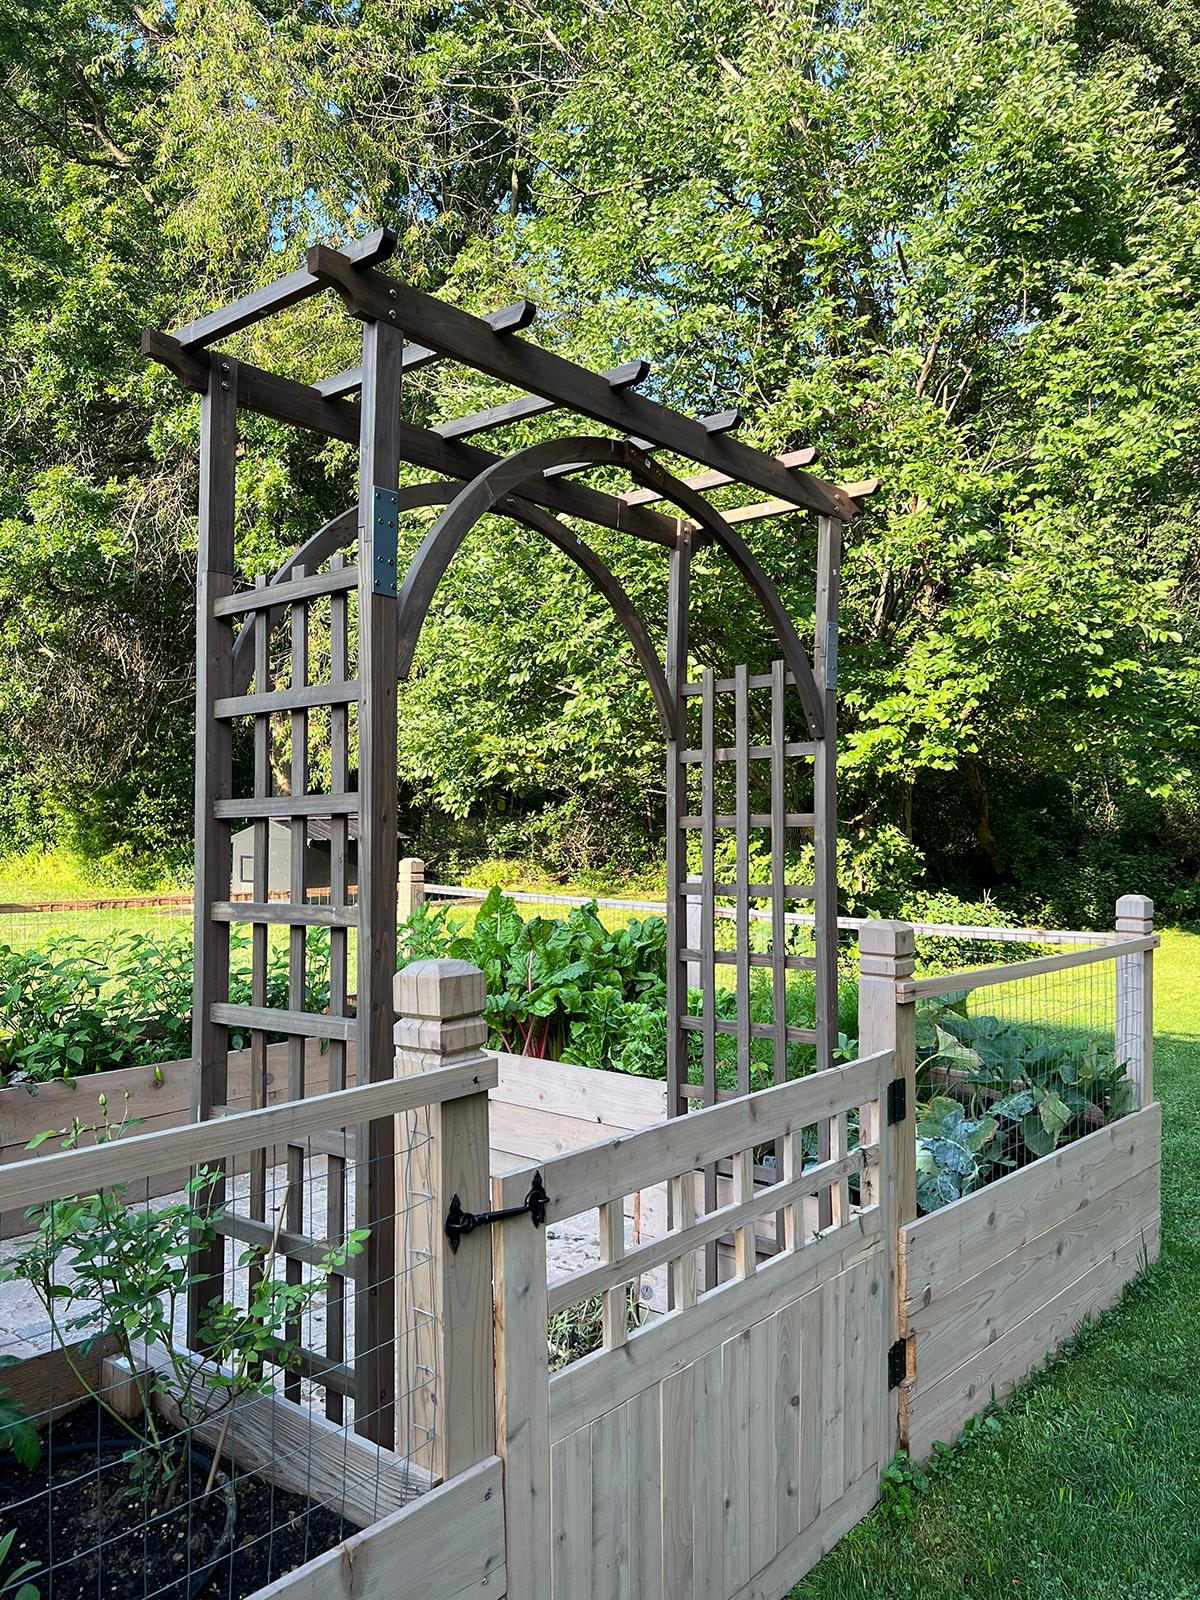
STEP 4: BUILD YOUR GATE
I had so much fun coming up with the design for the gate on our raised garden. This was such an important part of this build because it added so much charm! It’s also the most used part of the garden getting opened and closed numerous times a day and I wanted the way it felt when I walked through it to bring a smile to my face.
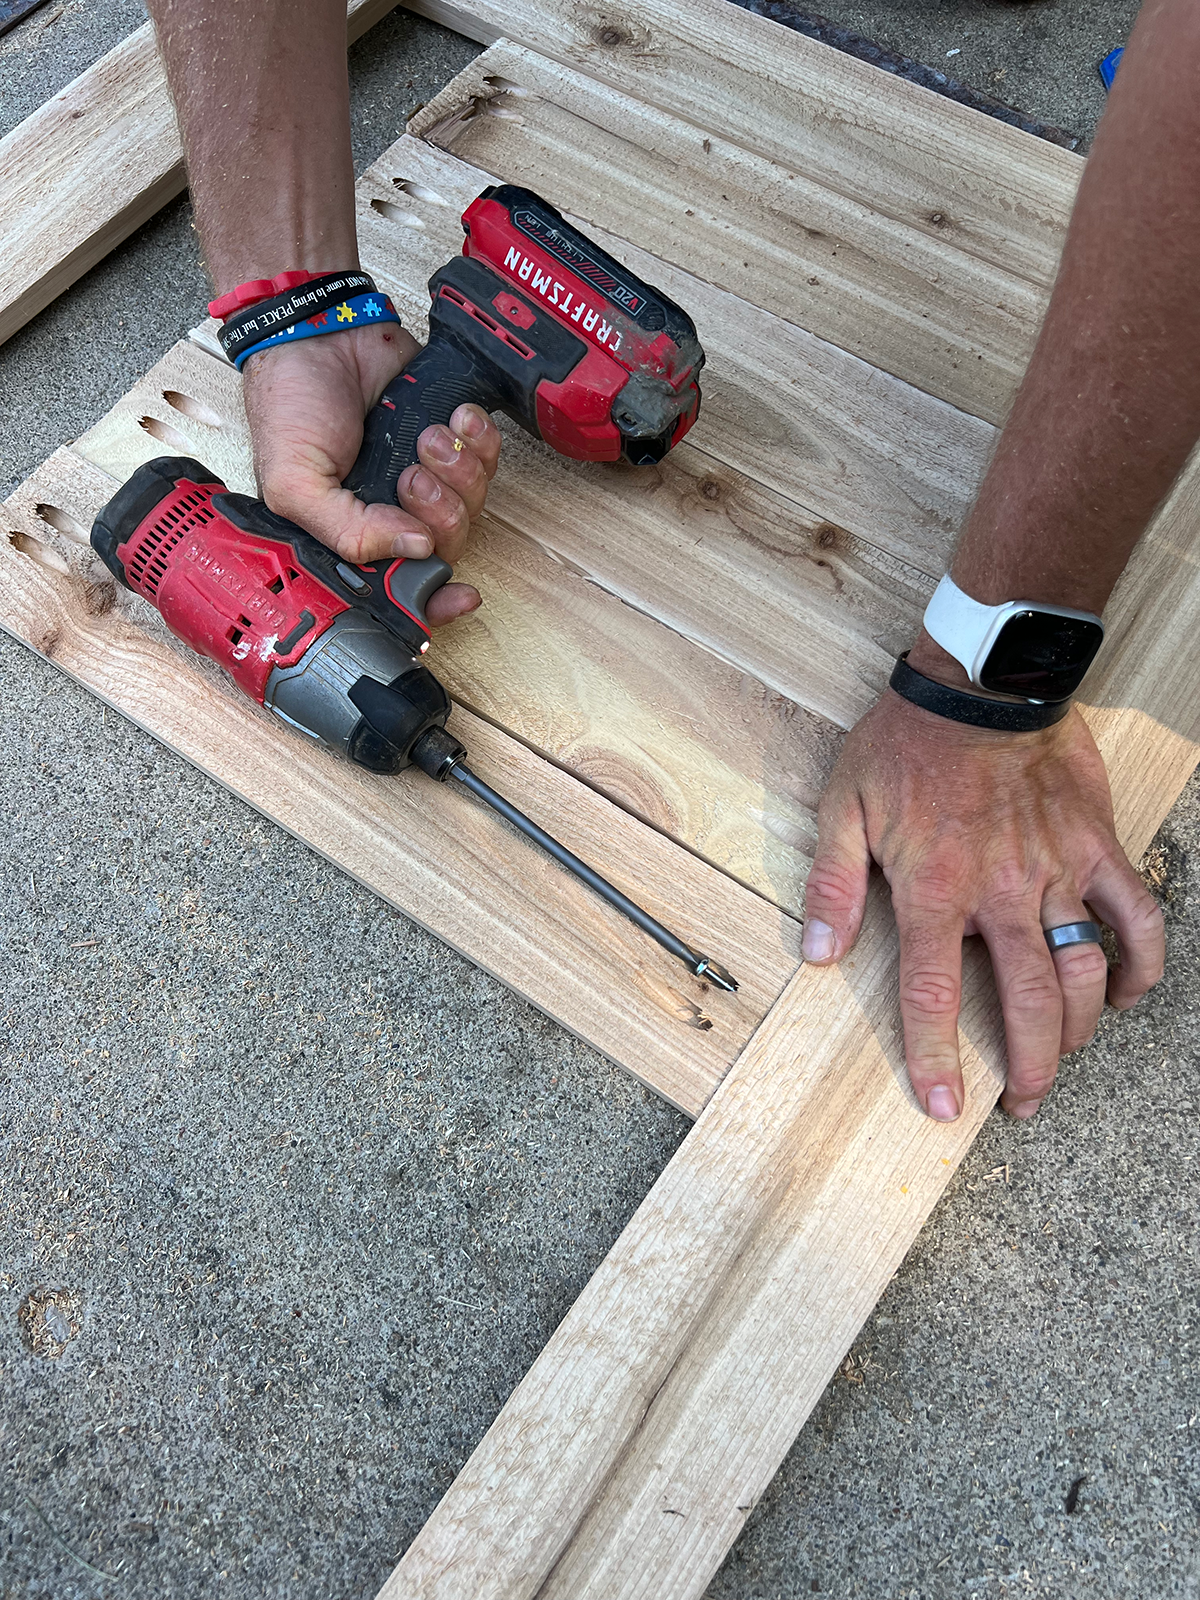
We attached everything using the Kreg Jig which was a total time saver and made it super easy. Then we used these hinges to attach it to the posts at the entrance of the garden.
STEP 5: STAIN YOUR GARDEN
Before you fill your garden you’ll want to stain it, if you’re choosing to do that. If you’re using an outdoor wood like cedar, you can totally just leave it natural and let it weather on it’s own. I decided I wanted to adjust the color slightly so I used Sherwin Williams Woodscapes in the color Mountain Ash.
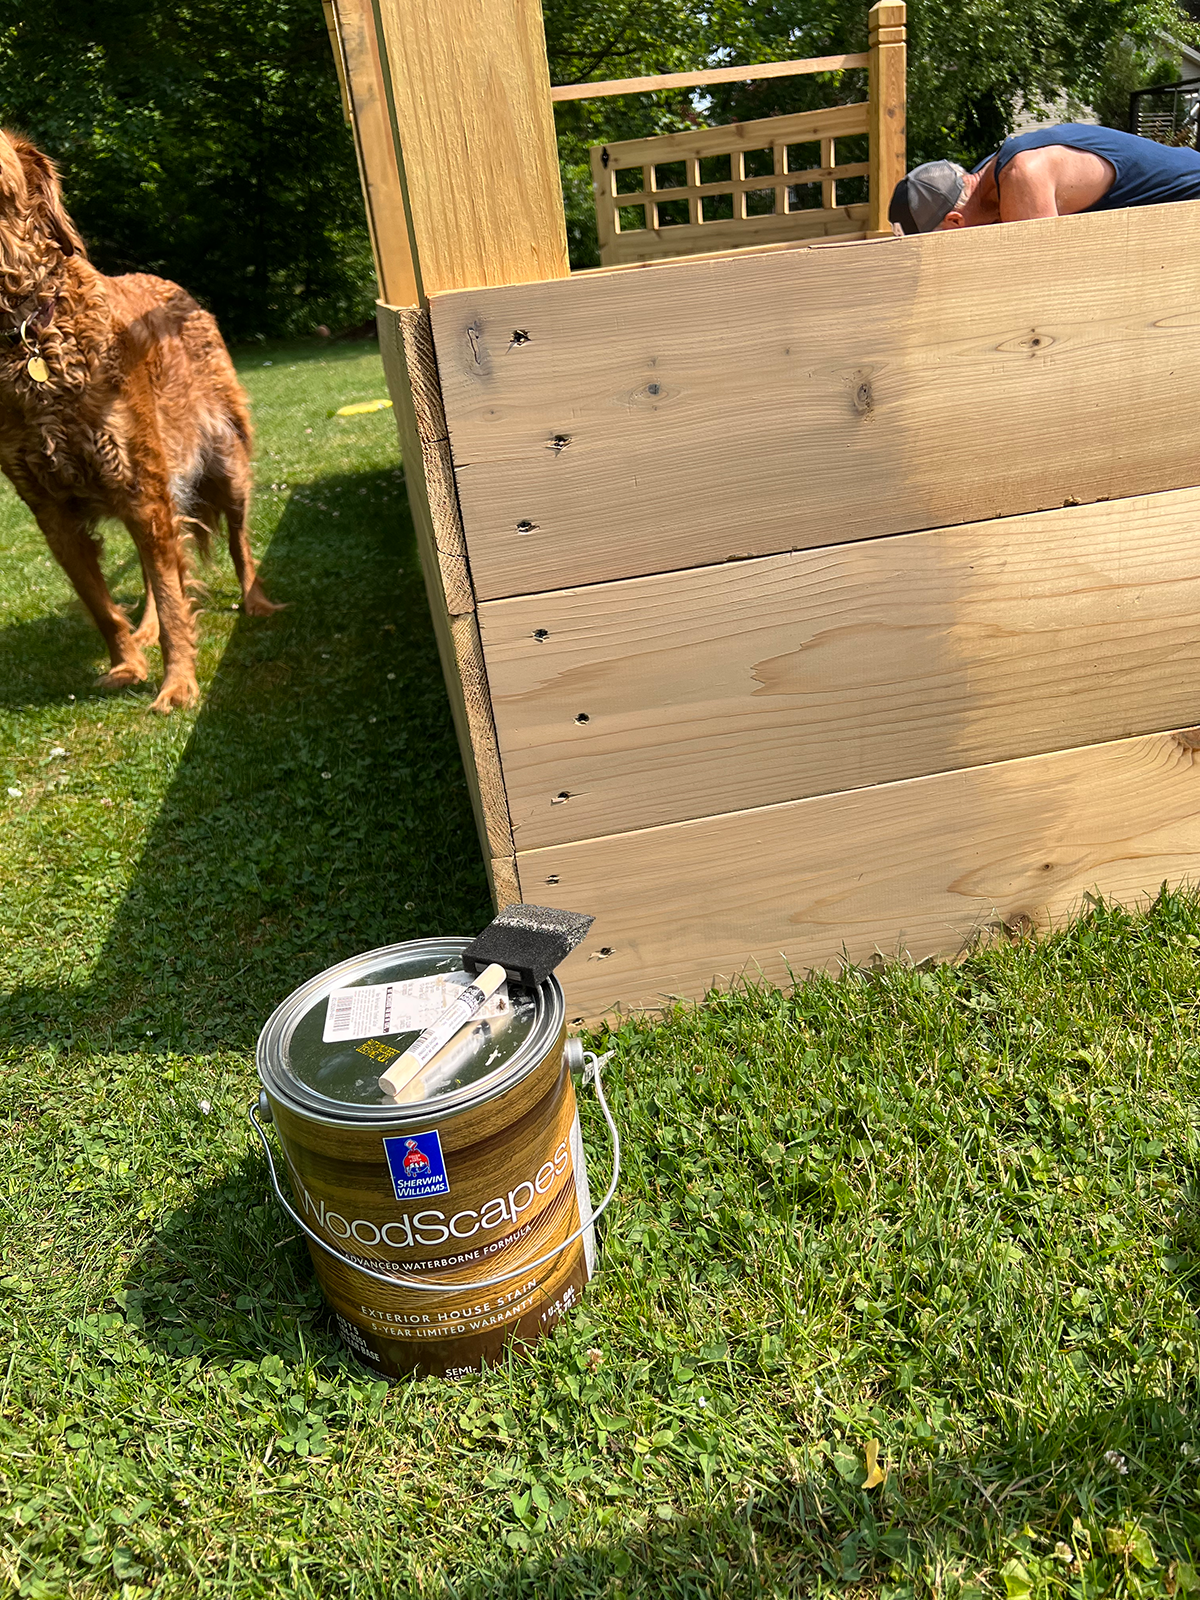
After applying it, I was a little uncertain about it and thought about going over it with a darker stain. My plan was to pick something that matched the color of our decking and this was pretty close, it just had a slightly greyer tone to it. I was getting antsy to start planting so I decided to just go with it. It really is a beautiful color and I know over time it will all start to naturally weather anyway.
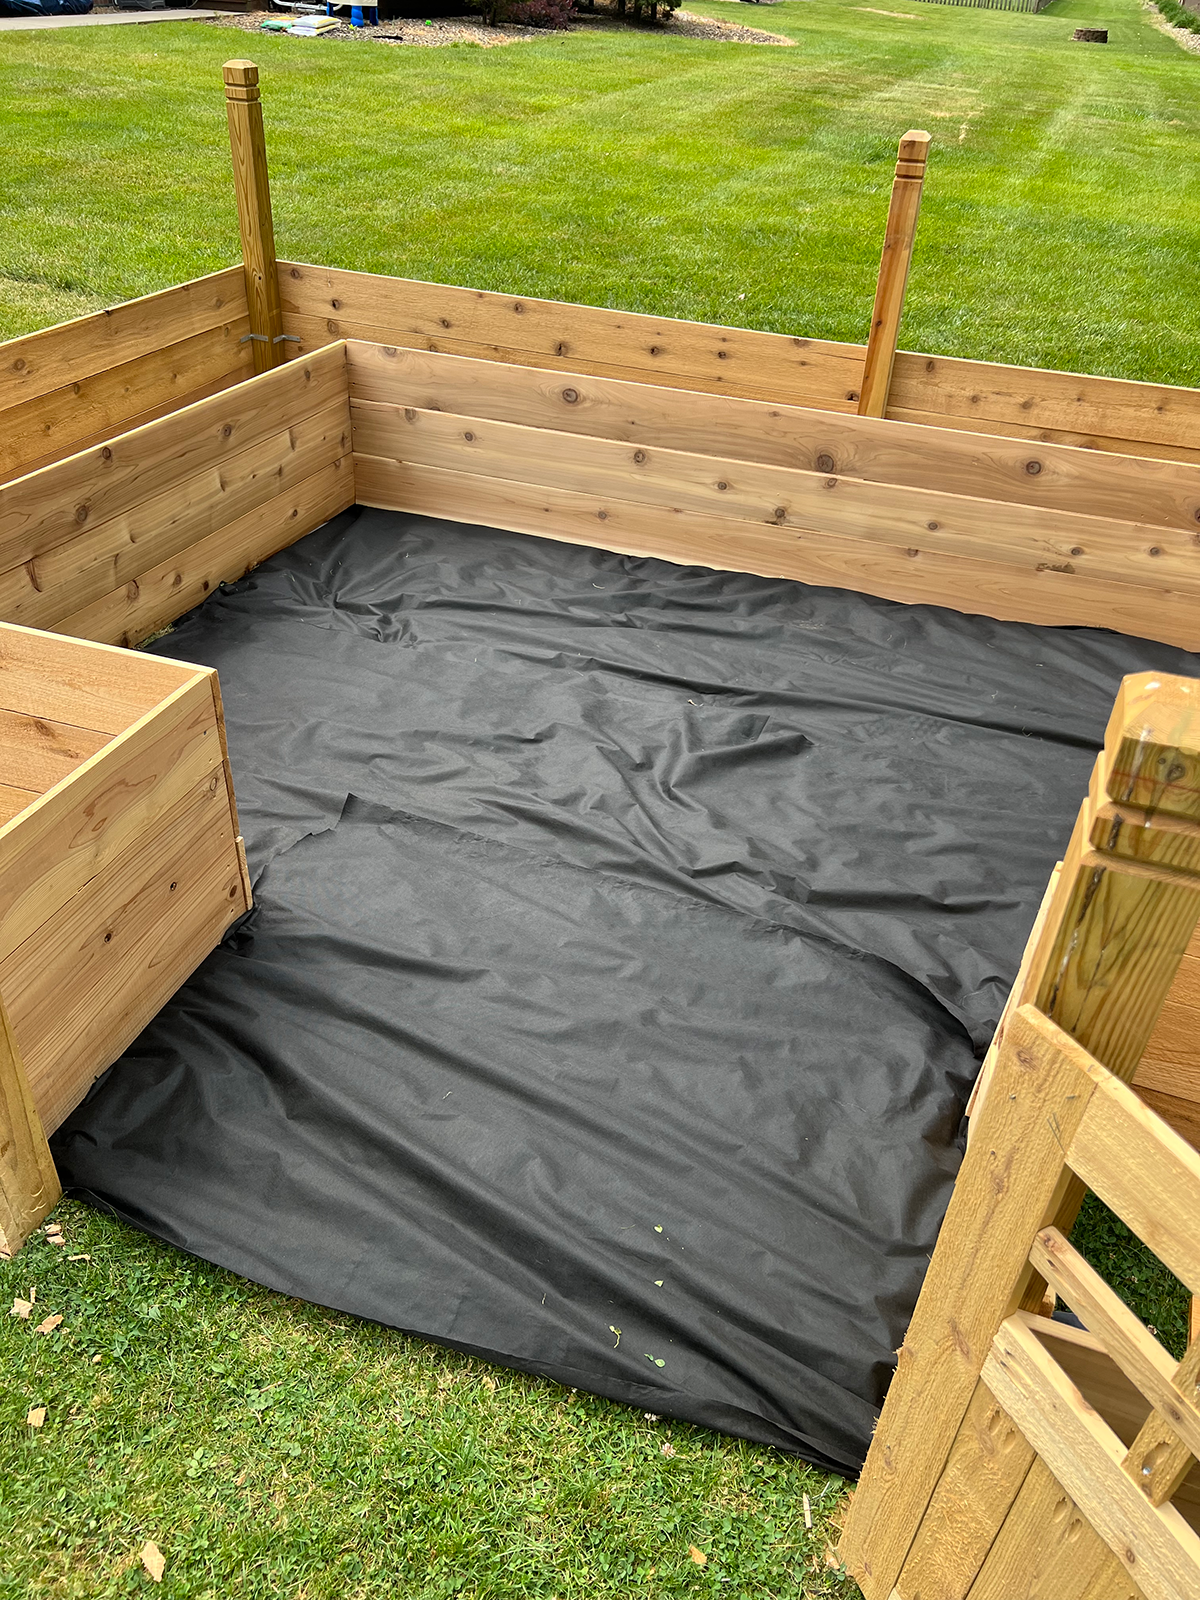
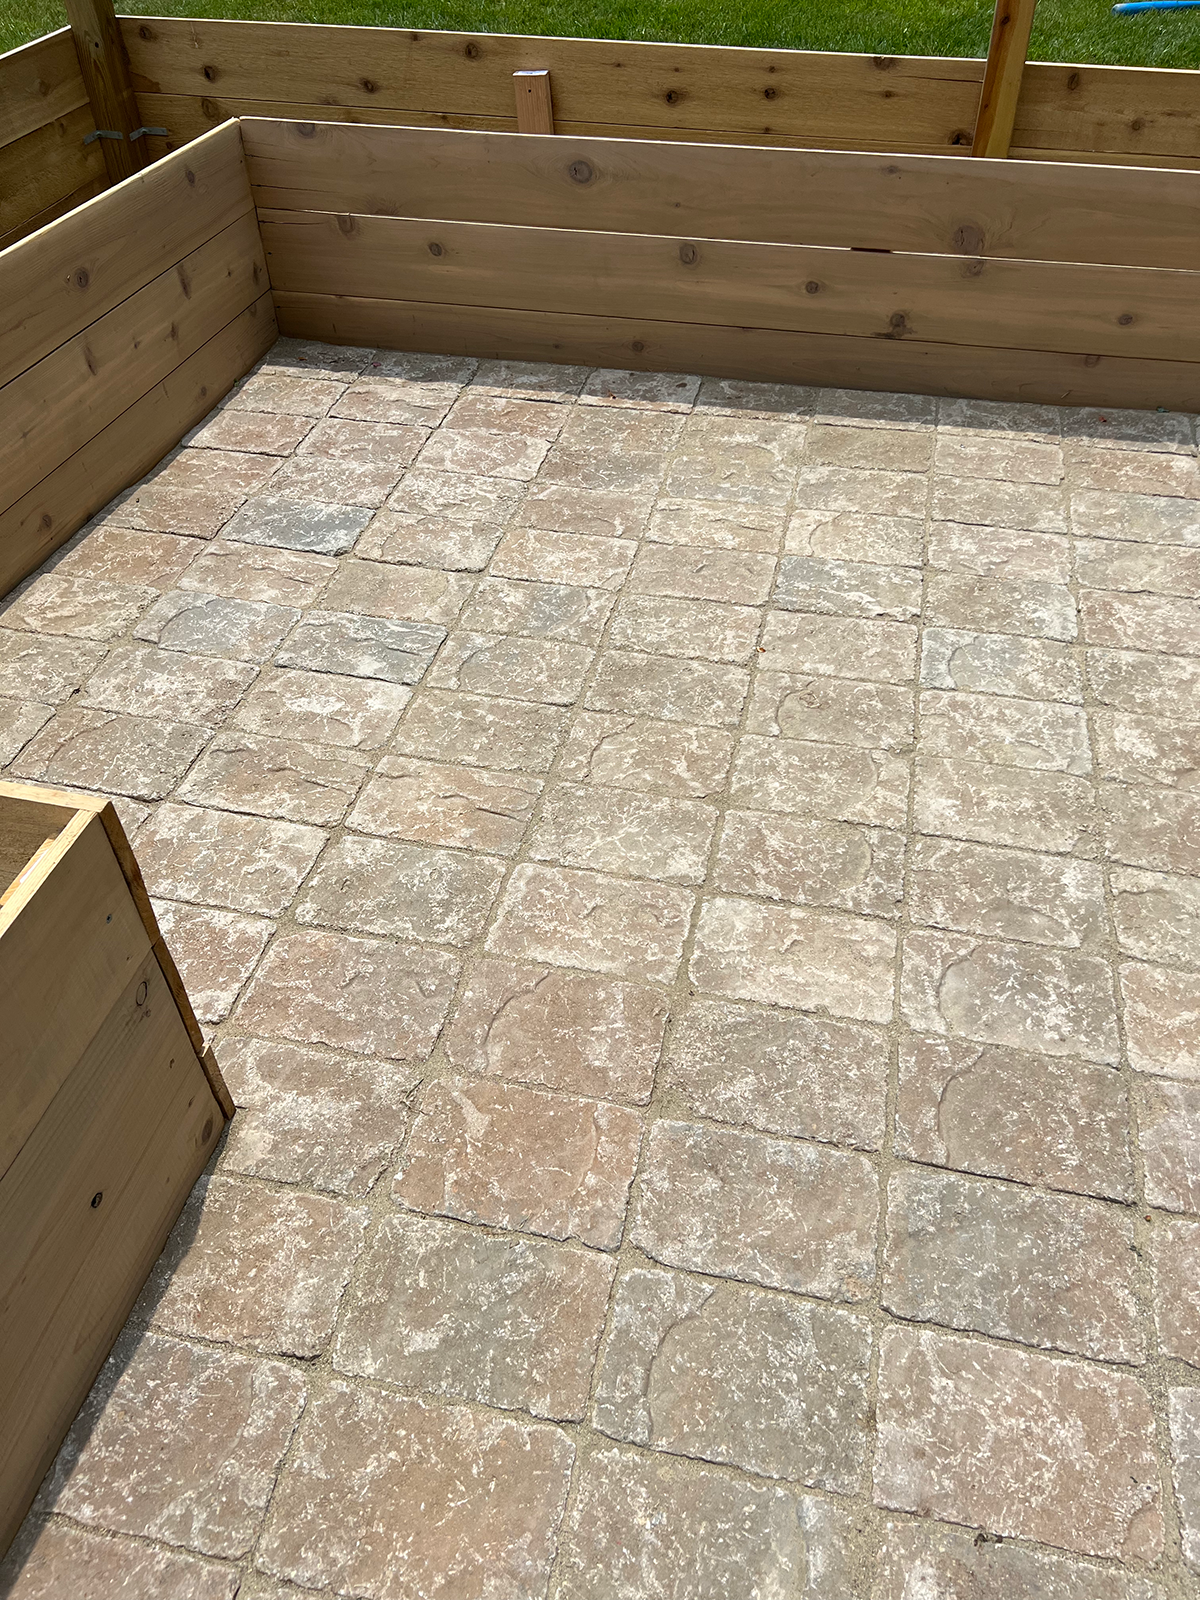
STEP 6: ADD PAVERS TO YOUR GARDEN
You could do a number of different things in the middle of your garden, but I decided to do pavers. You could leave it grass or add gravel or mulch too! For this process we first laid out weed barrier to prevent any weeds from growing.
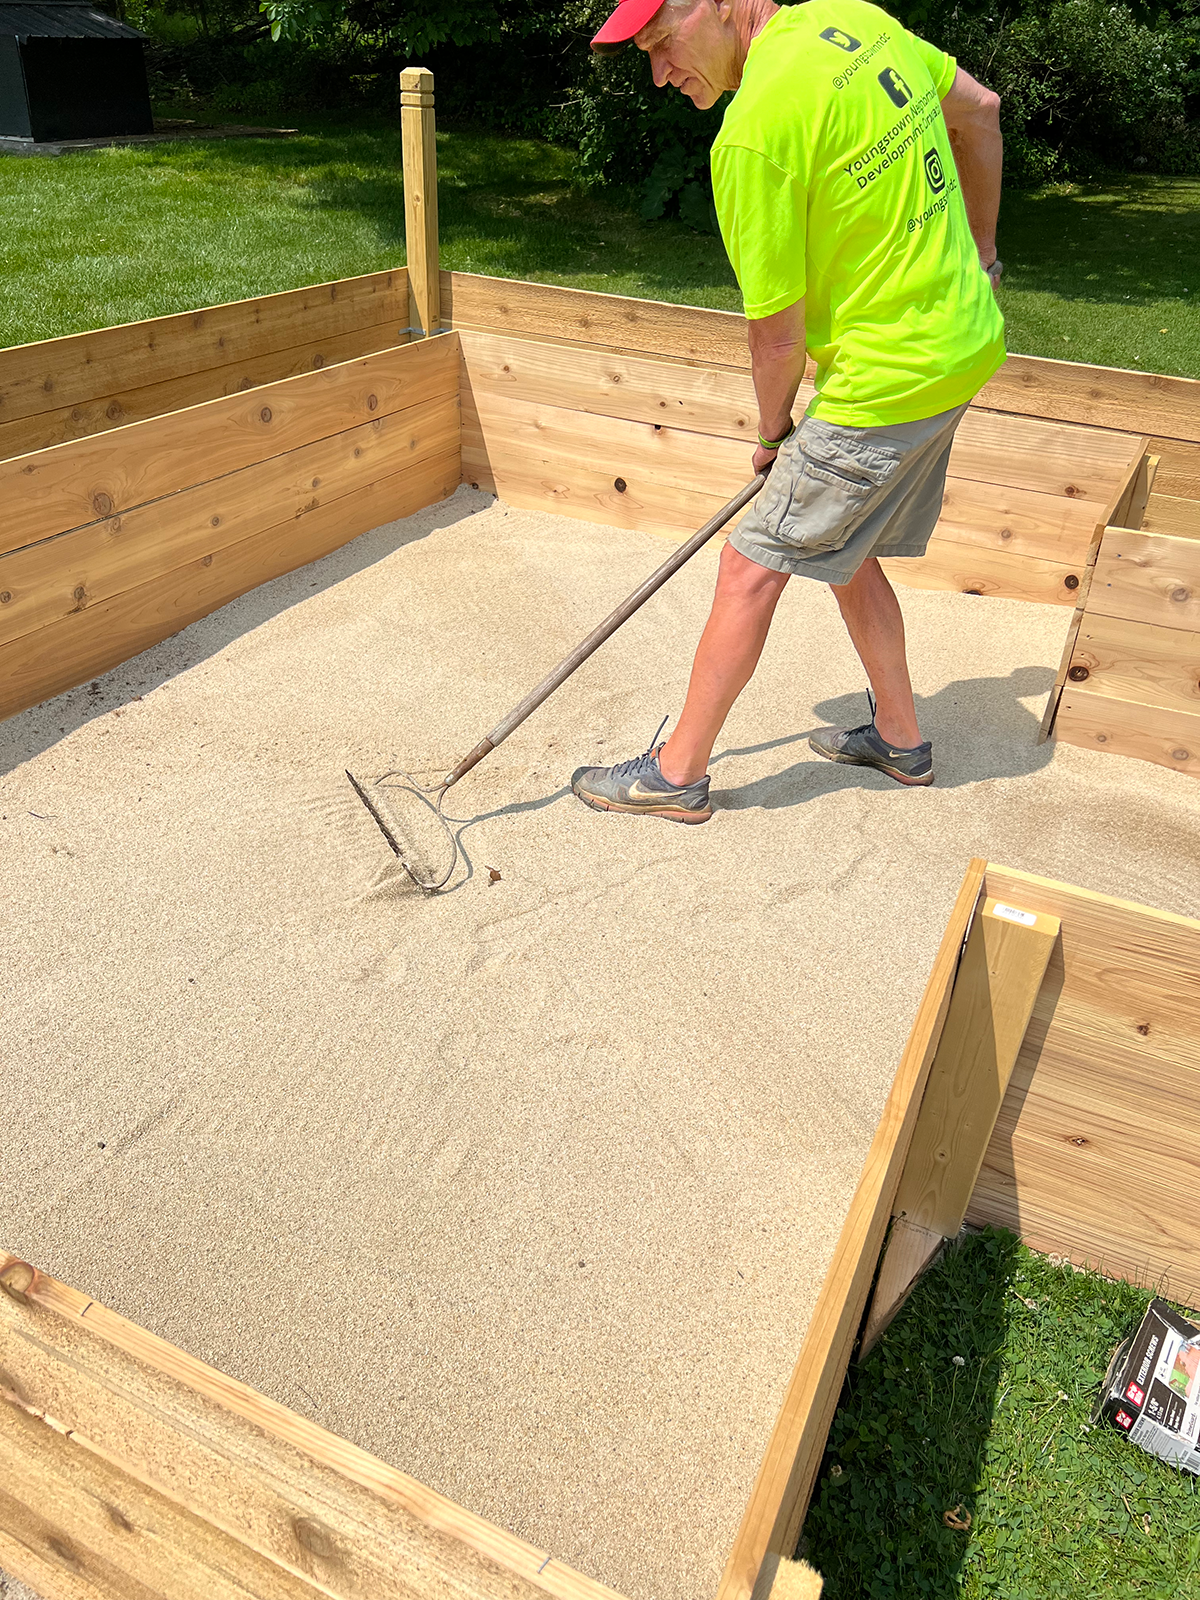
Next we used sand to create as flat as a surface as possible. Using a long level helped to smooth it all out! Once smooth you can also tamp it down to get it nice and flat.
After the sand, you can add your pavers. We used these pavers from Lowe’s and my FIL laid them starting from the back of the garden moving forward.

To help keep them in place we used polymeric sand which works super well. You can follow the directions on the product but you basically sweep it in to the cracks and then water it to make it harden in place.
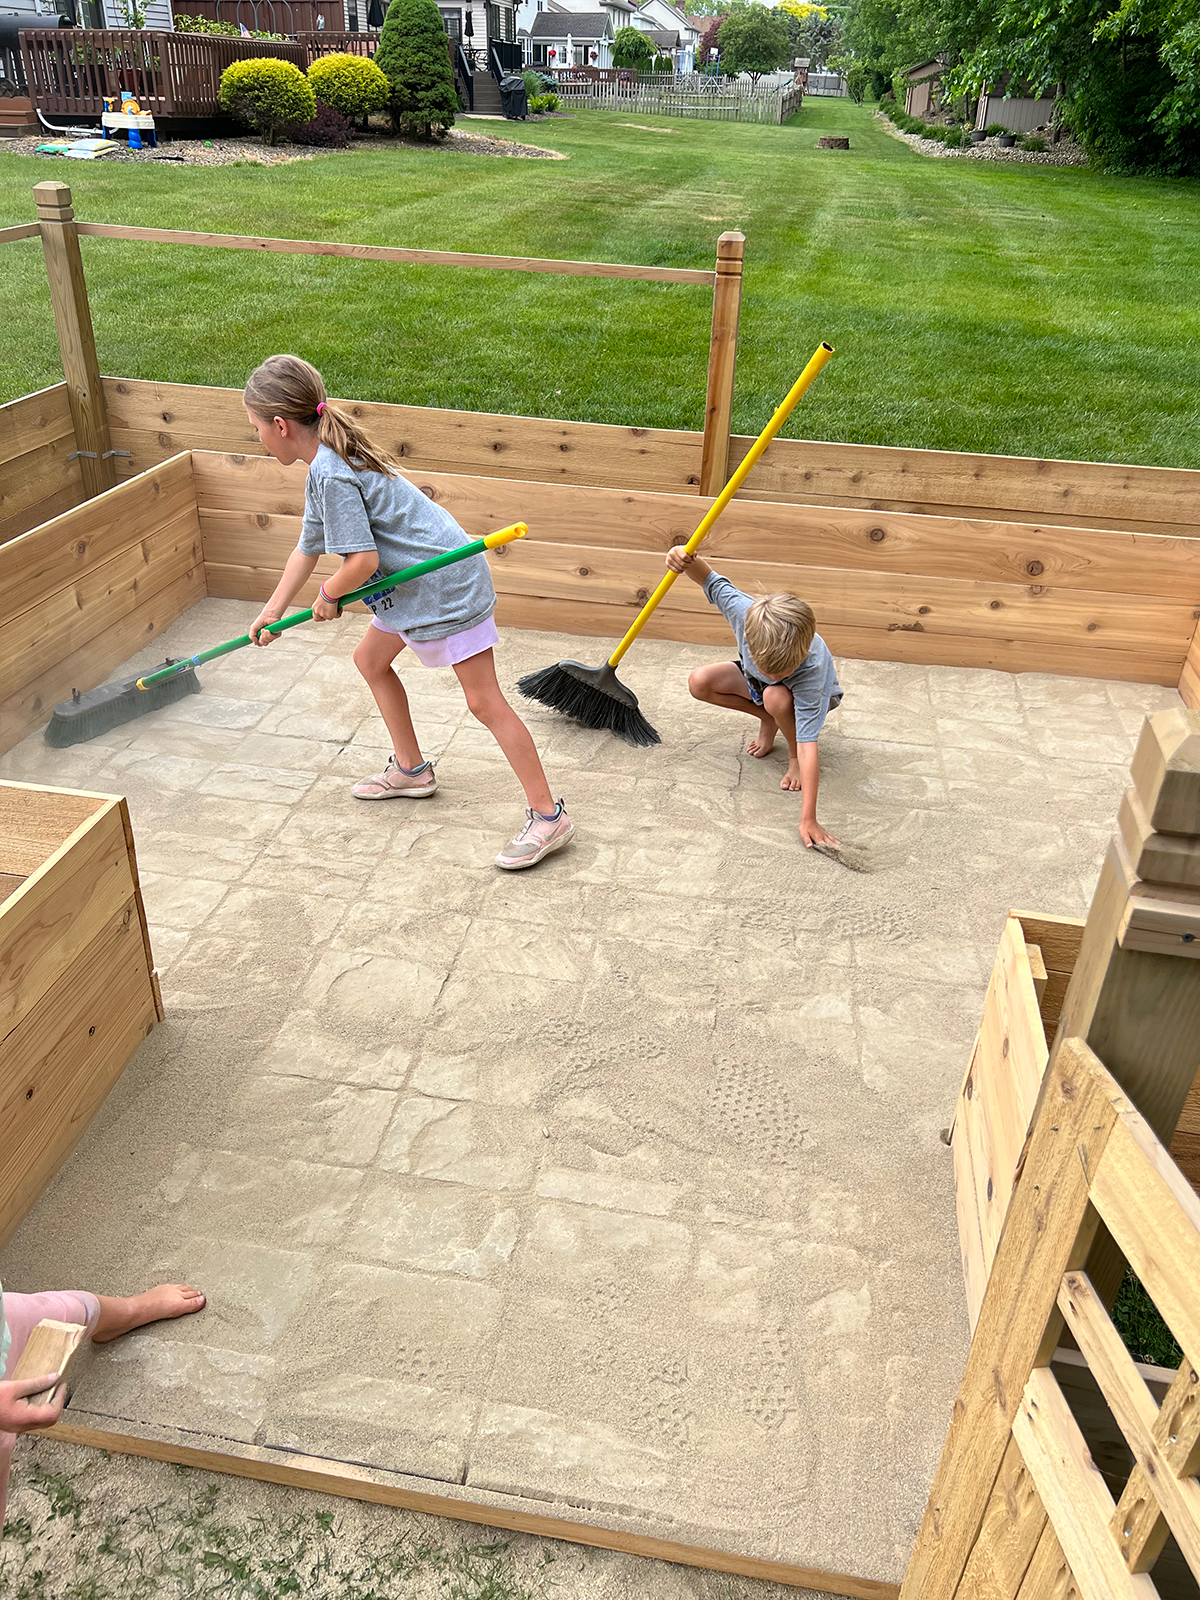
These pavers added so much charm and character to our garden! It was exactly what I was envisioning and I think was the best option for durability over time.
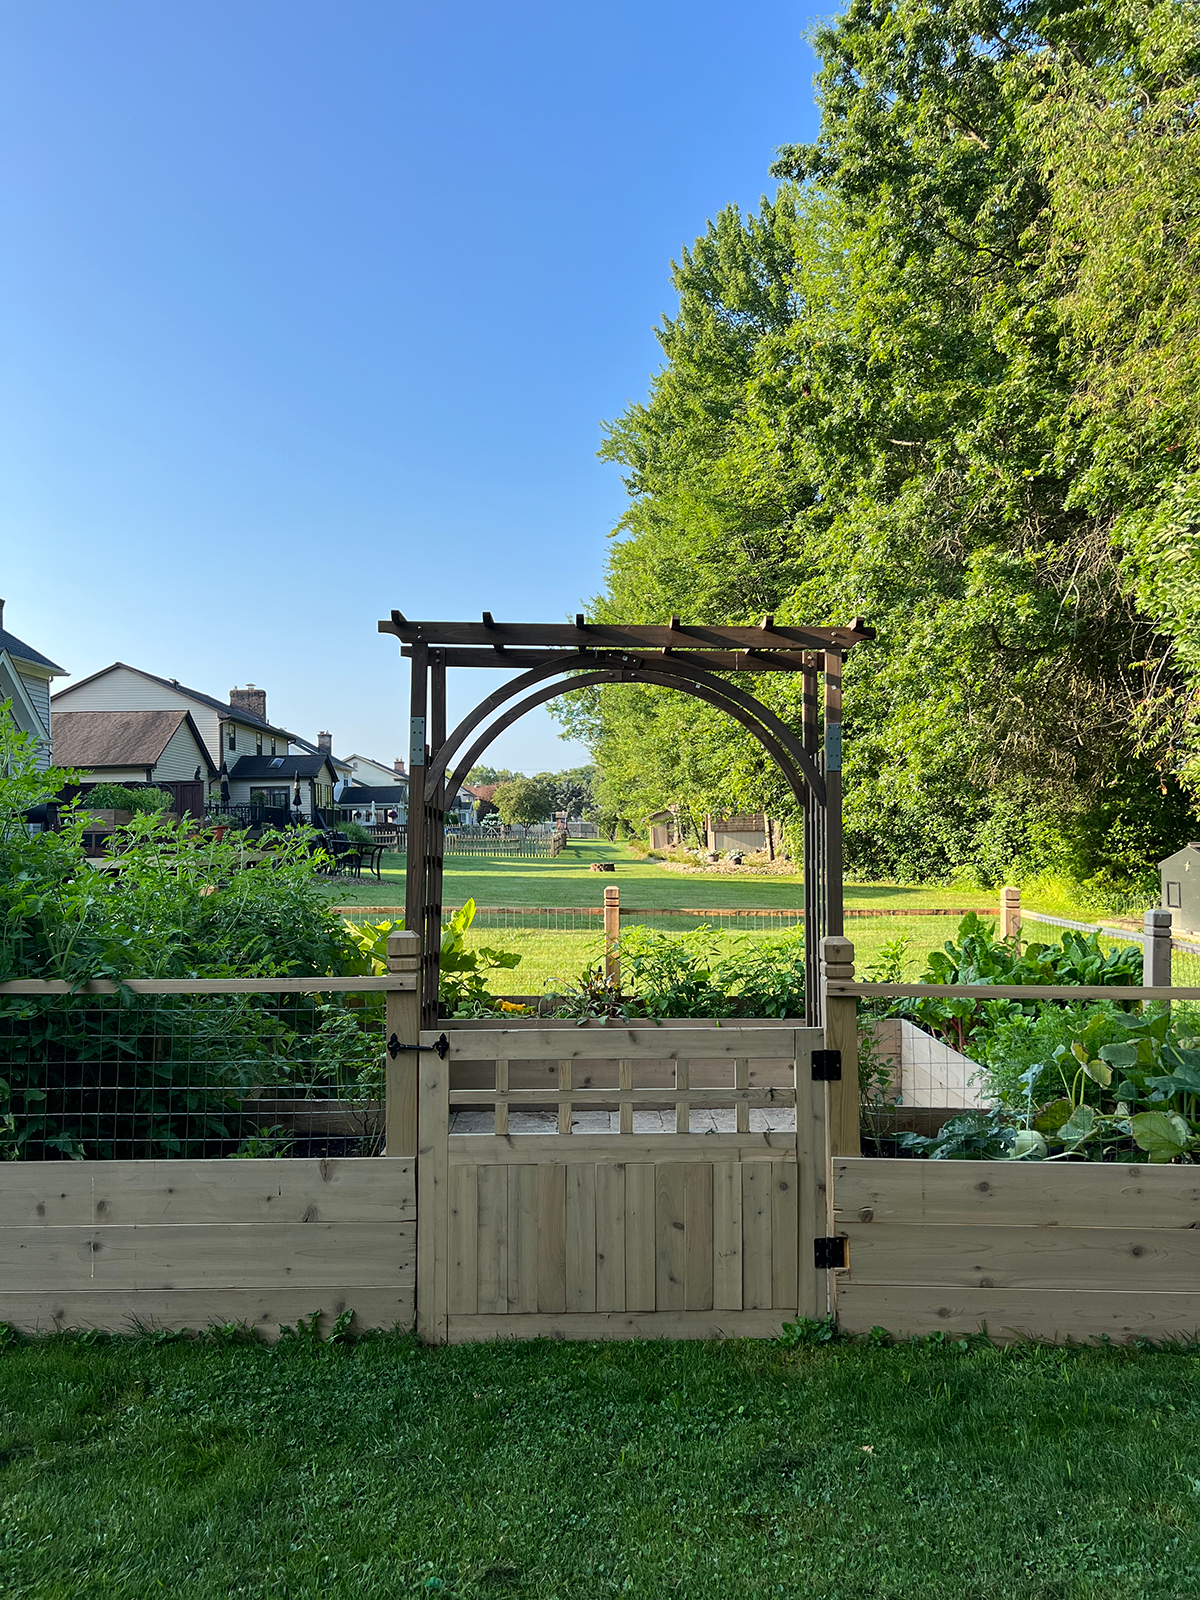
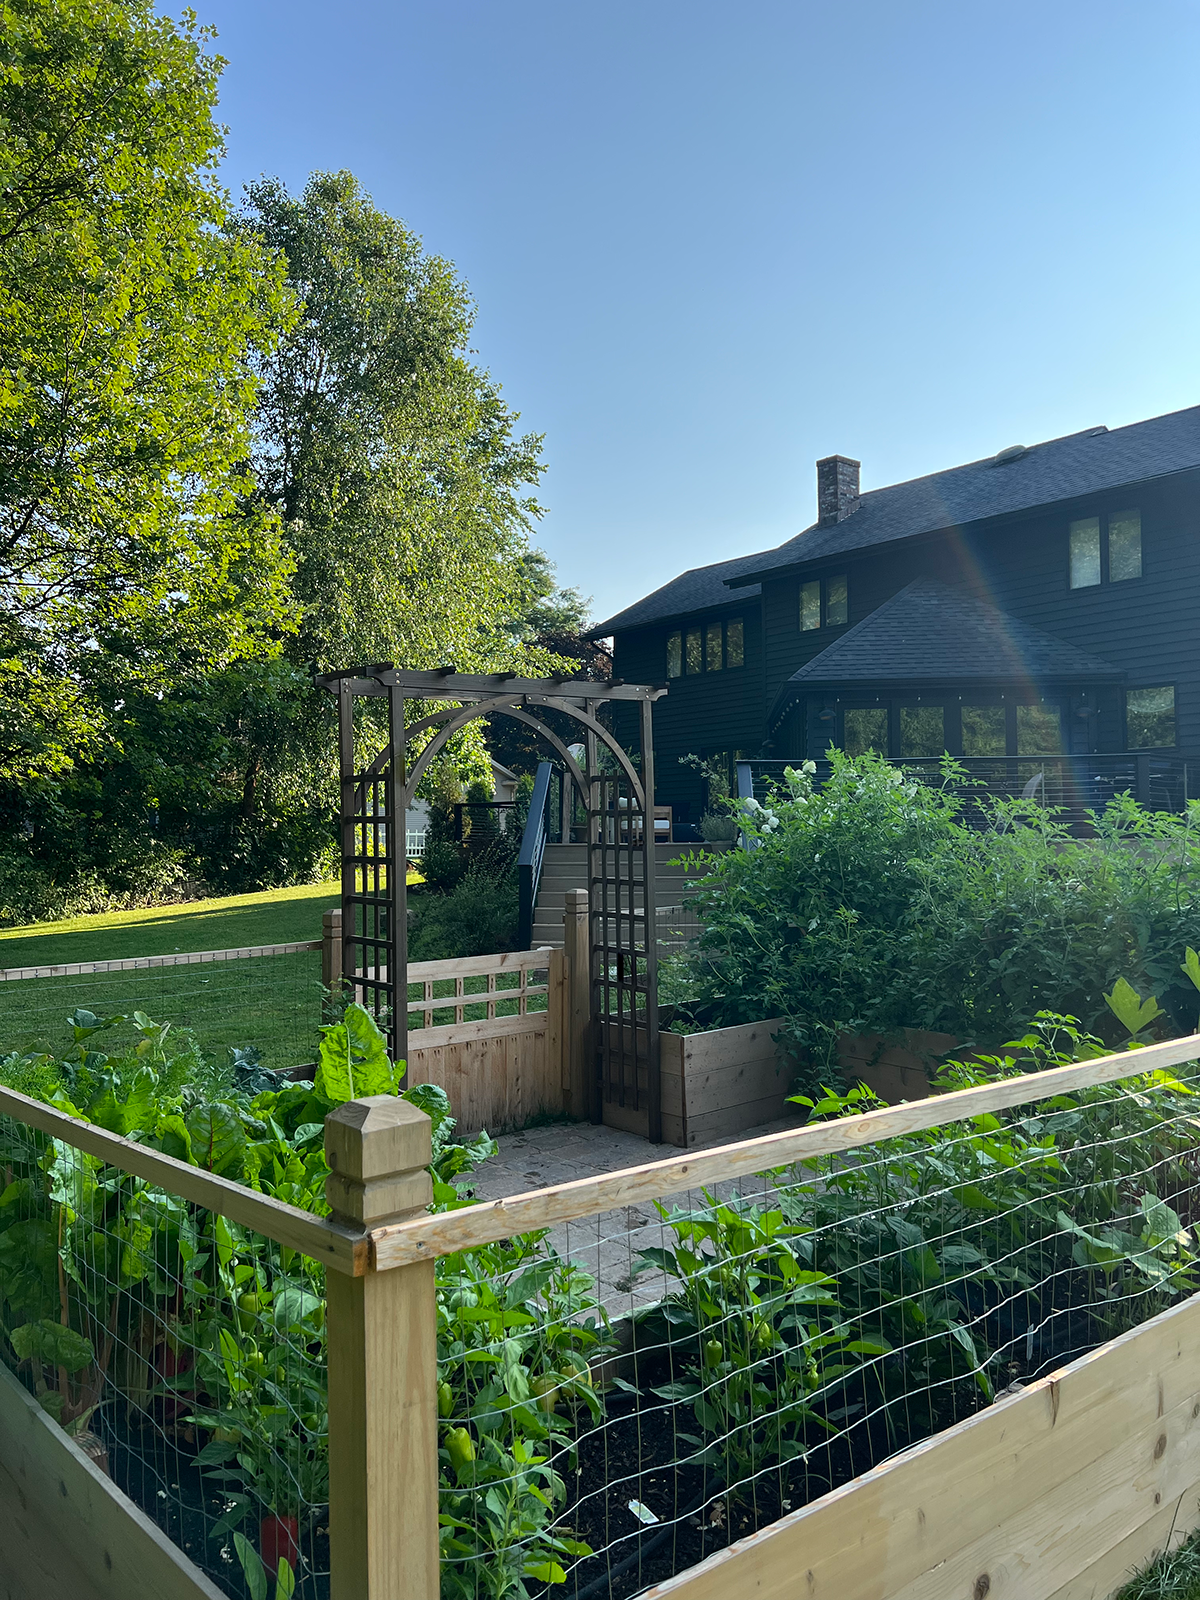
STEP 7: ATTACH AN ARBOR
For even more charm, you can add an arbor to your garden! We debated building one, but cedar is pricey and was starting to add up so we decided to purchase one instead. I ordered some CL Iceberg roses from Heirloom Roses online and they are already starting to grow. I’m going to have to be patient on this but I can’t wait until the whole thing is covered in beautiful white roses!
STEP 8: FILL YOUR GARDEN
This was by far the hardest part of this whole process. Since the beds are a little higher, you have to fill them quite a bit and dirt is heavy! This is why you want to fill them first with as much organic material as possible. We loosely followed the Lasagna Method which helped but I would make sure to fill them even more than you think you need to before adding the dirt, because the dirt pushes it wayyyy down.
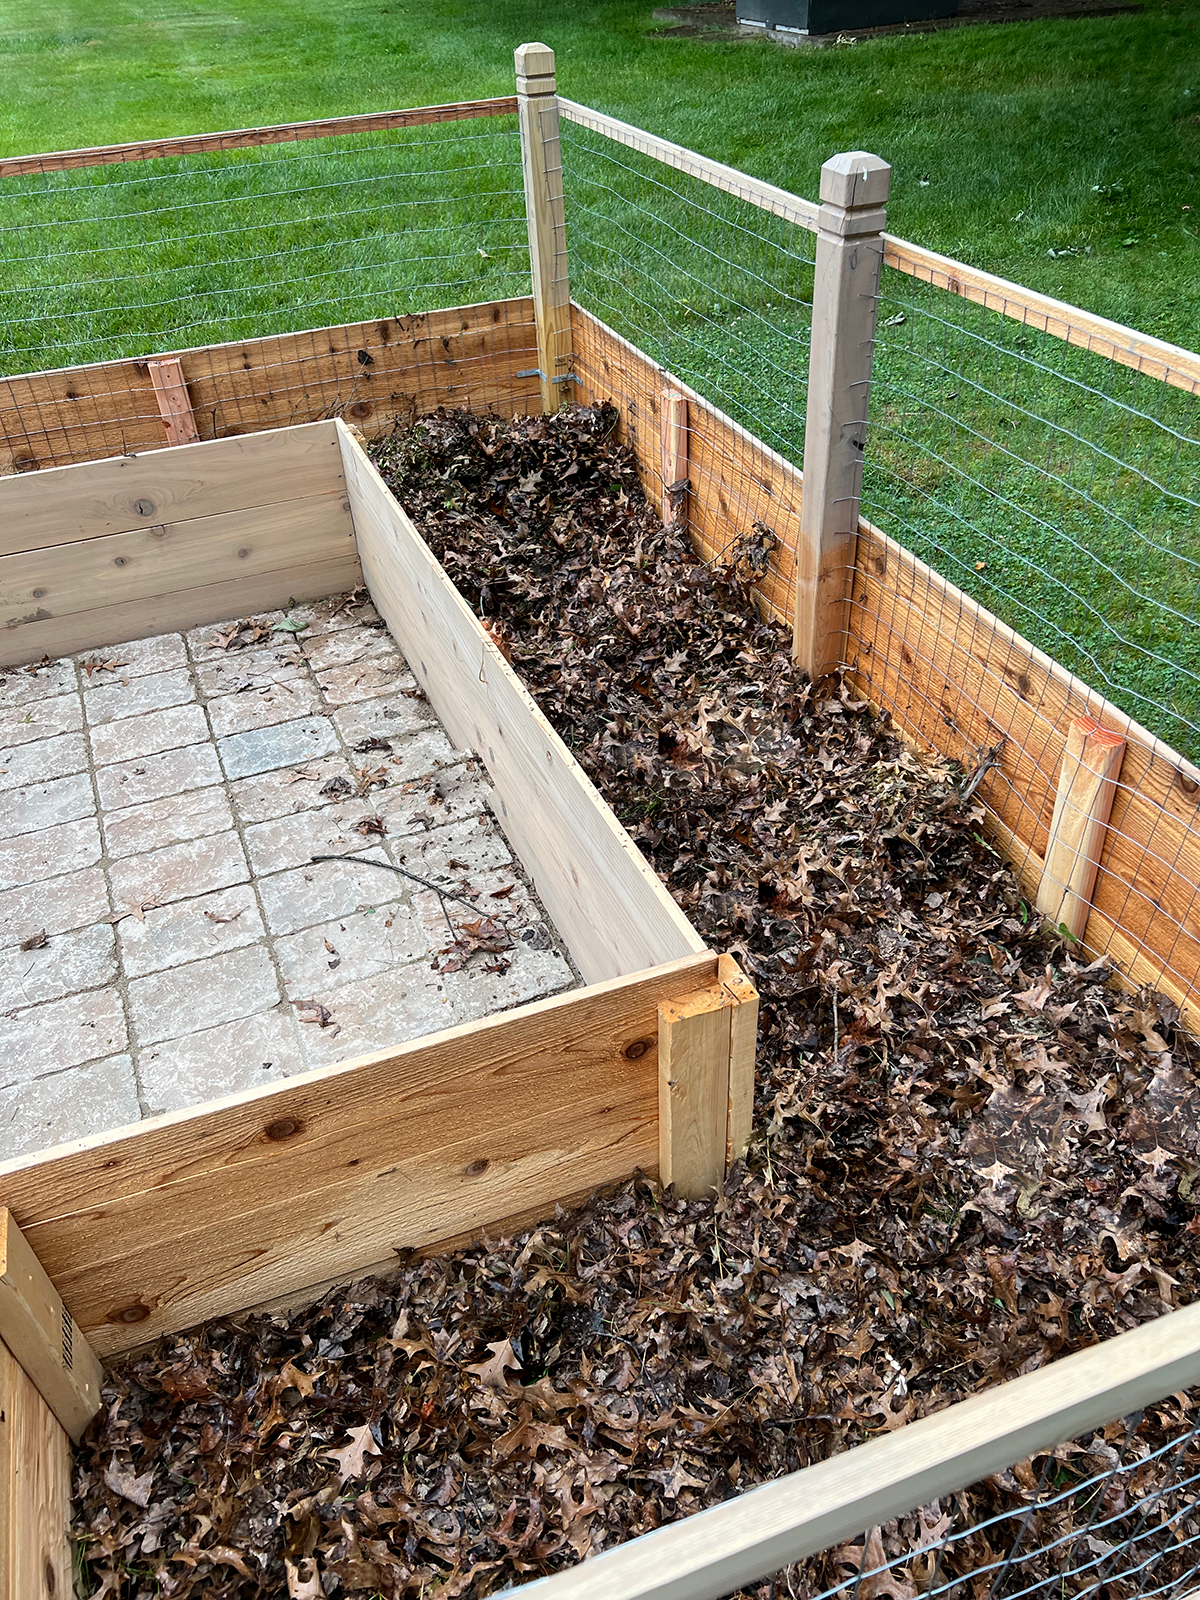
We started with some hardware cloth first to keep any critters from crawling underneath. Then we placed cardboard down to help keep the weeds out. Next was dead branches and twigs from the woods. make sure they don’t have any green leaves on them or they’ll sprout! After that was dead leaves!
Once you have all your layers of organic matter you can start adding in your dirt. I went to Elliott’s Garden Center and they recommended their blended soil followed by an inch of their mushroom compost.
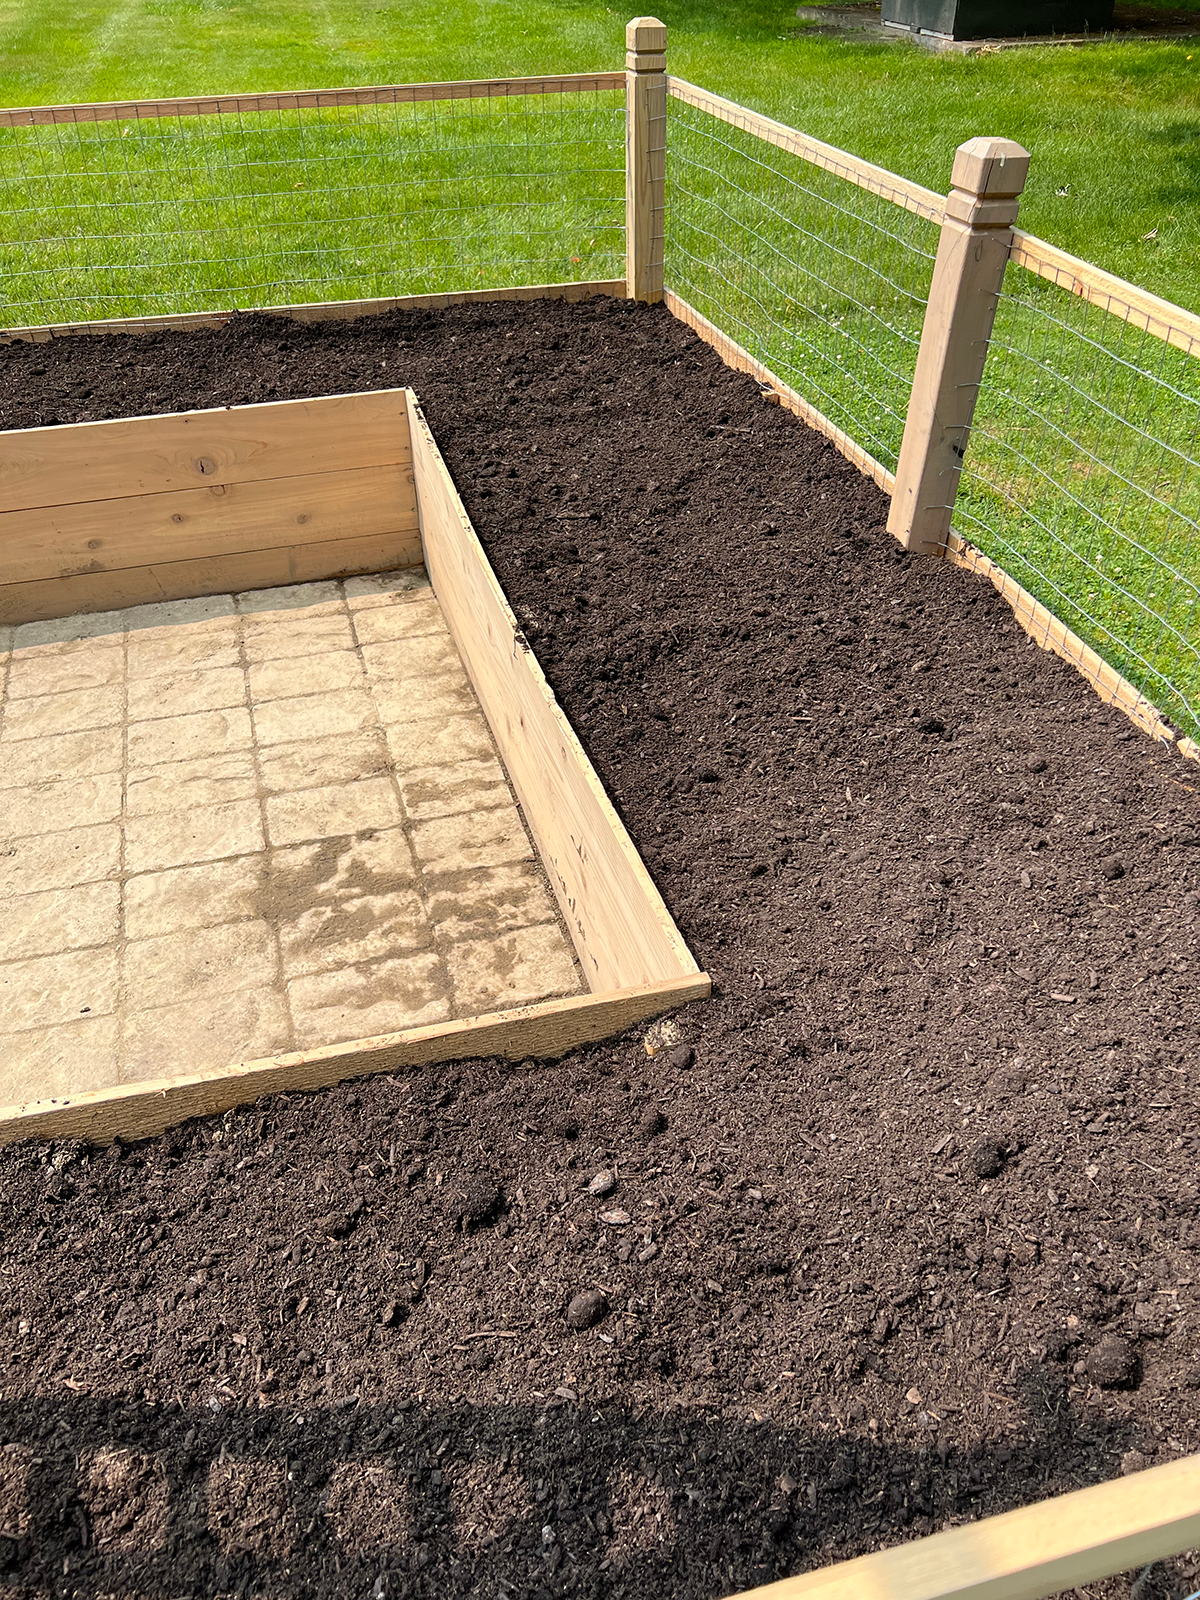
It took lots of trips back and forth from our driveway with the wheel barrow but we got it filled and were so excited to start planting!
I made a video on instagram of the layers we used to fill the garden you can check out!
STEP 9: PLANT YOUR GARDEN!
I went to a few different local nurseries and picked all sorts of starter plants. Since this was my first time planting in our garden I had no idea how many plants I would need so I totally guessed. And of course I got too many ha. When it was time to plant, I just followed the spacing on each tag as best as I could and hoped for the best!
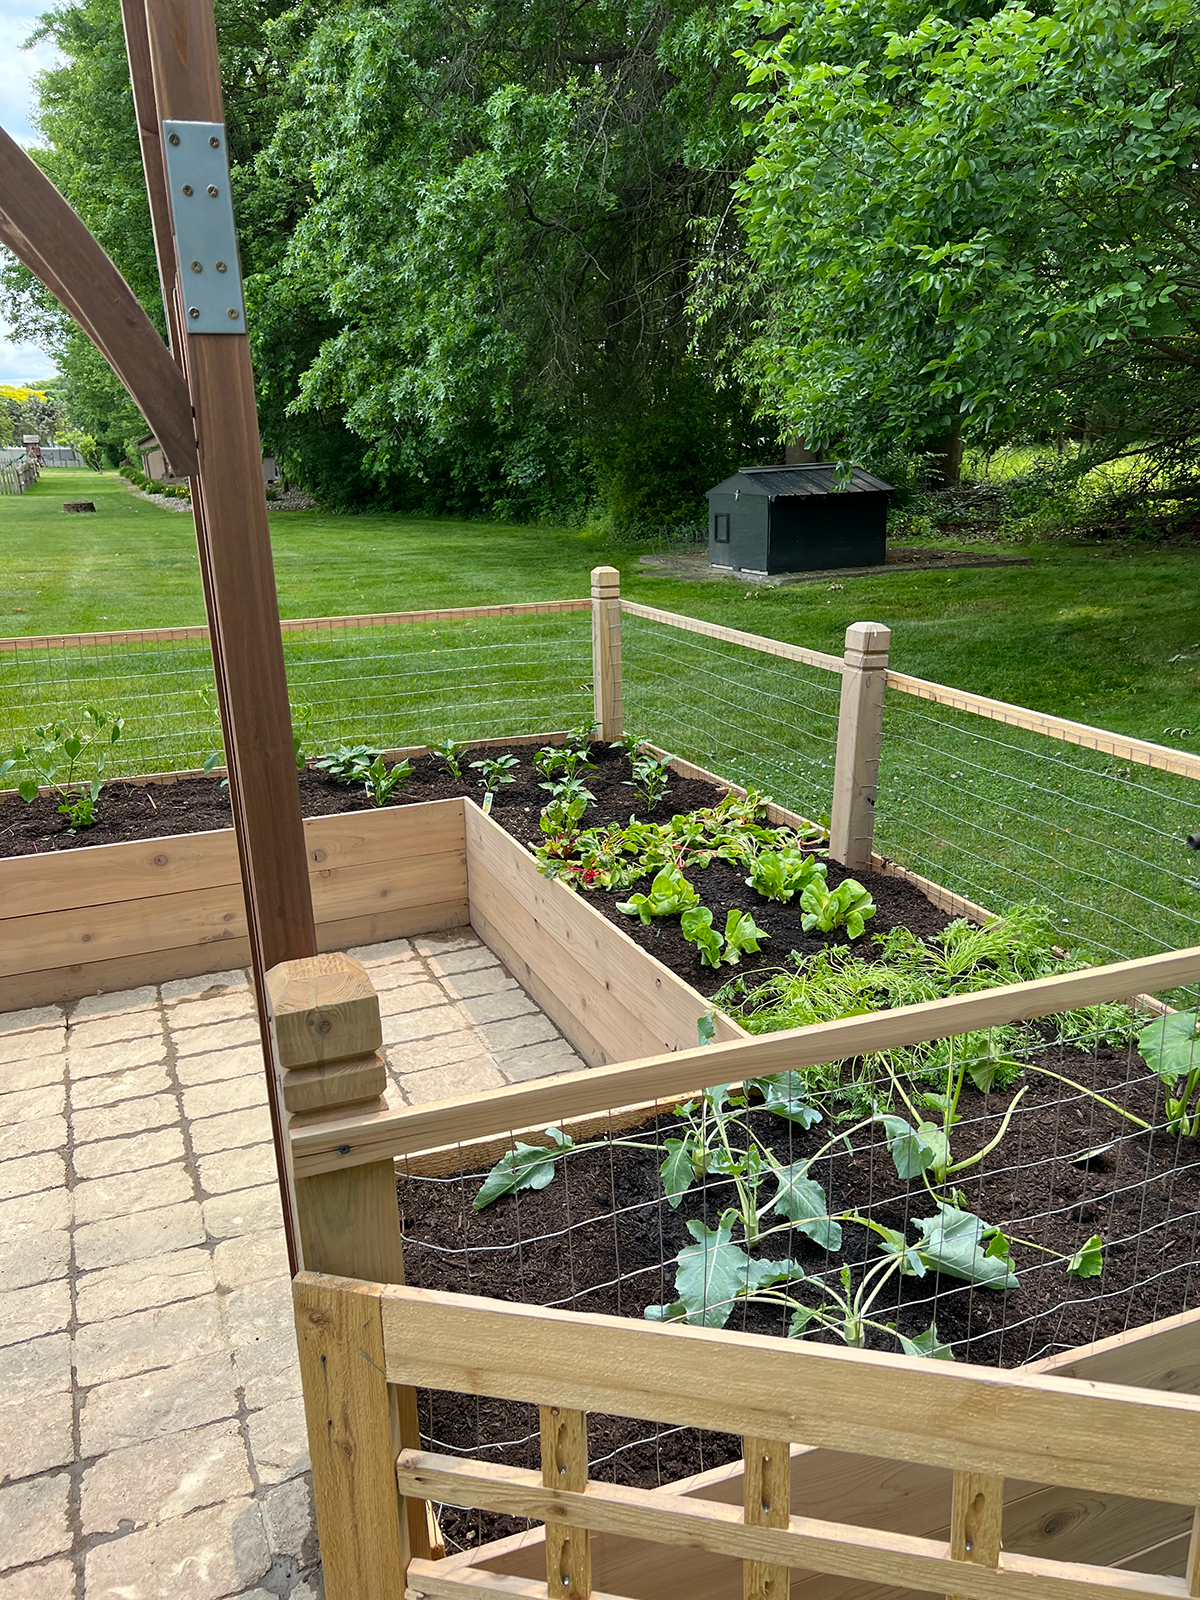
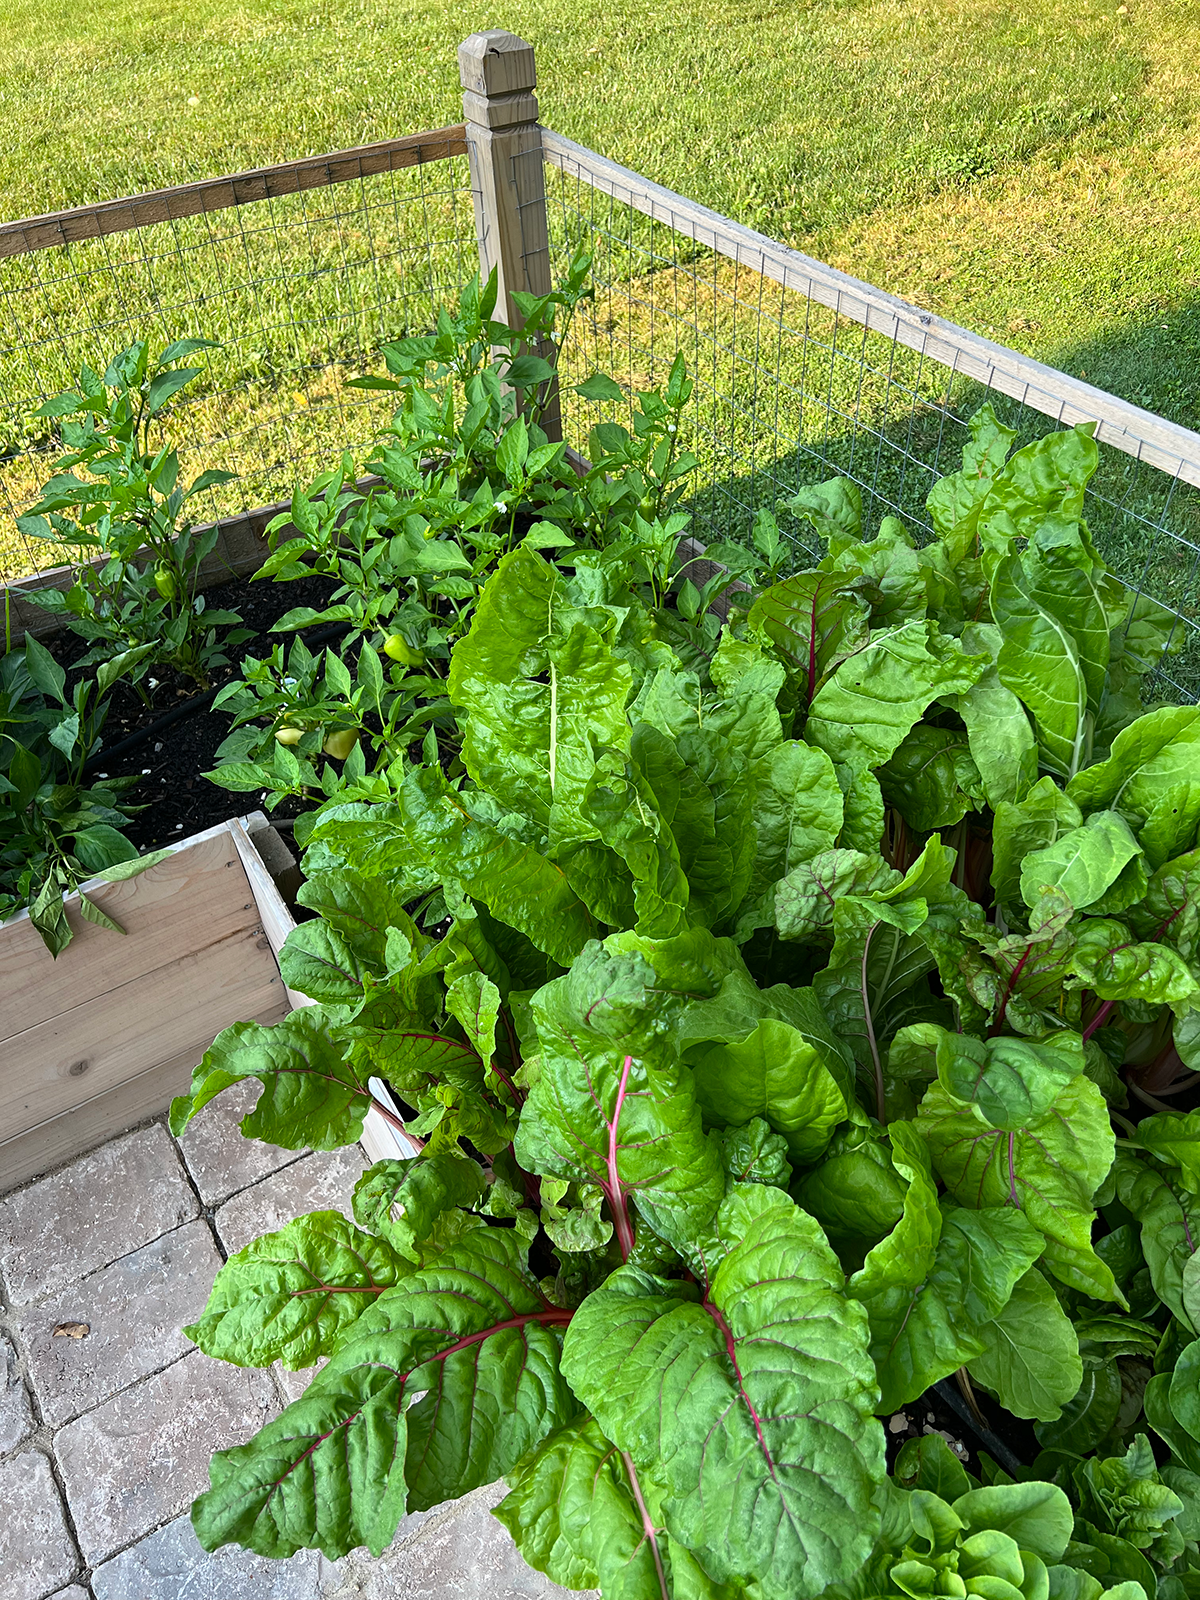
It’s been about a month and a half and our garden is thriving! I can’t believe how lush and beautiful it all looks and we’ve already been able to harvest some veggies! We planted tomatoes, acorn squash, cucumbers, beets, peppers, swiss chard, lettuce, zucchini and kohlrabi.
I want to plant some shrubs and flowers around the garden so you can’t see all the way down through our neighbors yards. And to help bring around some pollinators!
Gardening has brought me so much joy and is so therapeutic for me. It’s so peaceful and incredibly rewarding and it makes me even happier that our whole family likes to get involved too.

Our enclosed raised garden is off to a great start and I can’t wait to watch it grow over the years! We also hooked up a DIY Watering System so be sure to check that out!