About a year ago, I spotted a planter table at HomeGoods that caught my eye. But our deck was under construction and it wasn’t 100% my style, so I snapped a pic to save for future reference. Fast forward to this year and we have a beautiful new back deck and I finally had the perfect spot for it, so we got to building my perfect DIY Rustic Two Tier Herb Planter!
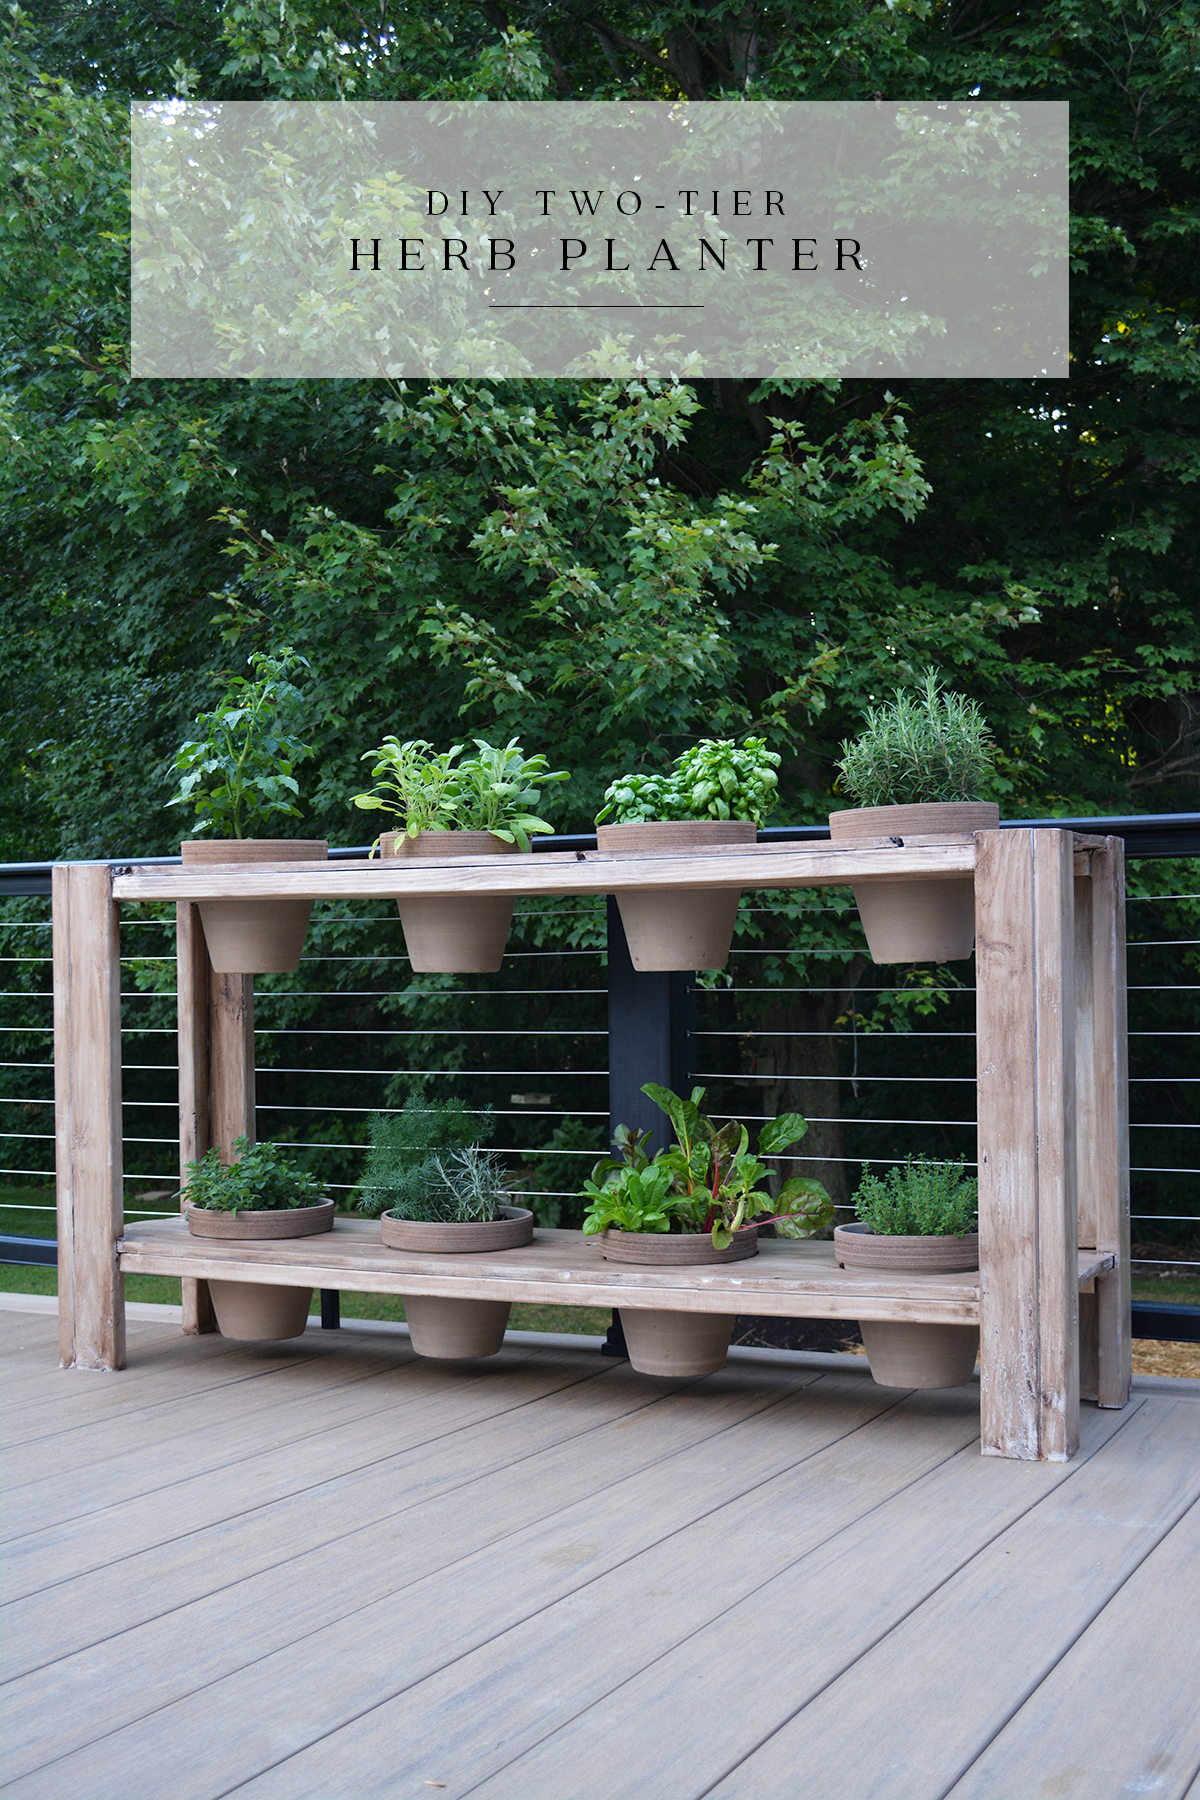
DIY TWO TIER HERB PLANTER
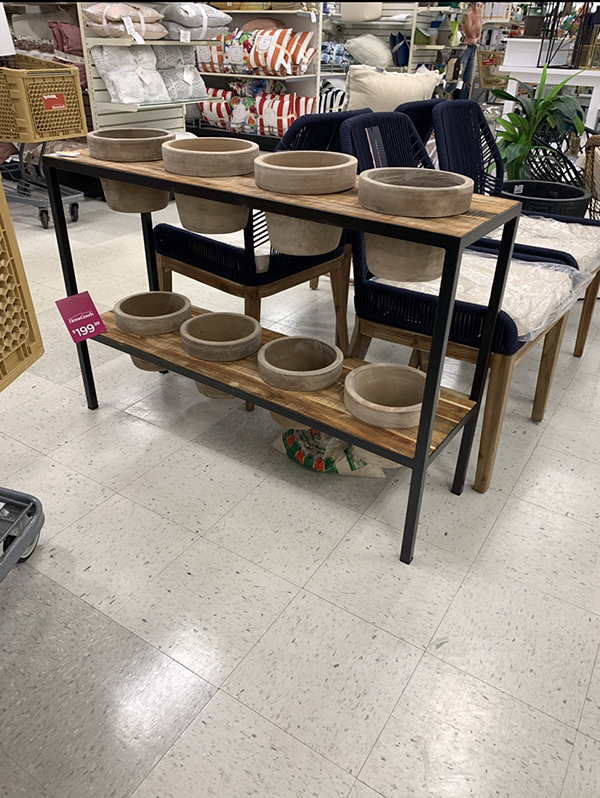
Here is the inspiration piece from HomeGoods. It’s super cute! I just wanted mine to have a little more character. Like it had been sitting outside for years and had the perfect weathered finish on it. Super easy, right? Read on to find out :-p
I’m going to preface this by saying there are probably lots of ways you could build this table but this was our process – it didn’t go 100% smoothly but the imperfections add even more character 🙂
HOW TO BUILD A TWO TIER HERB PLANTER
SUPPLIES
- 6 1x6x6 pre-treated boards
- 4 2x4s
- metal braces
- off-white creamy paint
- gel stain
Step 1
Cut your boards to length. We made ours 5′ long. Dan wanted to run them through the planer but our planer only fits a 12″ wide board. So he glued two boards together, clamped them and let them dry. Once dry he ran them through the planer and then glued the third board on, clamped and let dry.
Step 2
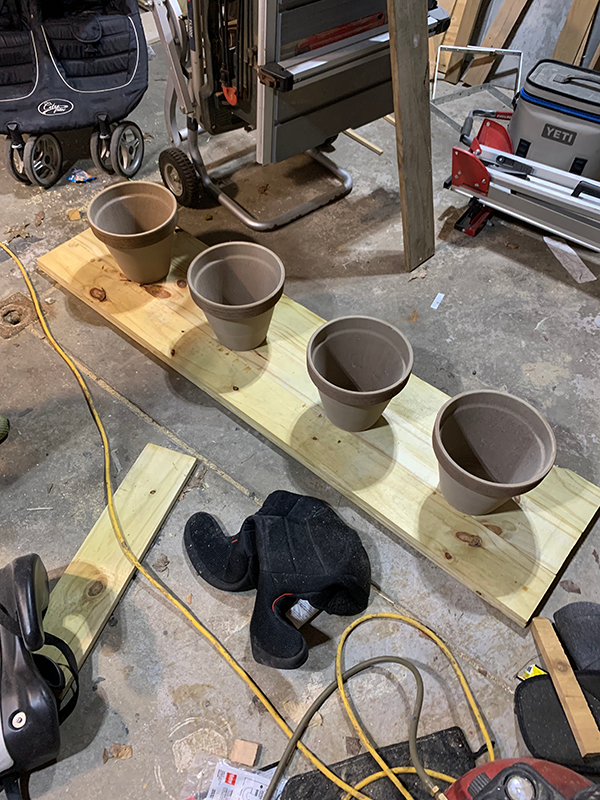
Now that you have your 3 boards glued together, you want to draw out the holes for your pots. I used pots from Petitis Garden Center which is a local nursery. You can use any pot you want – just make sure you get the right diameter from underneath the rim.
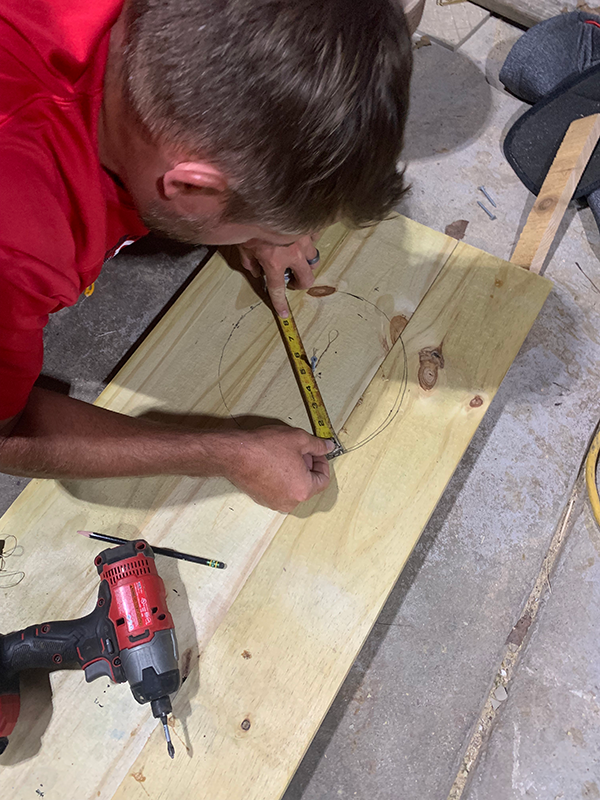
To draw your circles, measure out your spacing and find the center of your first pot. Nail a nail into that spot. Use a pencil to make a mark on all 4 sides at the length of the diameter. Then tie a piece of string around the nail and your pencil and move your pencil around the nail making sure it hits all 4 of your marks. This should give you a pretty precise circle!
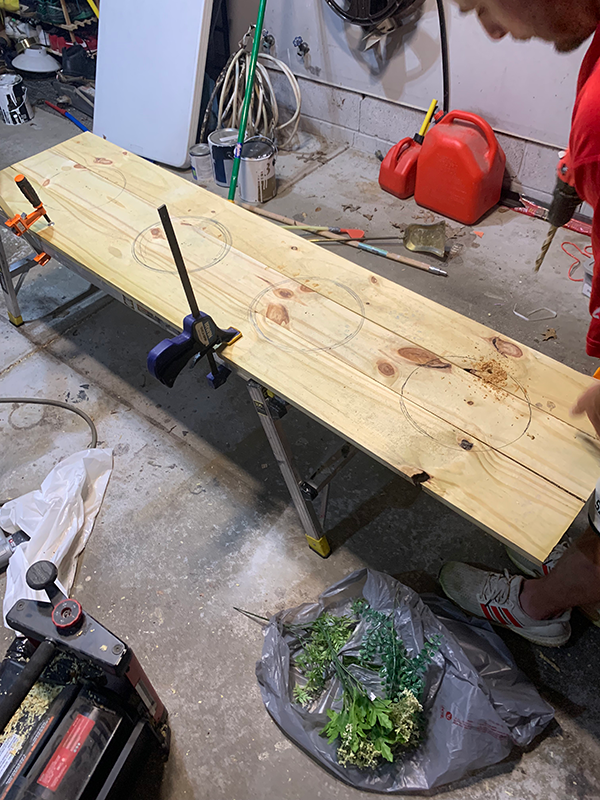
Repeat for all 8 pots.
Step 3
Secure the boards. Attach the metal braces underneath to give your boards more stability and strength. Make sure you place them in between the circles!
Step 4
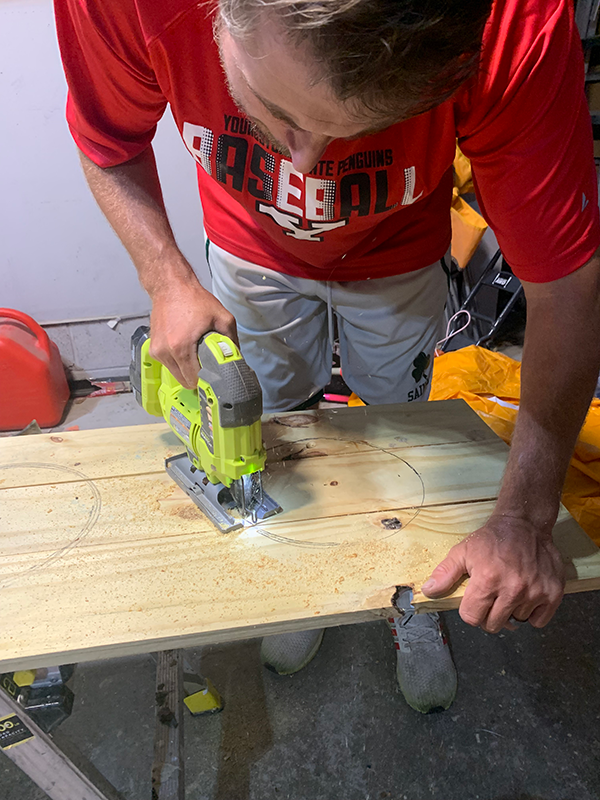
Cut out the holes using a jigsaw. You can use a large drill bit to drill a hole anywhere inside the circle to give you a place to start with the saw.
Step 5
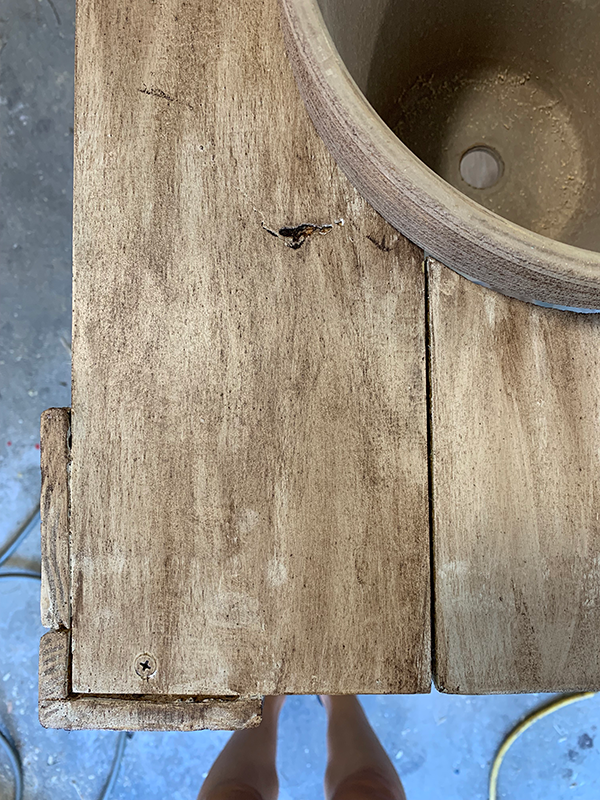
Building the legs is where things got a little tricky for us. I wasn’t quite sure how I wanted the legs to attach to the table, but Dan came up with an idea that I really liked. He suggested notching out small sections of the 2x4s to allow for the other boards to sit right in them. I’m a super visual person so until he actually made one, I wasn’t quite sure what it was going to look like, but I trusted him!
For the tops of the legs, this is what you want:
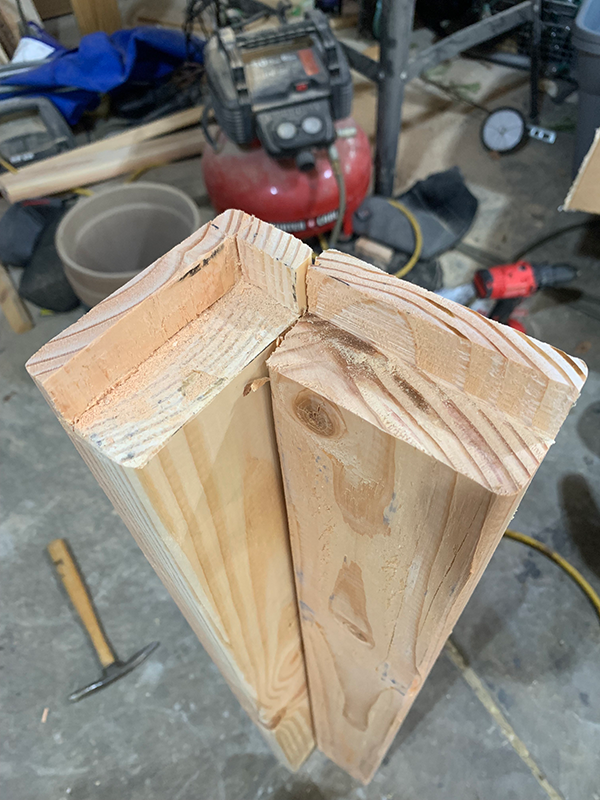
To create those cuts you can either use a router or the table saw. If using the table saw, you will set your blade to the proper height so it doesn’t cut all the way through the wood. Then you simply keep moving the guide over by about 1/4″ increments to slowly chip away at it.
The bottom notches caused a little more trouble because he couldn’t use the table saw. So he used a combination of the router and the trusty whizzbanger.
The cuts aren’t perfect, but like I said, I wanted this to be rustic and weathered so I didn’t see them as mistakes, but just added character 😉
Step 6
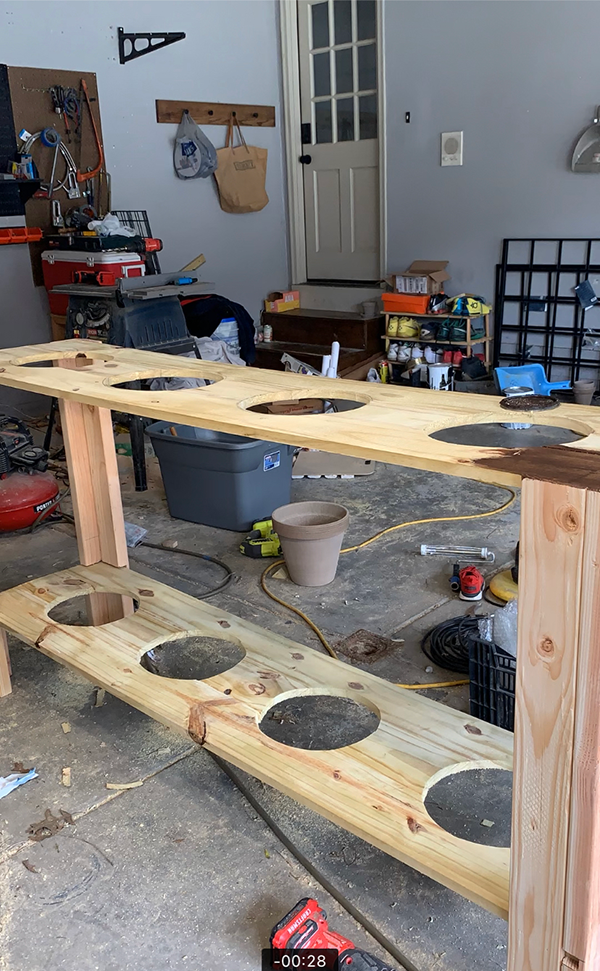
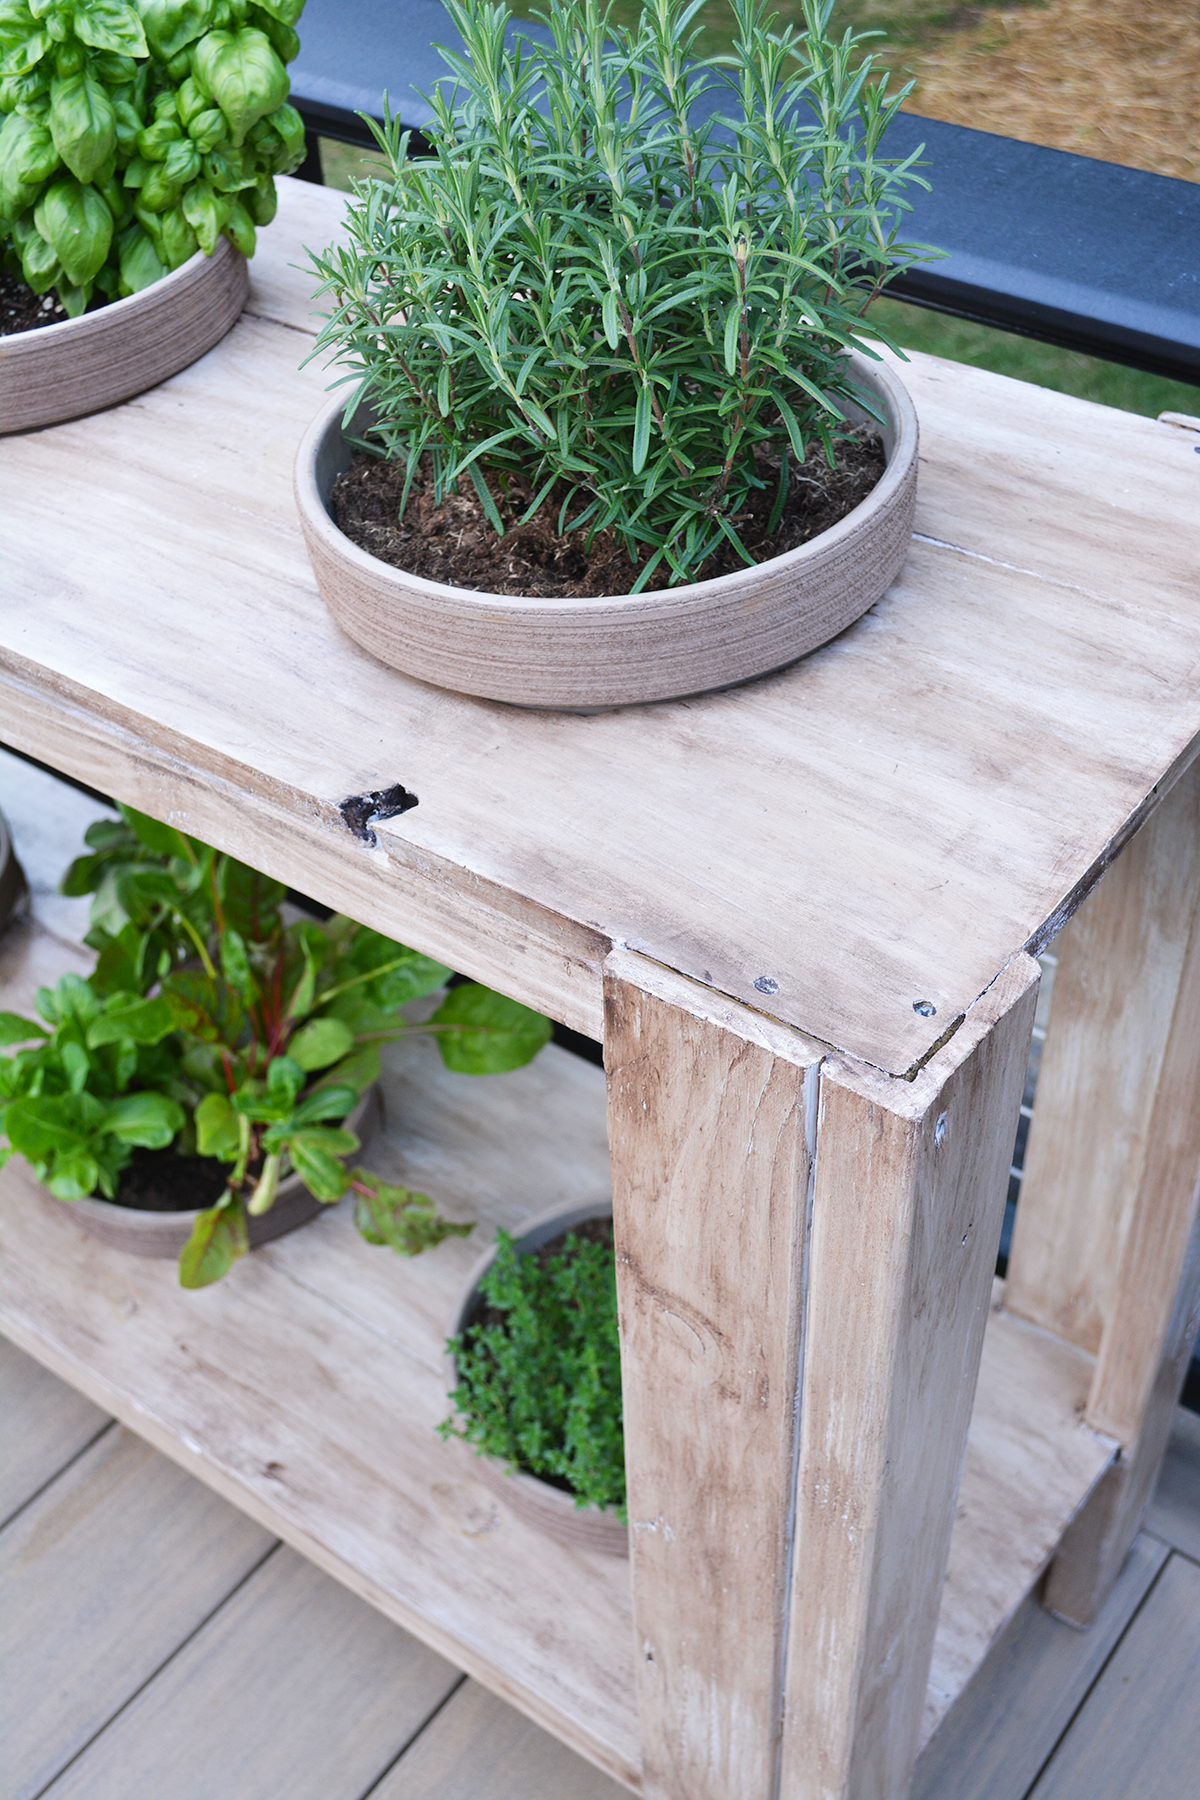
Assemble your table! The boards should fit nice and snug in your notches and then we used some screws for added support as well.
Now that the table is built, it was my turn to step in and finish it up. From the start I had the vision of staining it dark in my favorite gel stain. But since we were using wood that isn’t exactly furniture grade, the stain didn’t take well and it just didn’t look good.
So I did some brainstorming and remembered a technique I had seen recently where you paint the furniture with a light colored paint, and then apply a dark wax over it and it gives the appearance of faux oak wood.
I tried a small test spot first and wasn’t sold. So instead of using the dark wax, I used my gel stain on top of the paint. I still was unsure but I was running out of other ideas so I decided to just go for it.
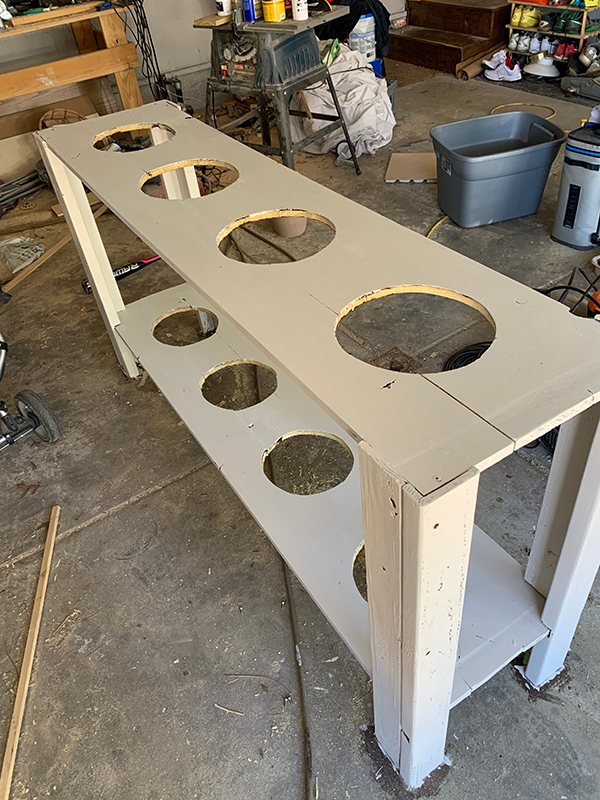
Step 8
It’s not necessary to stain your table first for this method. I just did because that was my original plan! You can start by just painting your wood a light beige/mushroom color. When I got samples of island paint colors for our kitchen, there was one jar they didn’t put a label on and of course that’s the jar I used. So I have no idea what color it is!
Step 9
After the paint dries take an old rag and dip it in your gel stain. I used my faithful Varathane Dark Walnut Gel Stain. Dab off the excess onto a paper towel or scrap piece of wood and start wiping it on your table in the direction of the grain. Don’t freak out if it looks really dark and ugly. Because it will at first ha. Just keep wiping and wiping. You want it to be a very thin layer.
I repeated this twice to get the desired color I wanted. You could do less or more depending on what you like! The key is just to make sure you apply back and forth with the grain because the lines created with the gel stain are going to be the new faux grain.
Step 10
Seal it up! I used Varathane’s Spar Urethane for exterior.
Step 11
Plant all your herbs! Since these pots are sitting above the ground and can’t have a drain plate beneath them, I did a little trick I learned. Place a few coffee filters in the bottom of each pot before adding soil. It allows the plants to still drain, but it helps keep the moisture in and helps keep all the dirty soil water from running all over your deck. So far it seems to be working well!
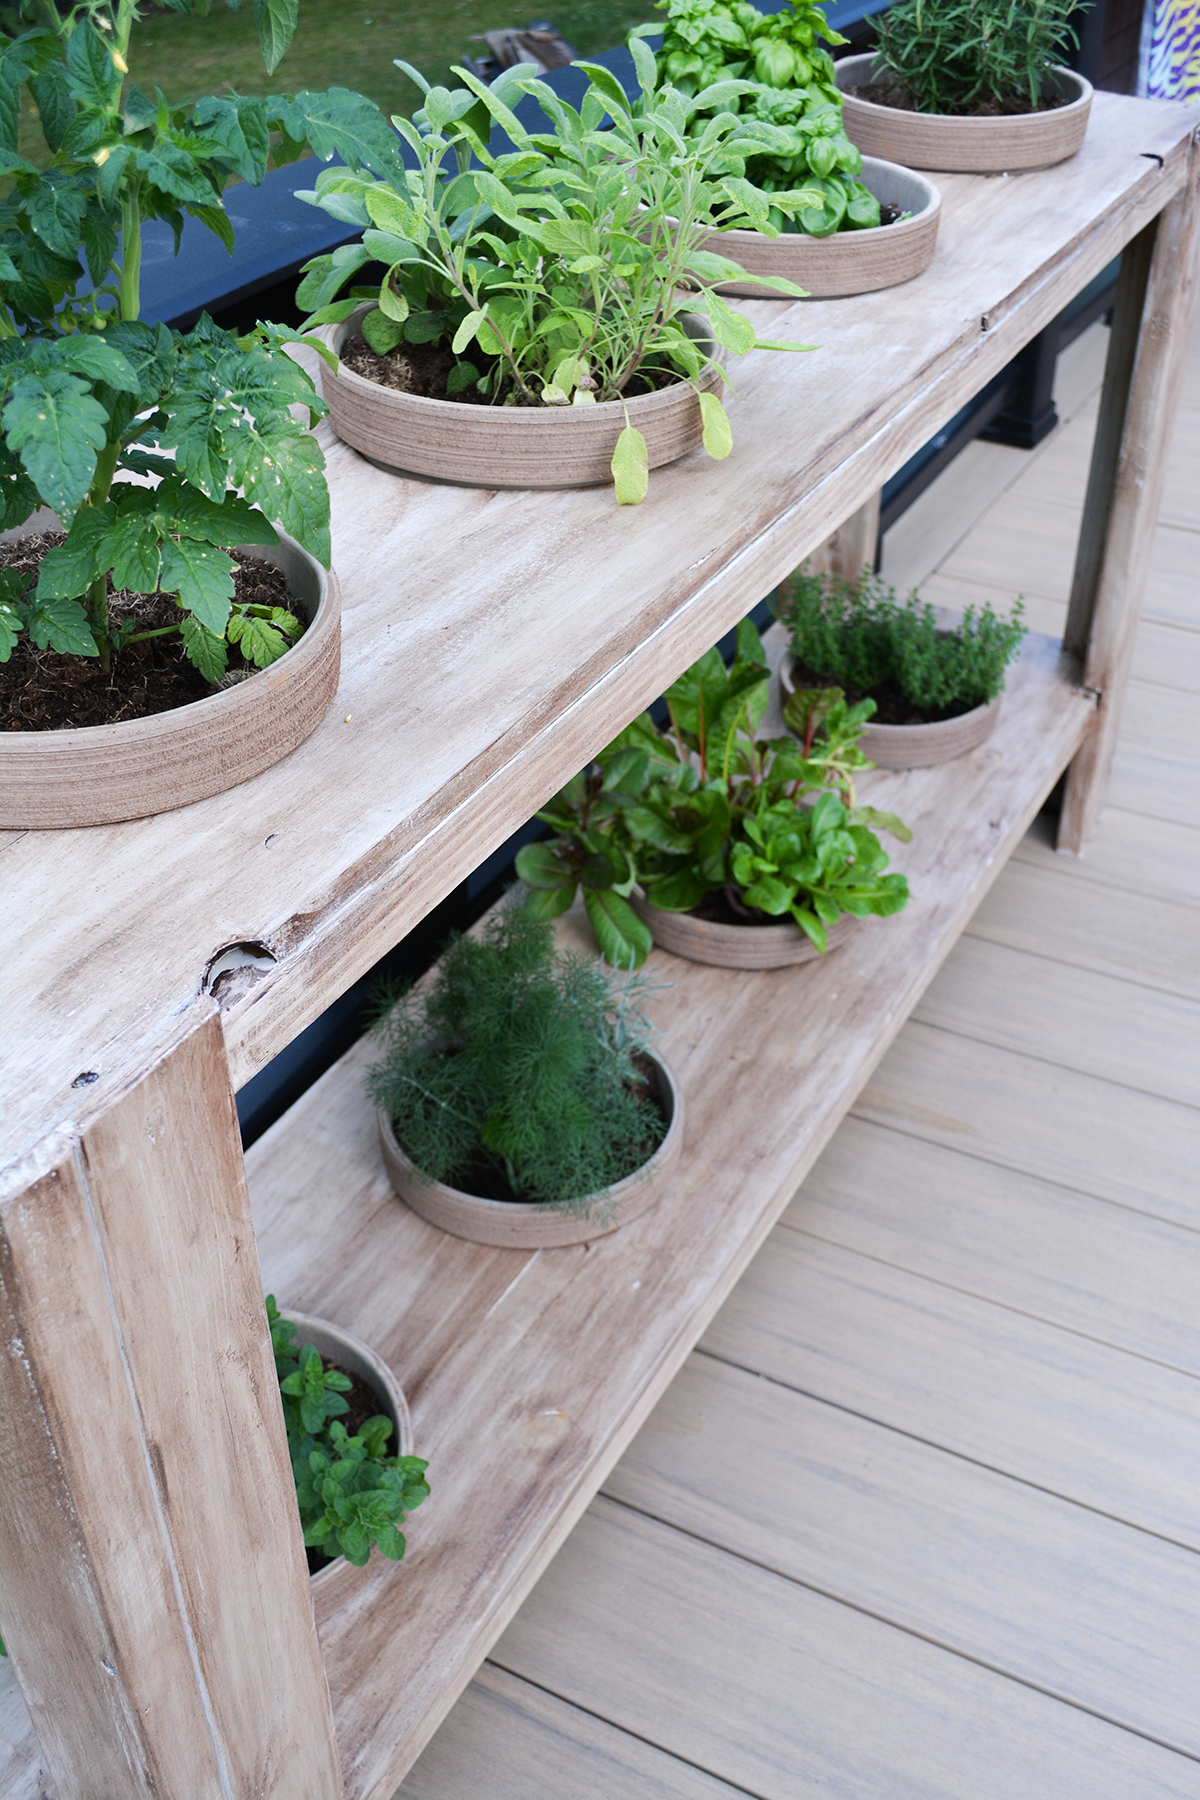
I got basil, thyme, oregano, dill, curry, lettuce, baby tomatoes, rosemary and sage.
Step 12
Water and enjoy! The bottom row gets about 5 hours of sun a day which should be sufficient, but I can always rotate some of the pots if I need to!
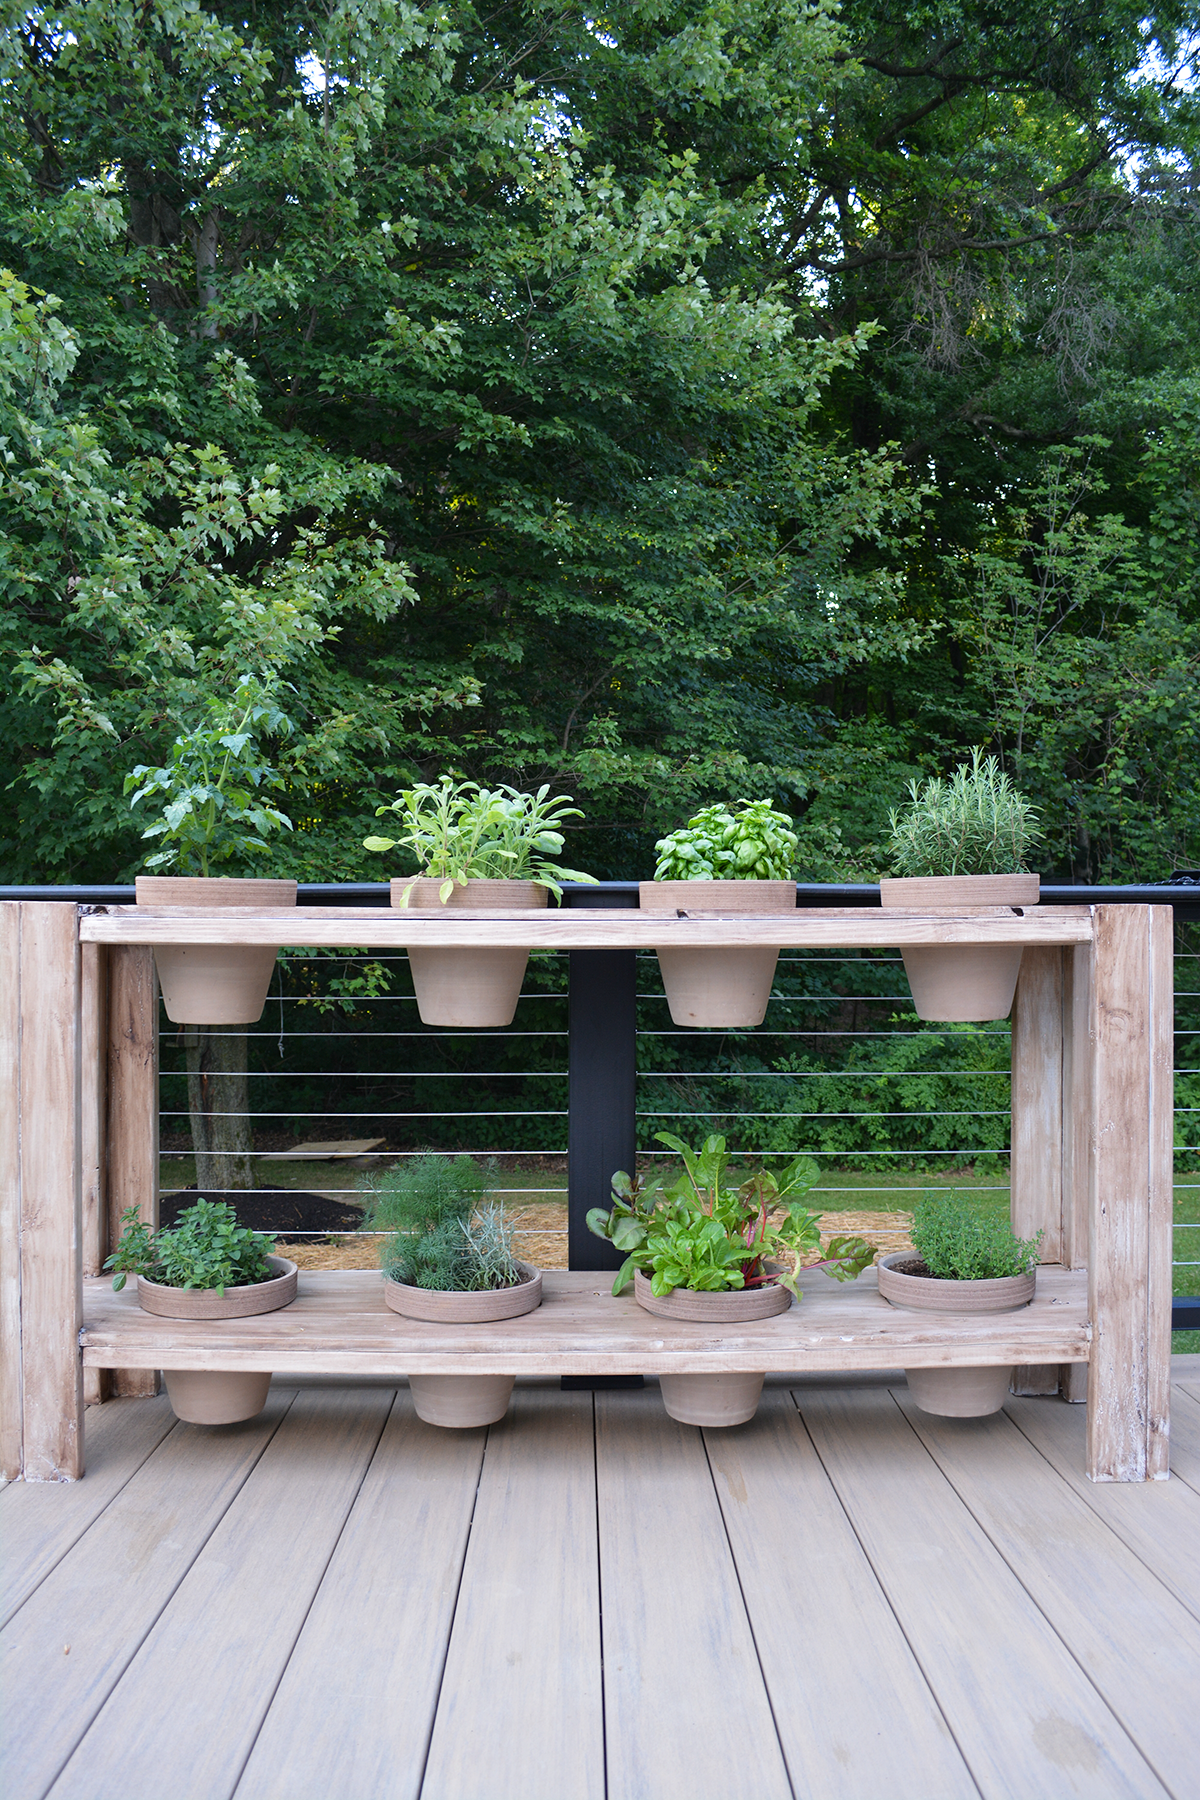
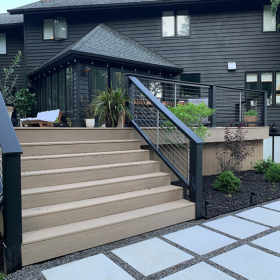
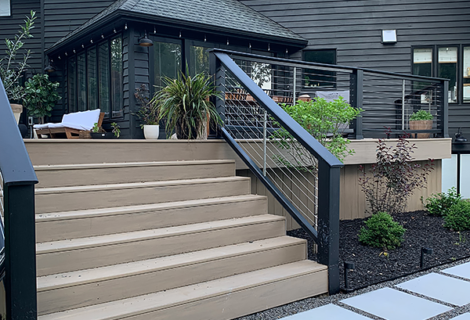
I LOVE how this turned out. It looks so beautiful on our deck and almost matches our decking, which was never my intent. I thought for sure this would be a dark stained piece, but what started as a staining disaster, turned into something more beautiful than I ever imagined!
We did also end up attaching more 2x4s under the middle section on the front and back for added support. Once the pots were in, the middle was sinking a bit so this helped keep it straight!
And now I can’t wait to make all the delicious summer recipes using my fresh herbs! What do you think? Would you build this DIY Two Tier Herb Planter?